


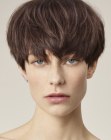


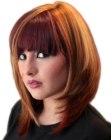


Uniform Layer
Step by step guide on how to cut a short uniform layer hairstyle, from Steve Turner, myhairdressers.com
This is the Uniform Layer, a user-friendly versatile technique for any busy salon floor. Possibly the most essential technique in the book. Vary the lengths and you will have a winner every time.
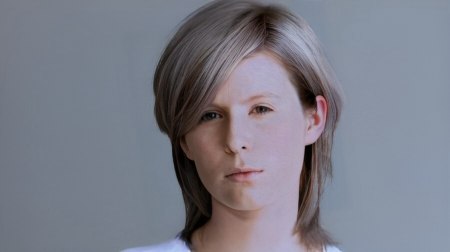
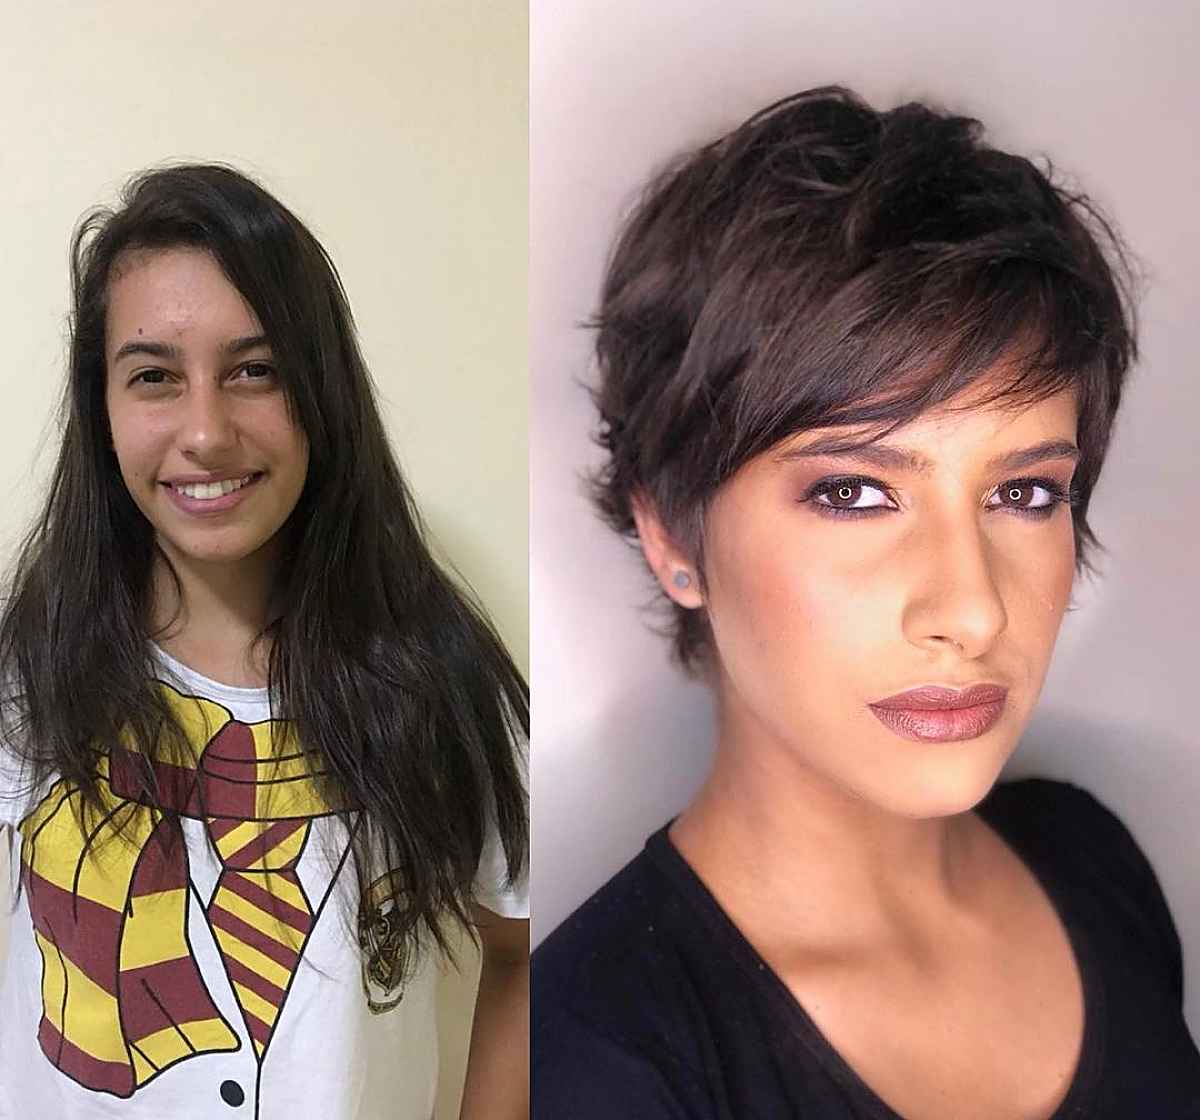
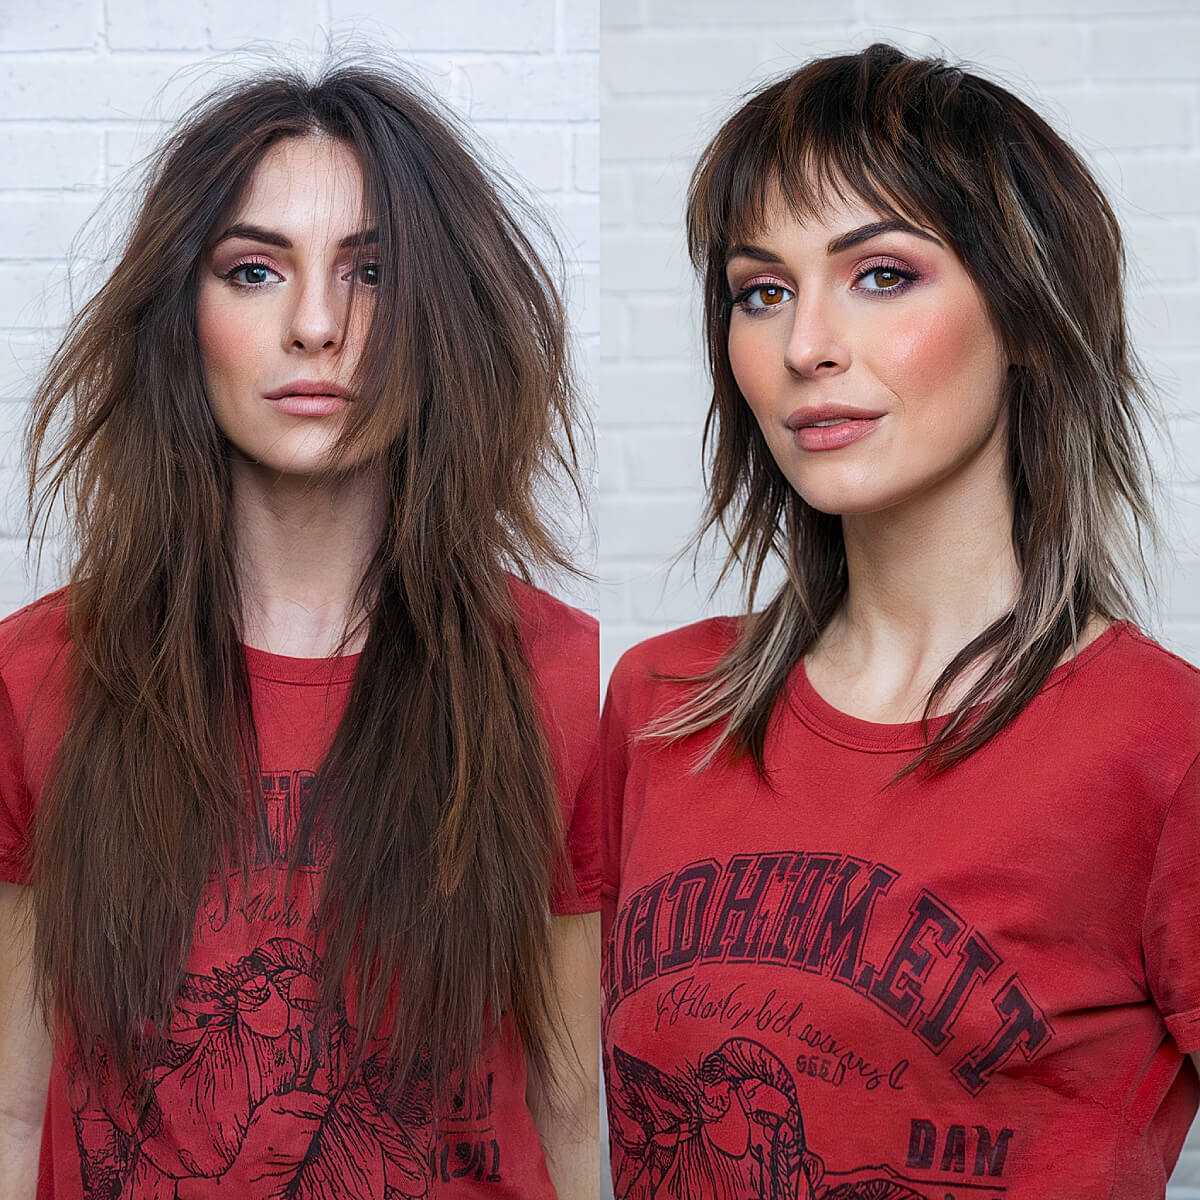
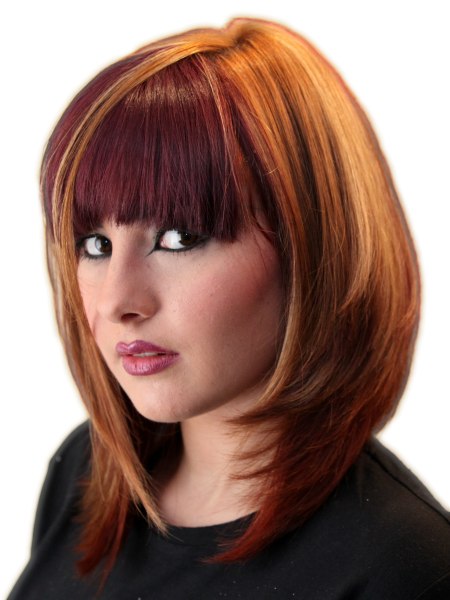
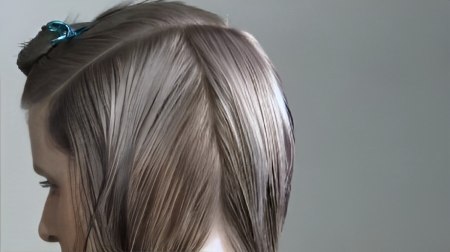
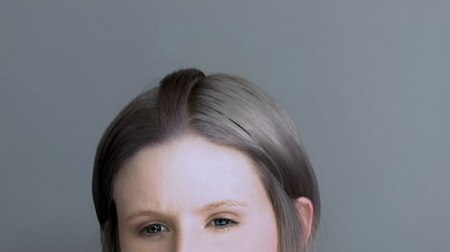
Before: Jamie before the haircut.
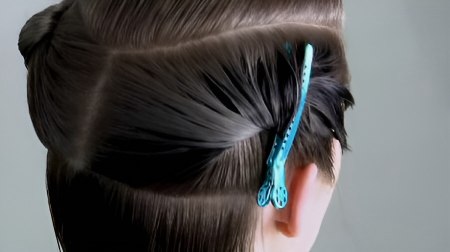
Step 1: Take a horizontal section across the back from the occipital bone to behind the ear. Then a curved section from the crown to above the temple. These sections are created to break down the head shape and to facilitate accurate cutting angles. Apply suitable protective clothing.
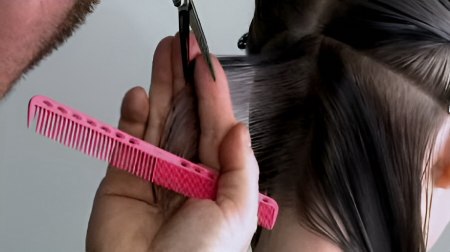
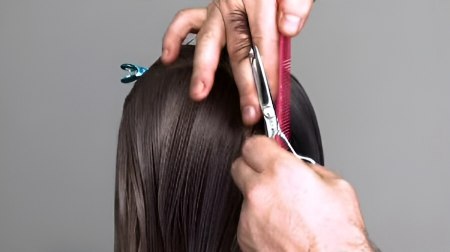
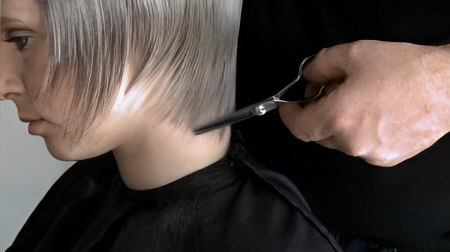
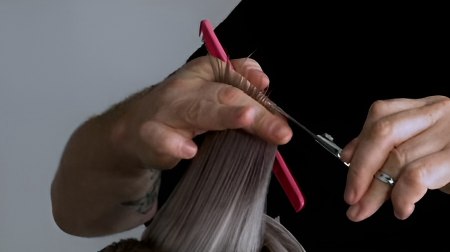
Step 2: Take a vertical section in the nape area and cut a square line parallel to the head shape. For more difficult hairlines, adjust the elevation level.
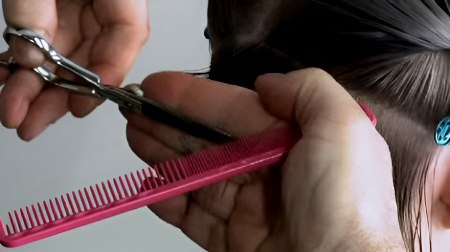
Step 3: Next take a horizontal section which will act as a guide for the subsequent vertical sections.
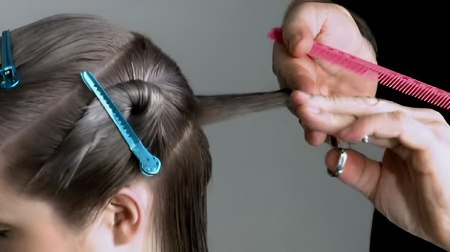
Step 4: Next continue with vertical sections, using both the initial vertical section and the horizontal section as a guide. Continue to the ear.
Step 5: Over-direct behind the ear to maintain weight around the perimeter.

Step 6: Now cross check your work.
Step 7: Now repeat this process on the other side.
Step 8: Note that Steve checks his work both technically and visually, assessing root movement.
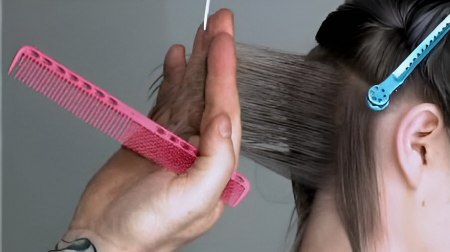
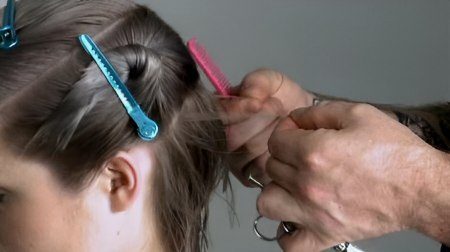
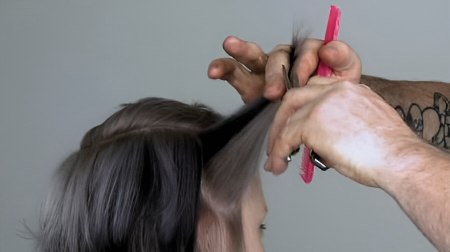
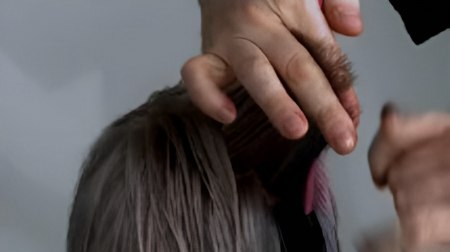
Step 9: Next work in the mid section.
Step 10: Work with a vertical section, using the first section as a guide to establish the internal length and guide. Visualize the internal shape and balance through the side, using the comb as a tool. Standing back from your work is essential to allow for assessment and balance.
Step 11: Cut a square line to the head shape. The top part of the section will consequently be longer, allowing for the roundness of the head and movement in the crown.
Step 12: Continue with vertical sections to behind the ear, using the previous section as a guide.
Step 13: Repeat the same process on the other side. The internal shape will be slightly curved.
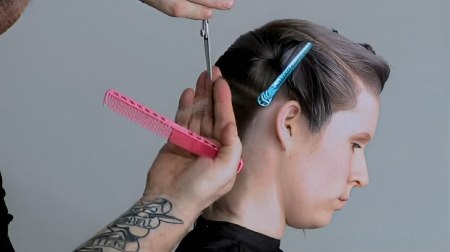
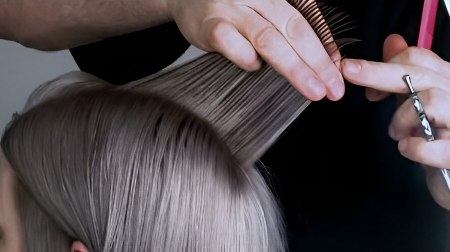
Step 14: Next work with the side areas. Create a horizontal section, then take vertical sections which you elevate and cut square to the head. The horizontal section allows you to achieve correct elevation and over-directions.
Step 15: Repeat this process on the other side.
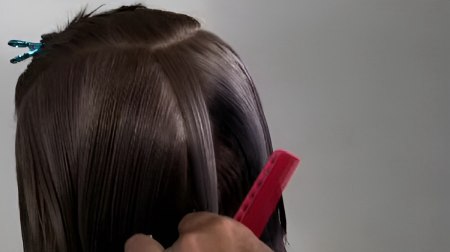
Step 16: Now refine the outline shape visually, using free hand techniques.
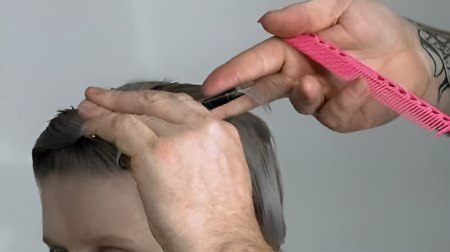
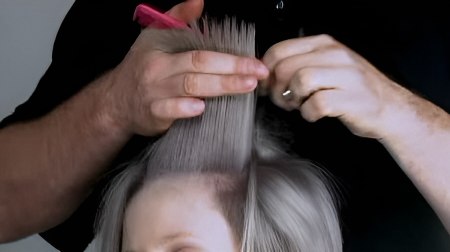
Step 17: Next bring down the top section and start with a vertical section, running from the front hairline through to the crown.
Step 18: Using the crown as a guide, cut a rounded line following the head shape. As his sections run towards the front headline, Steve allows for length.
Step 19: Using the previous section as a guide and pivoting the section in the crown, work horizontal sections towards the front hairline, over-directing back to create length in the front.
Step 20: Repeat this process on the second side.
Step 21: Refine the internal shape with a pointing technique.
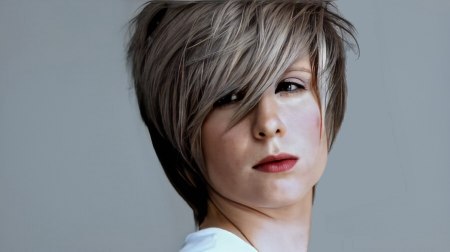
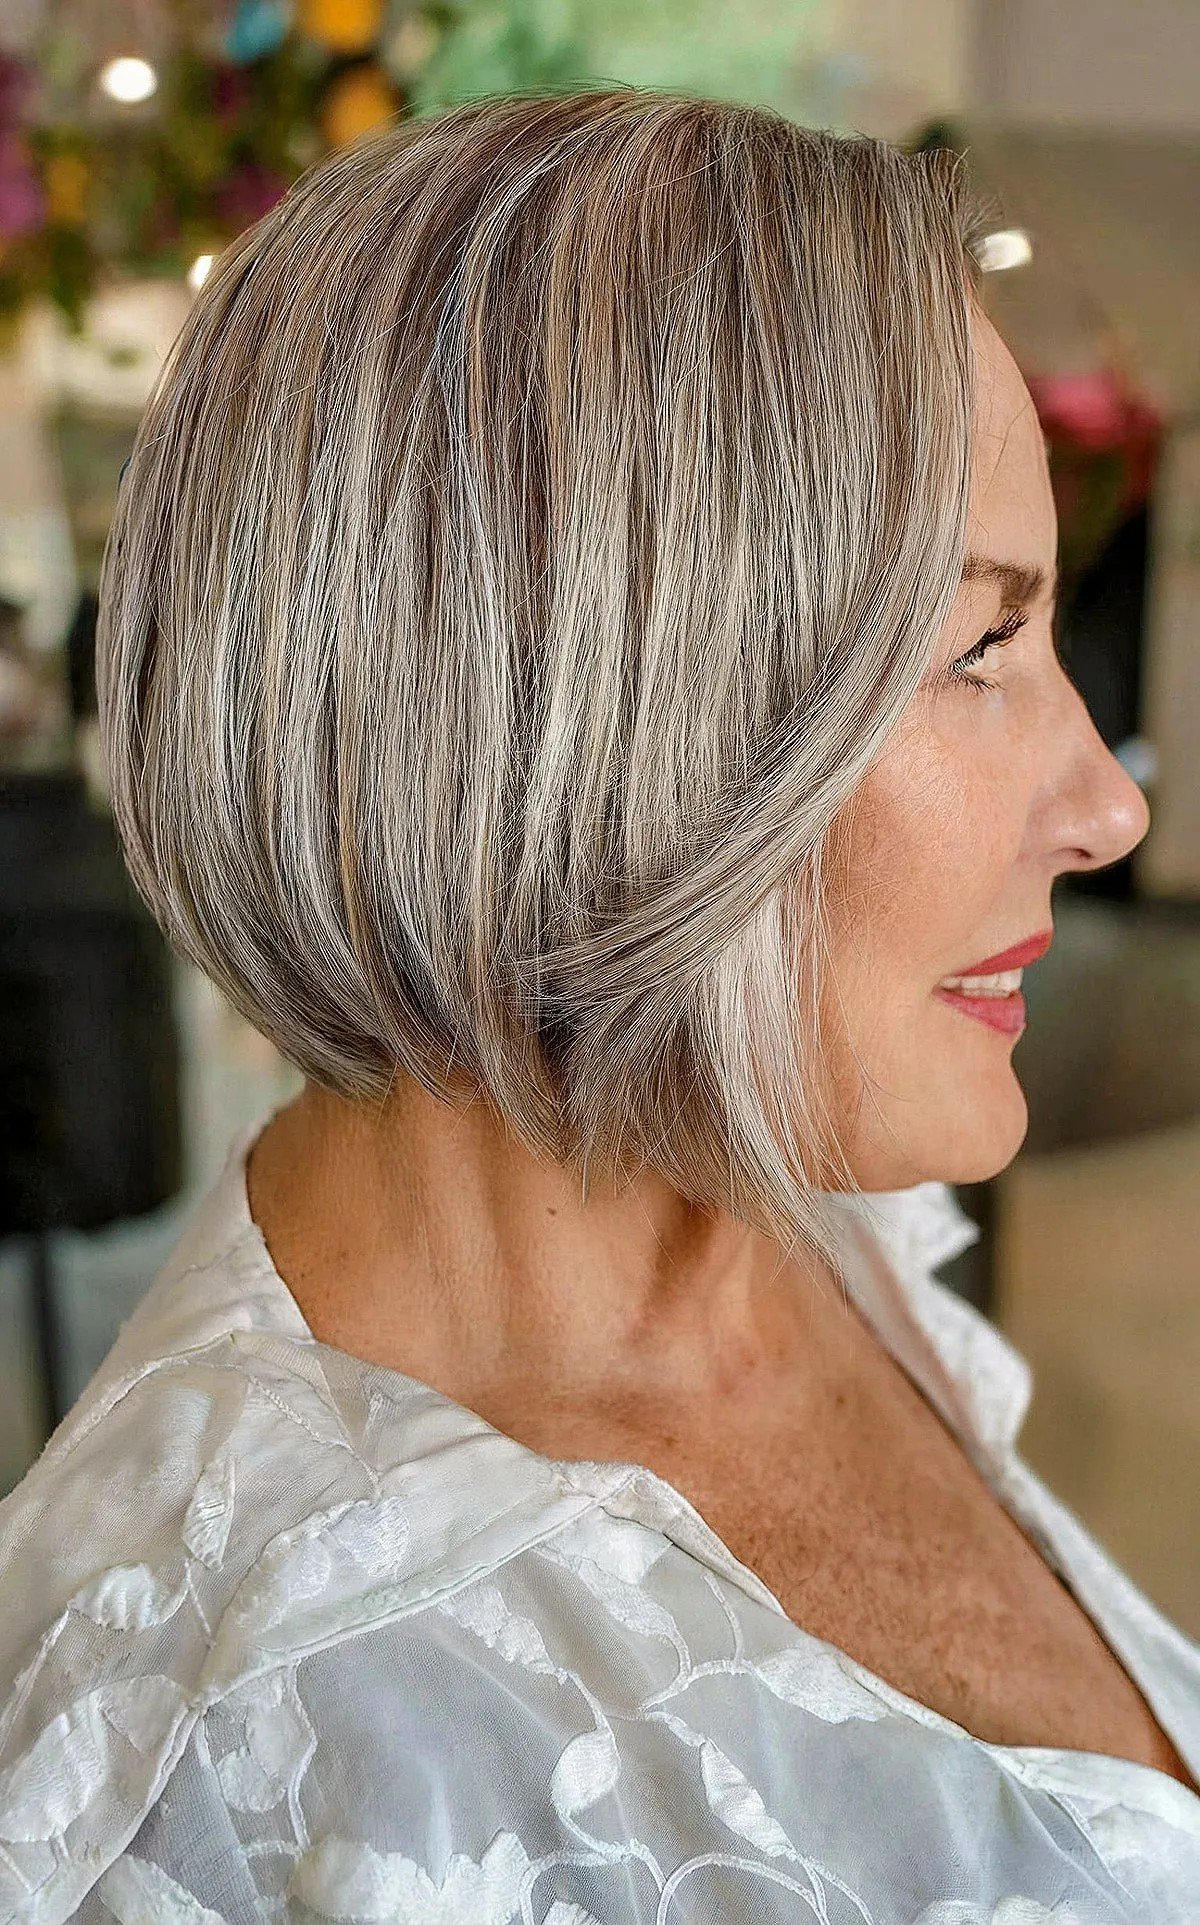
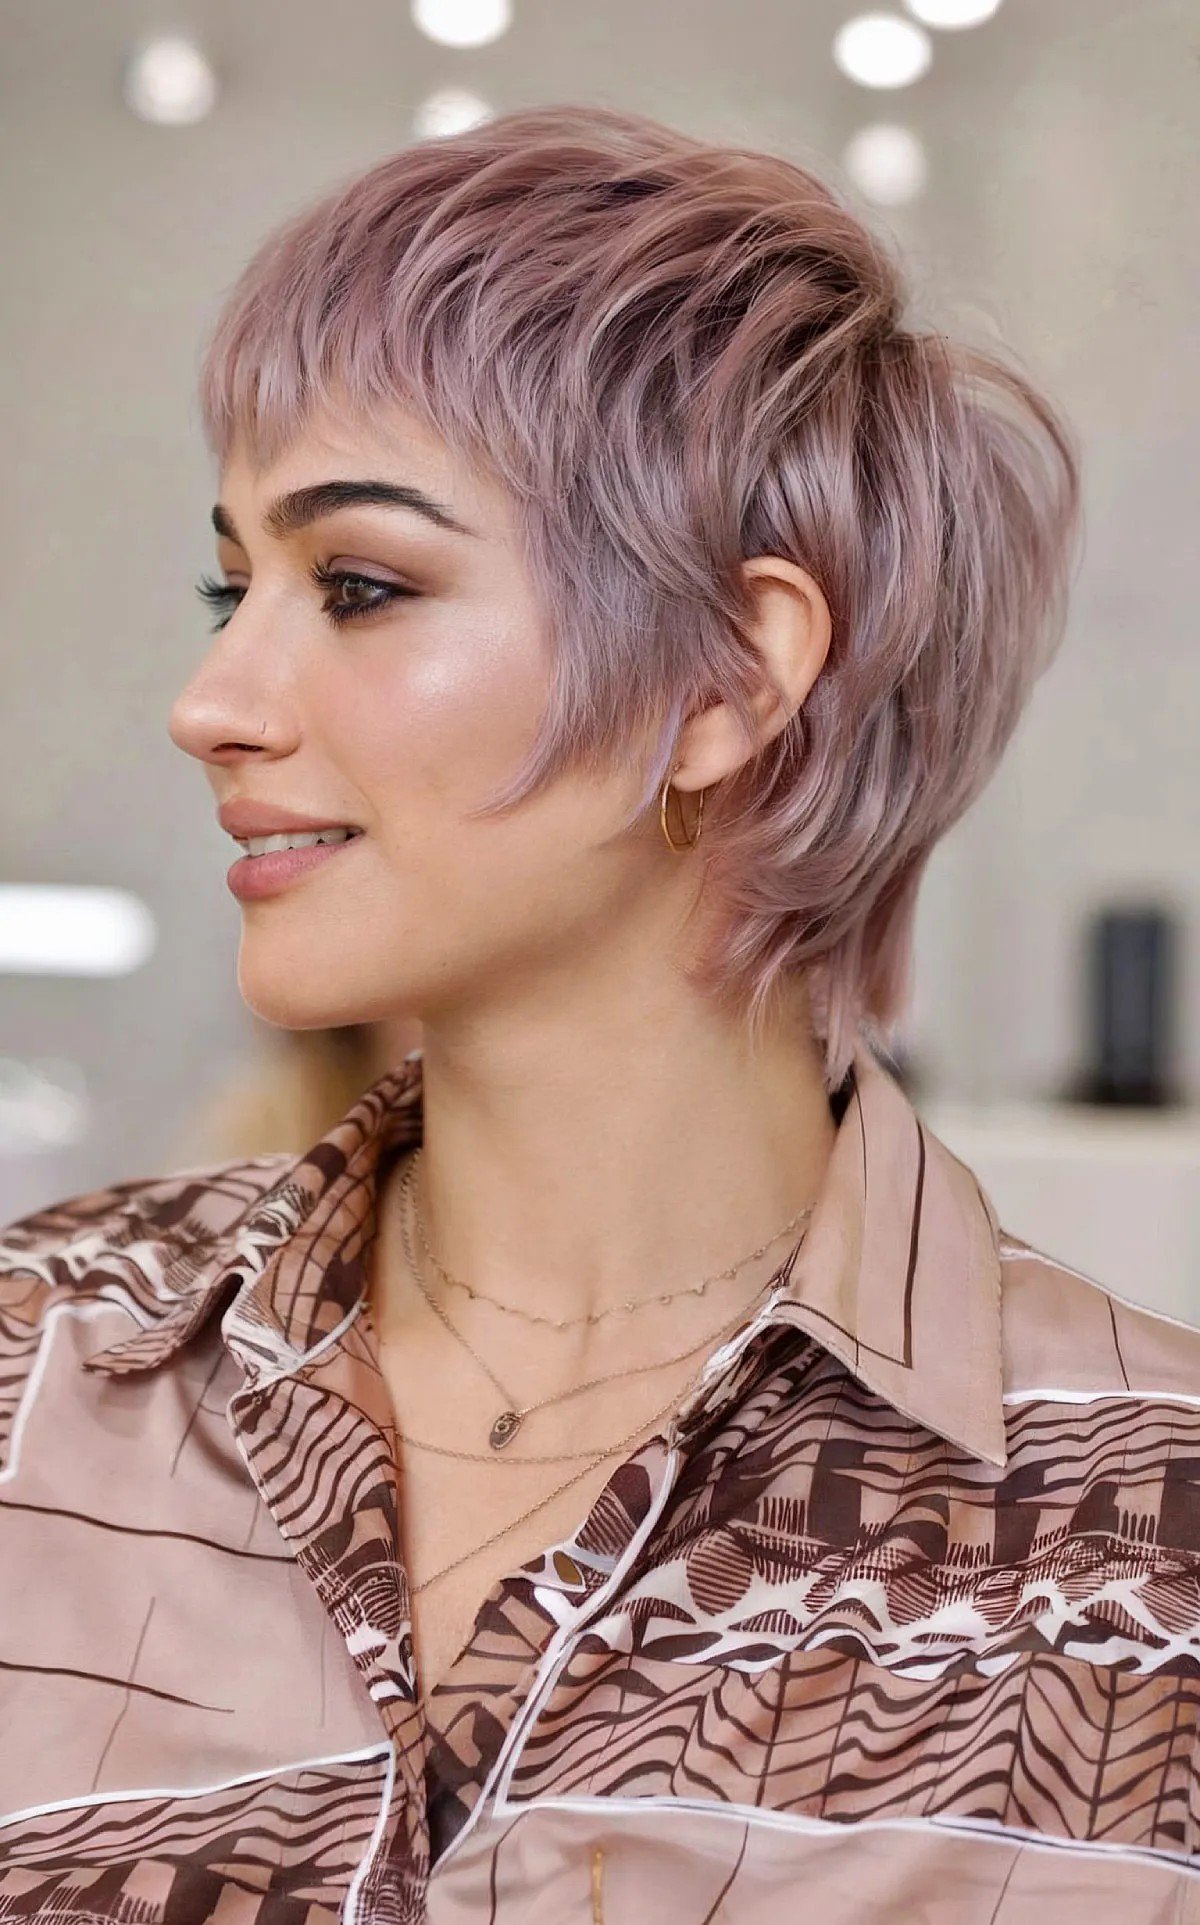
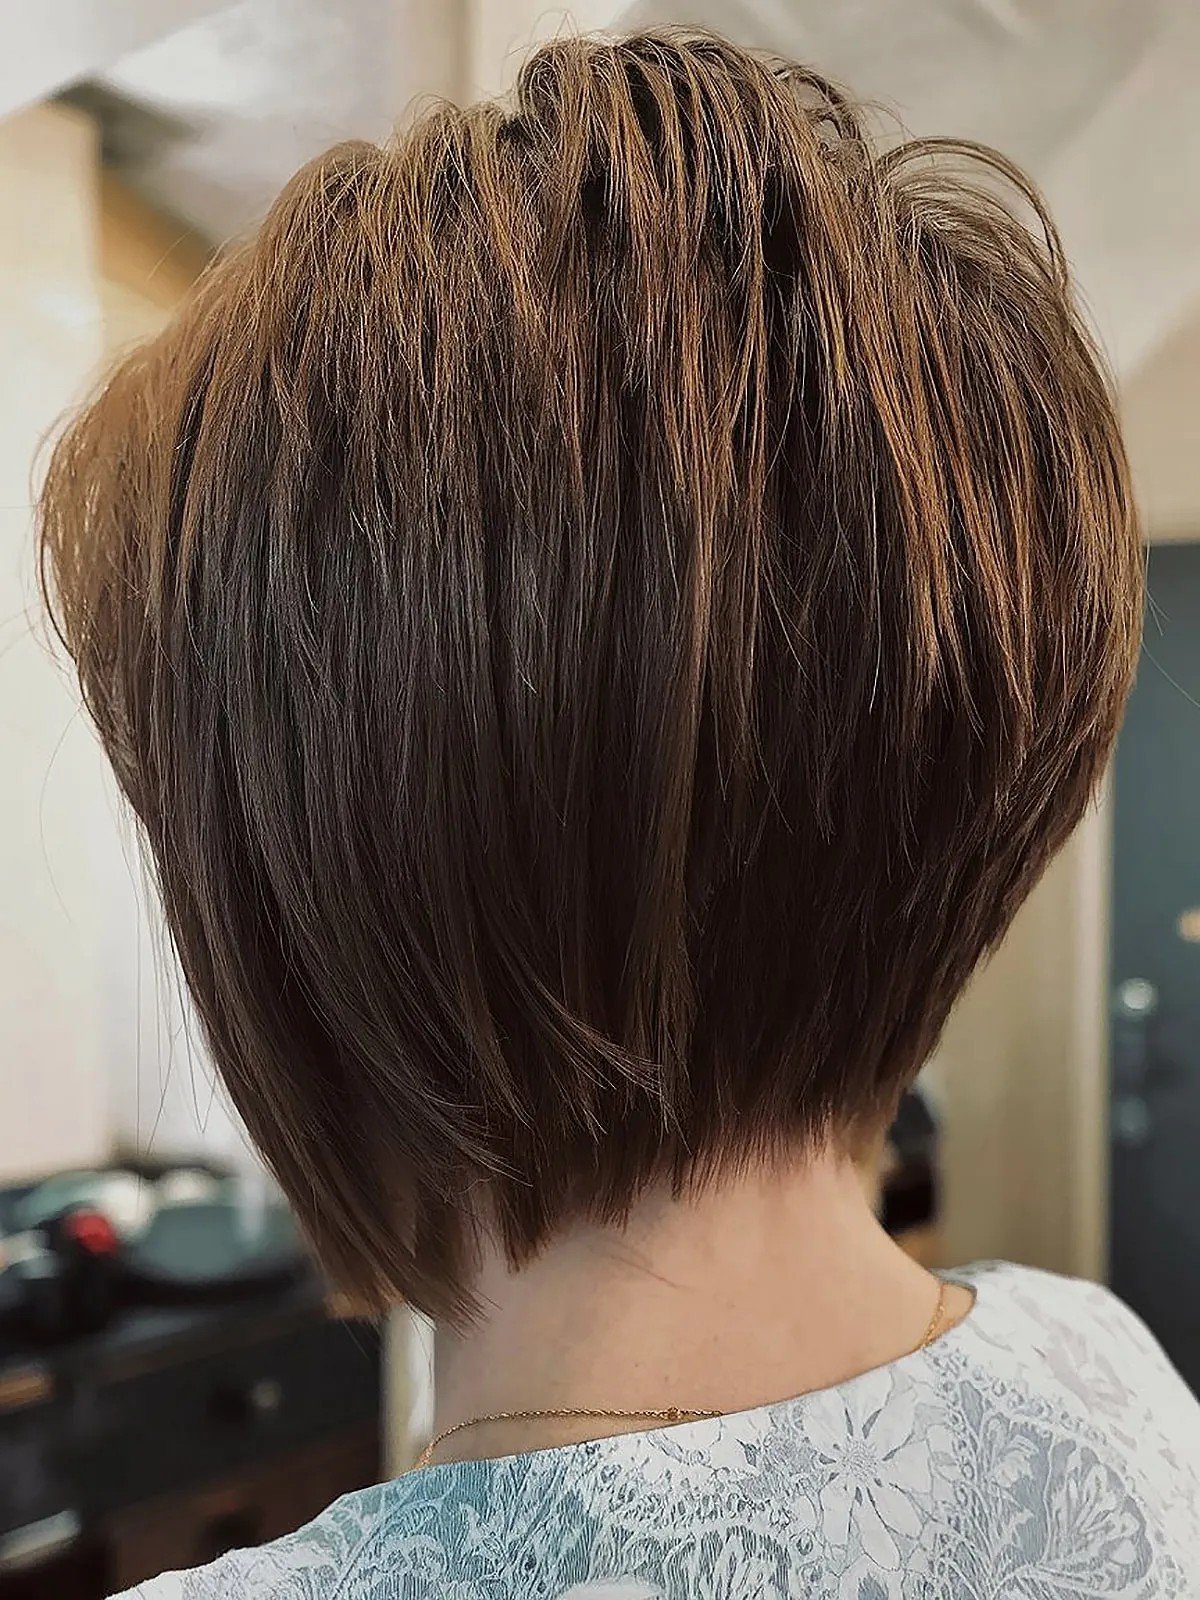
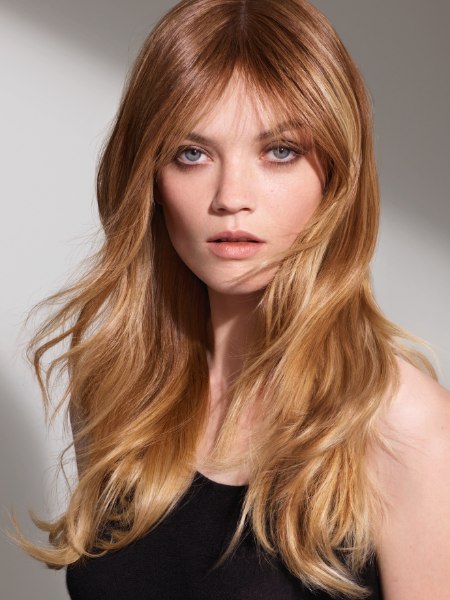
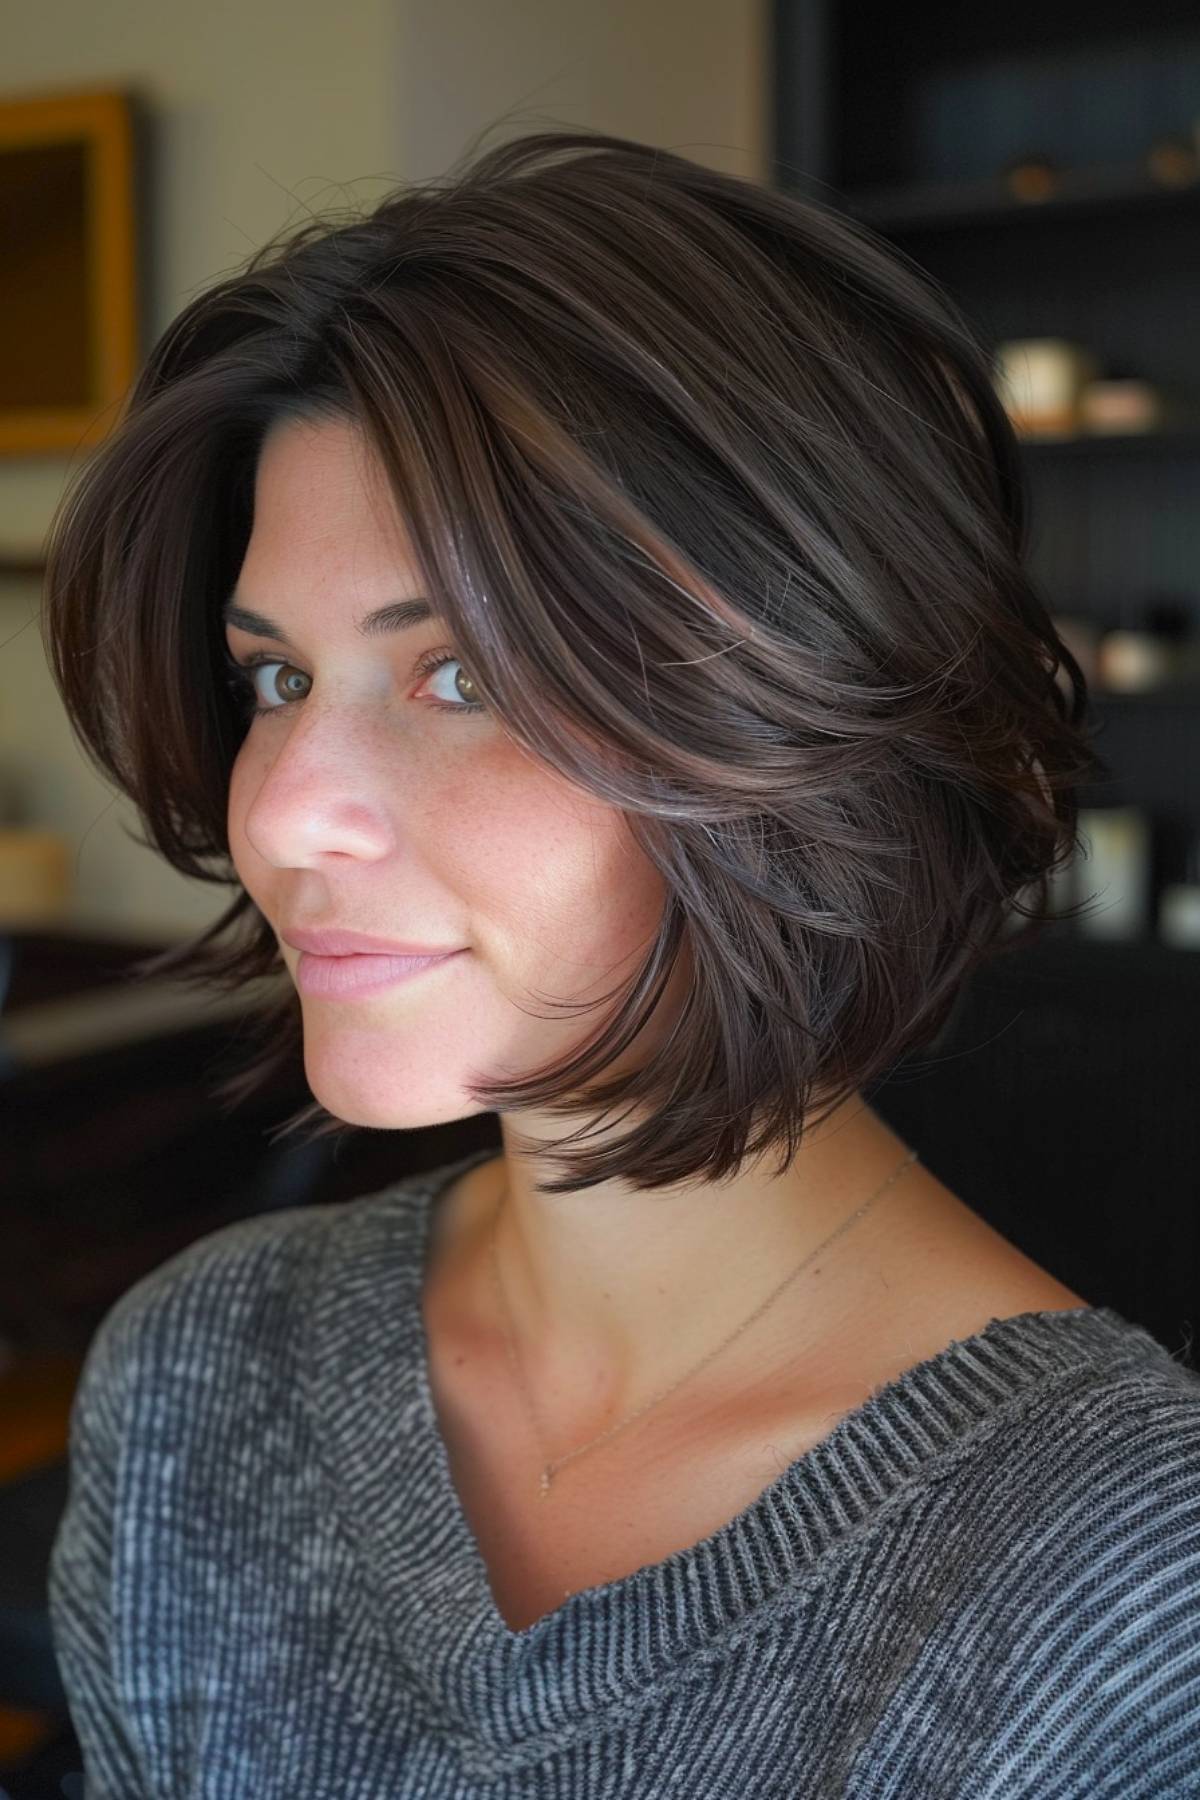
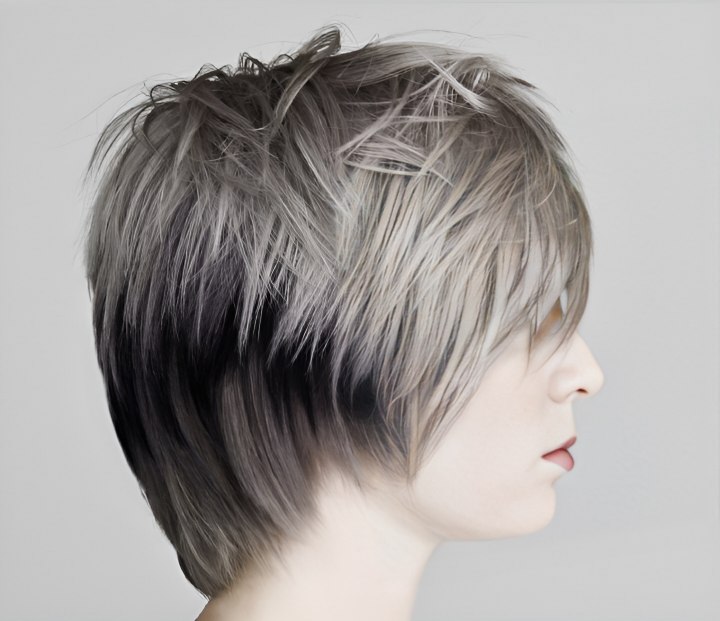
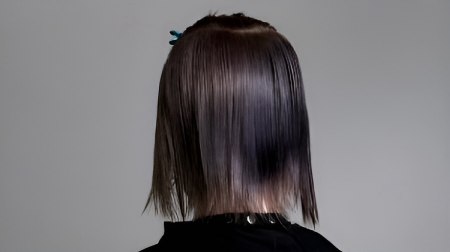
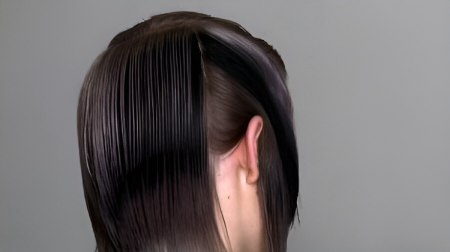
Finish: Steve has created a uniform layer, a user-friendly versatile technique for any busy salon floor.
Text and photos by MHD. Subscribe to view the training video!
See also:
How to cut a modern short haircut with graduation
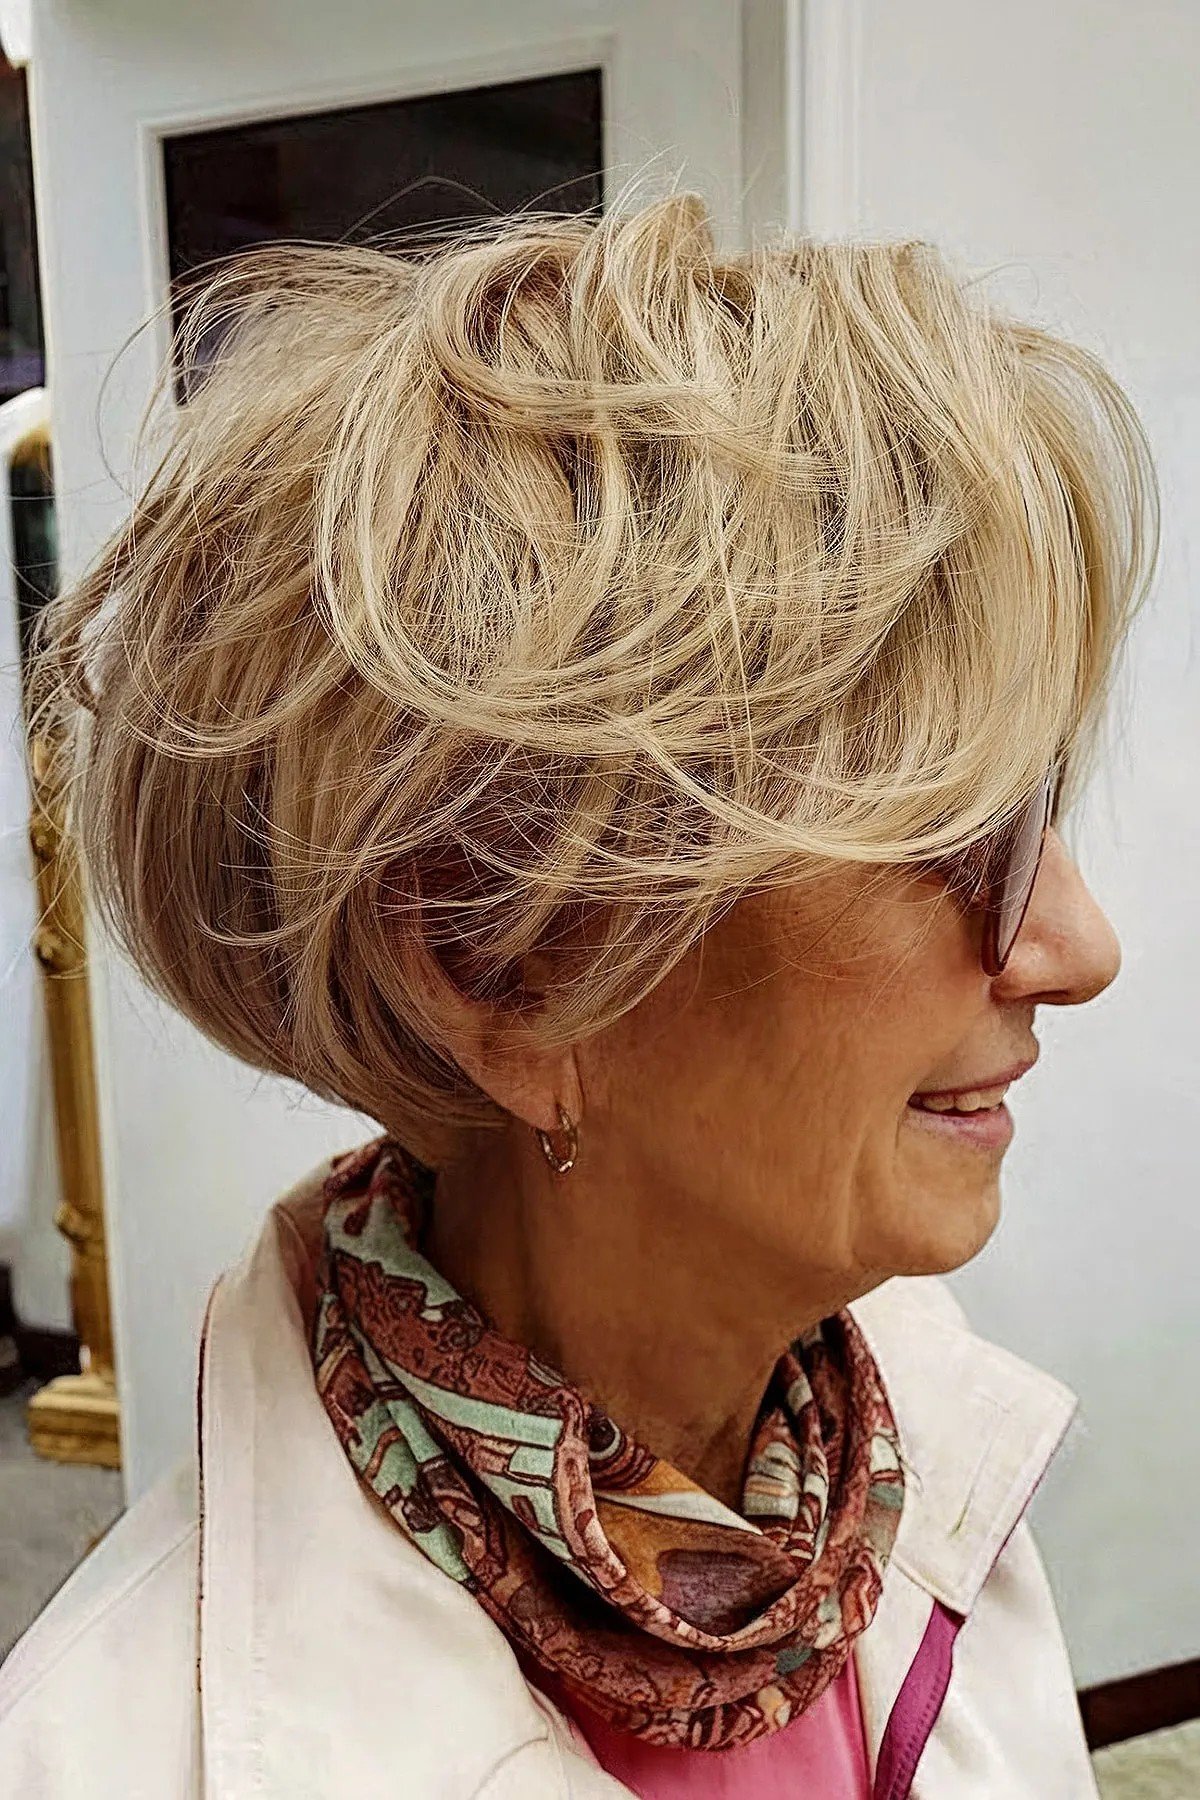
How to cut a short wavey wedge
How to cut hair with three-tier layering