


The Step
Step by step guide on how to cut “The Step” from Lee Stafford, myhairdressers.com
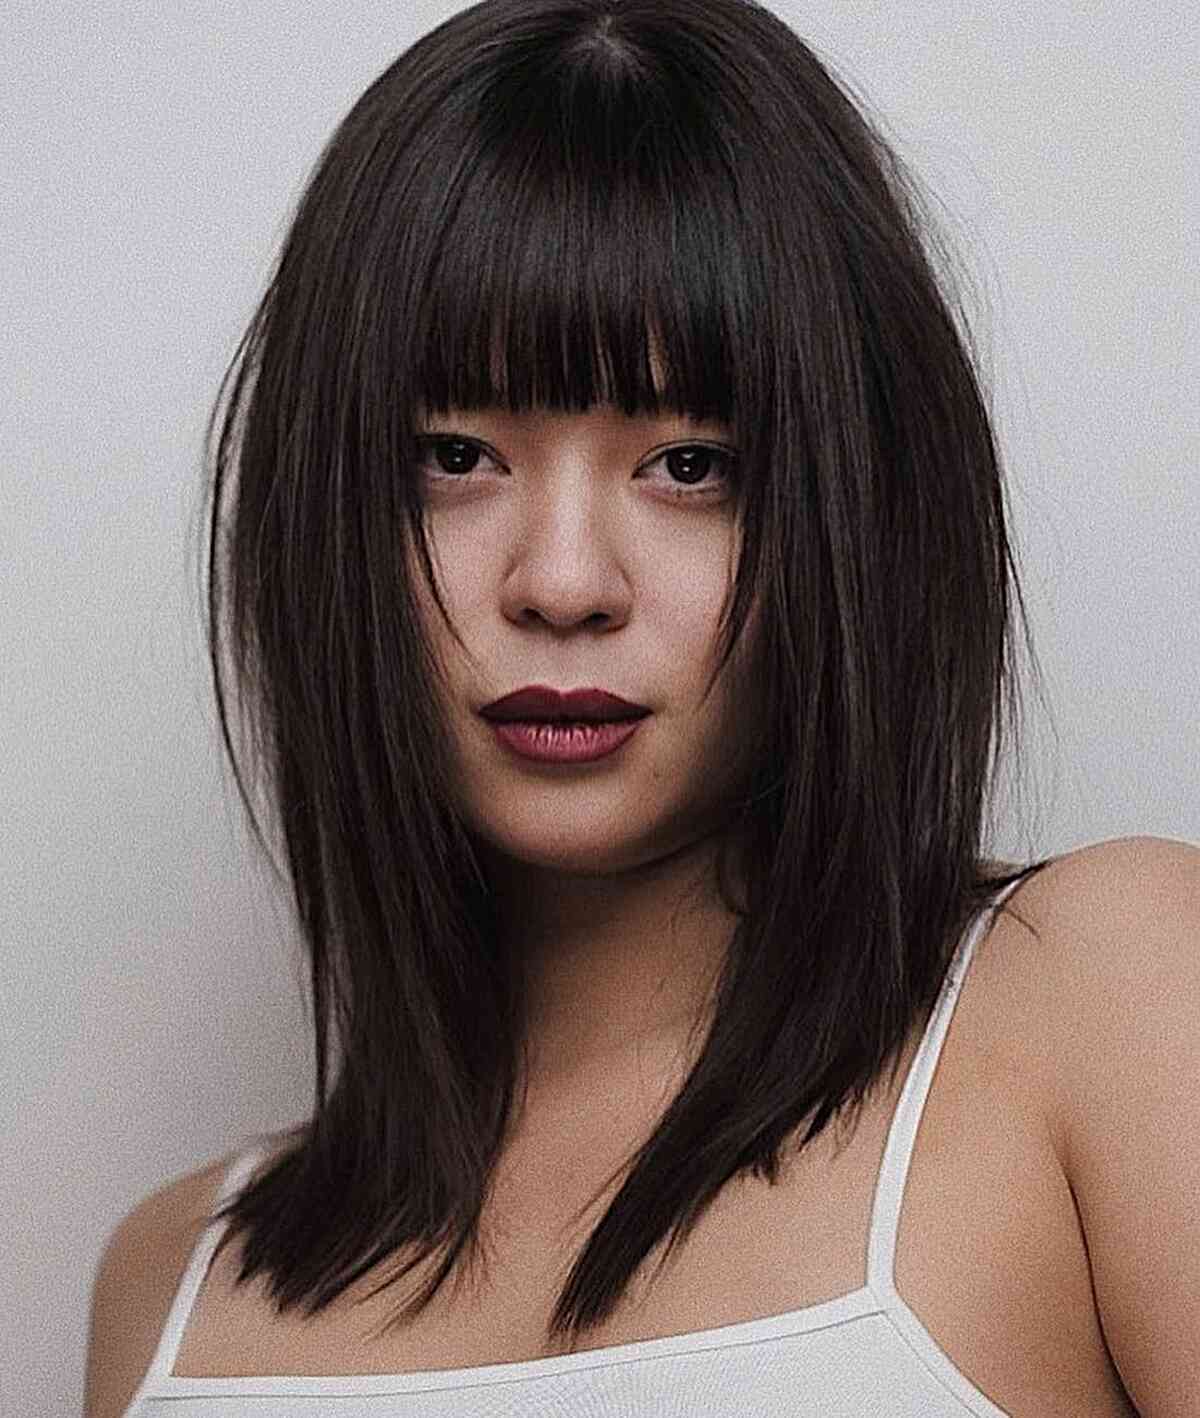
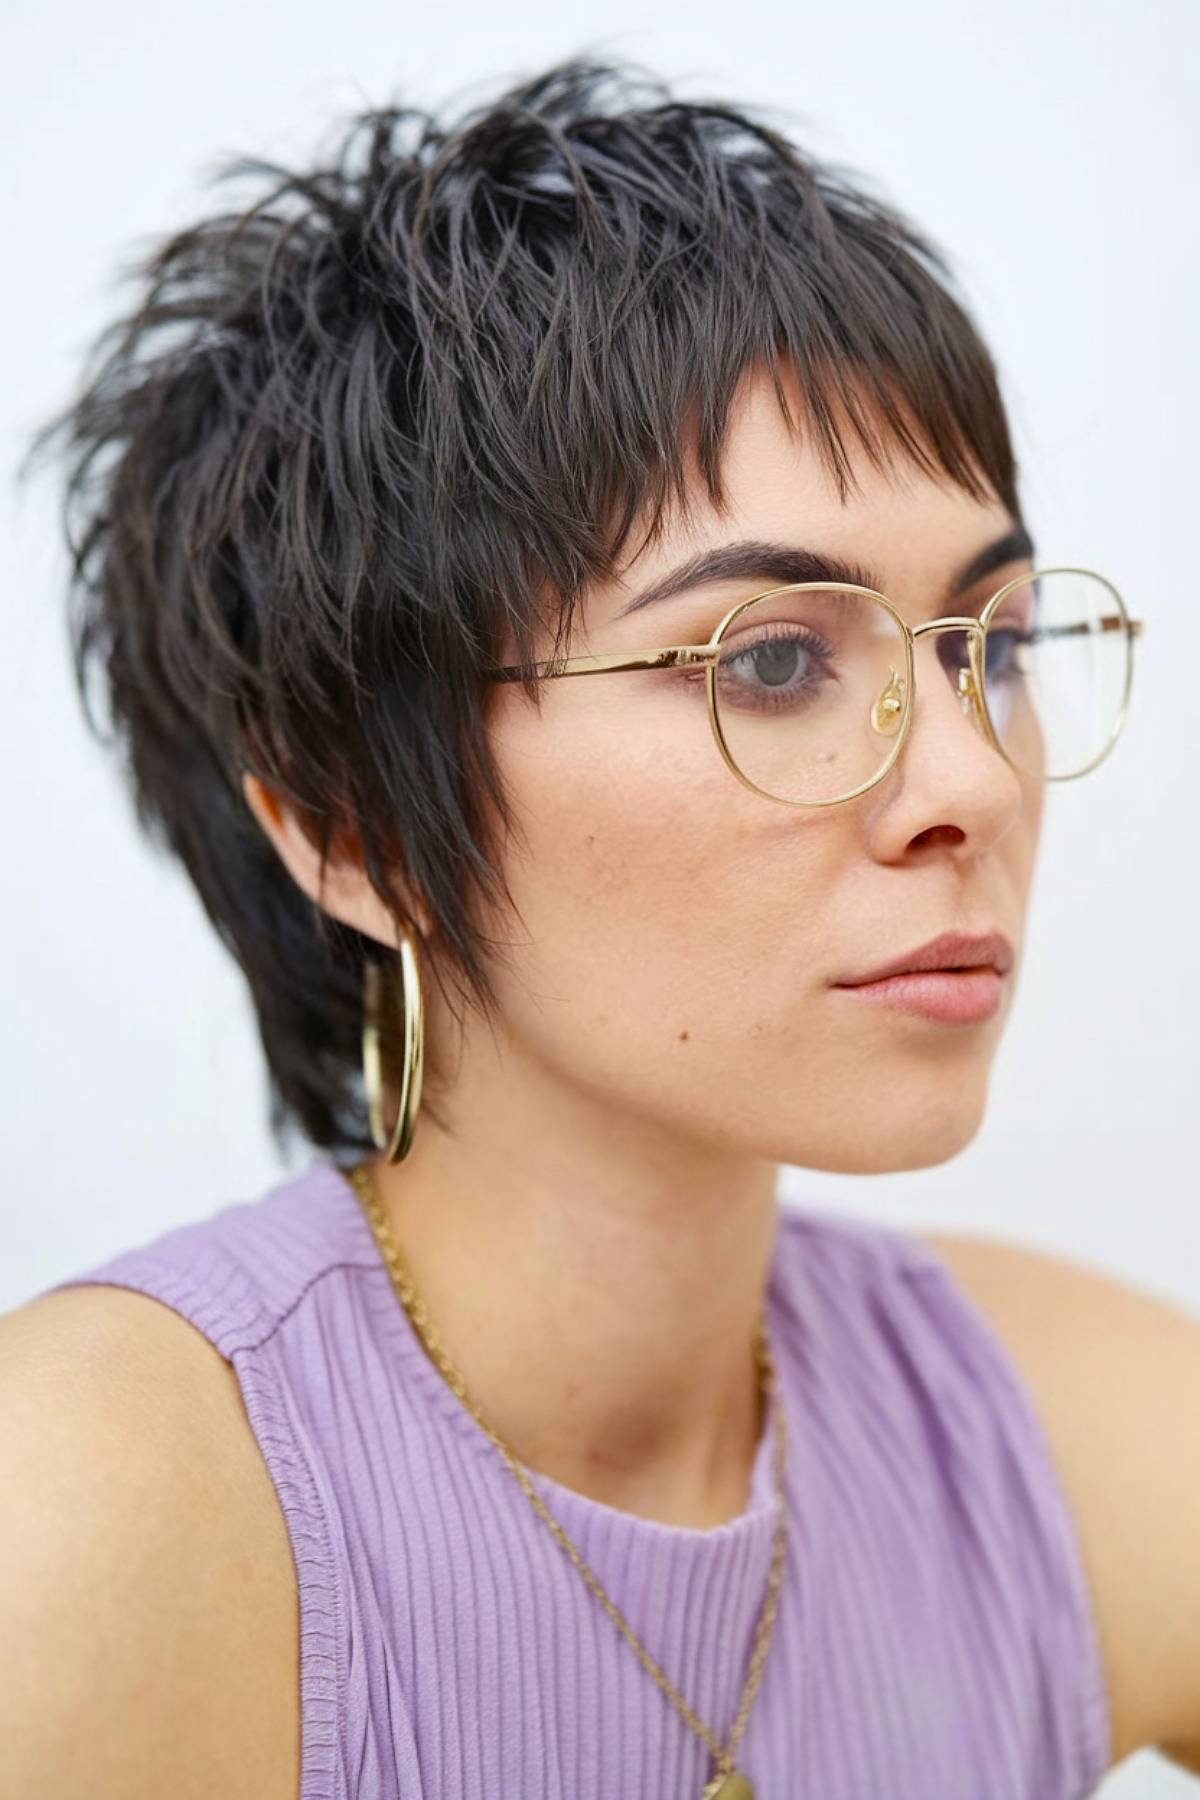
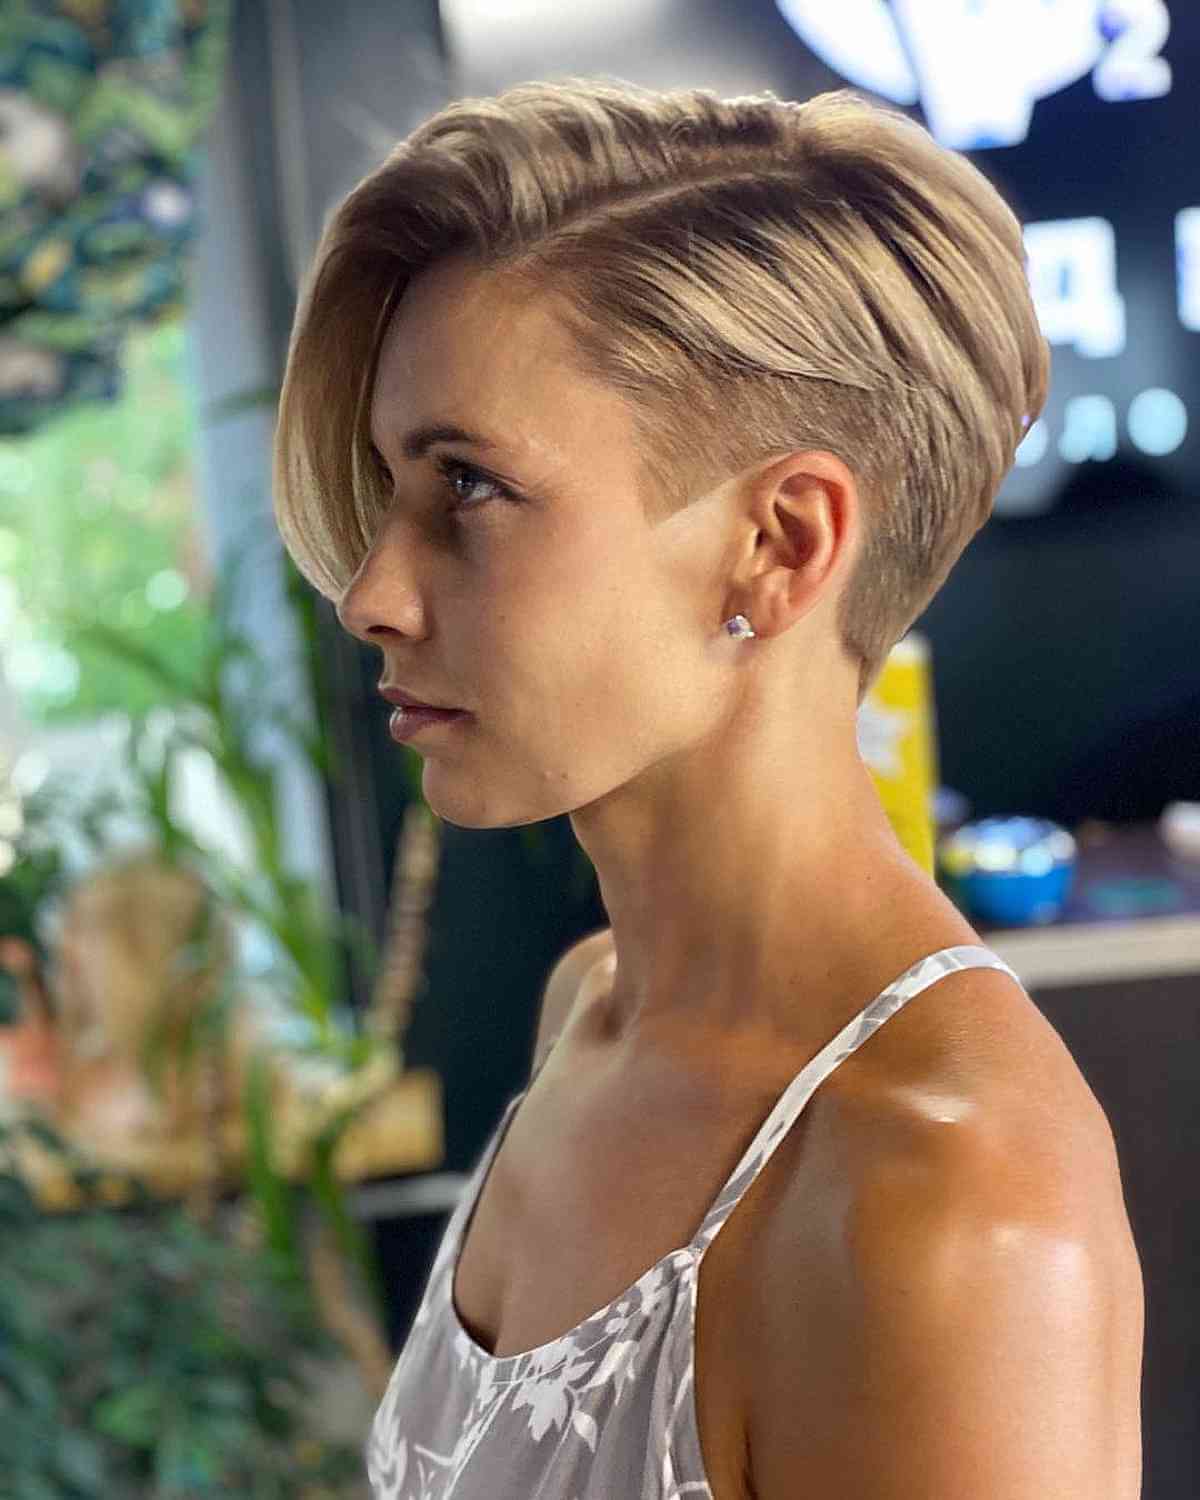
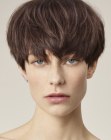
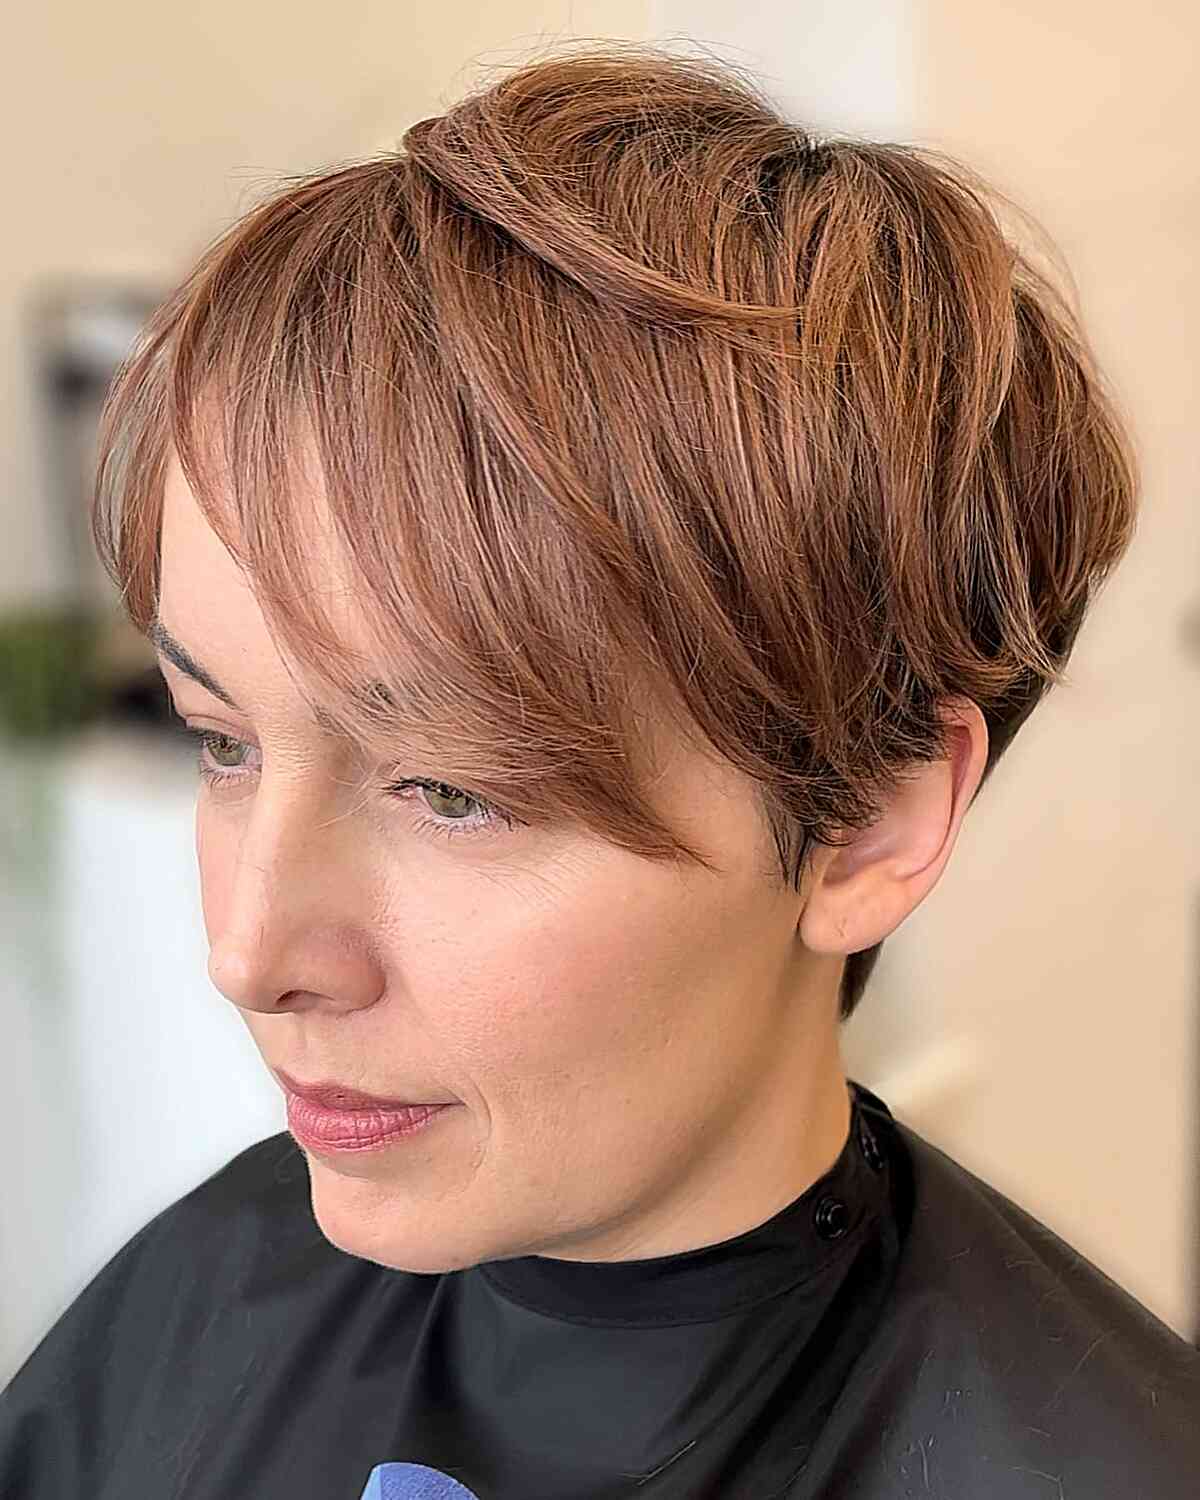
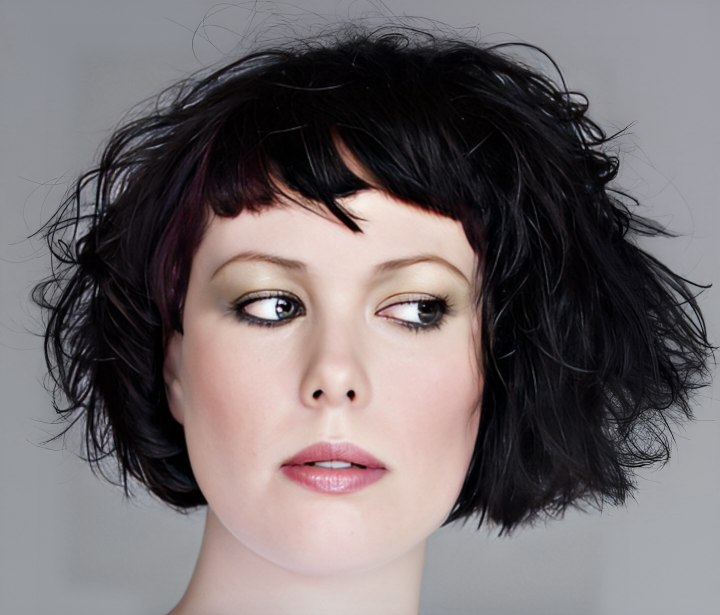
“The Step” – A Debbie Harry influenced timeless classic. Ageless in vibe. Powerful in technique and discipline. A simple classic short haircut that can be worn as simple as you wish or can be turned up to be as rock and roll as you dare.

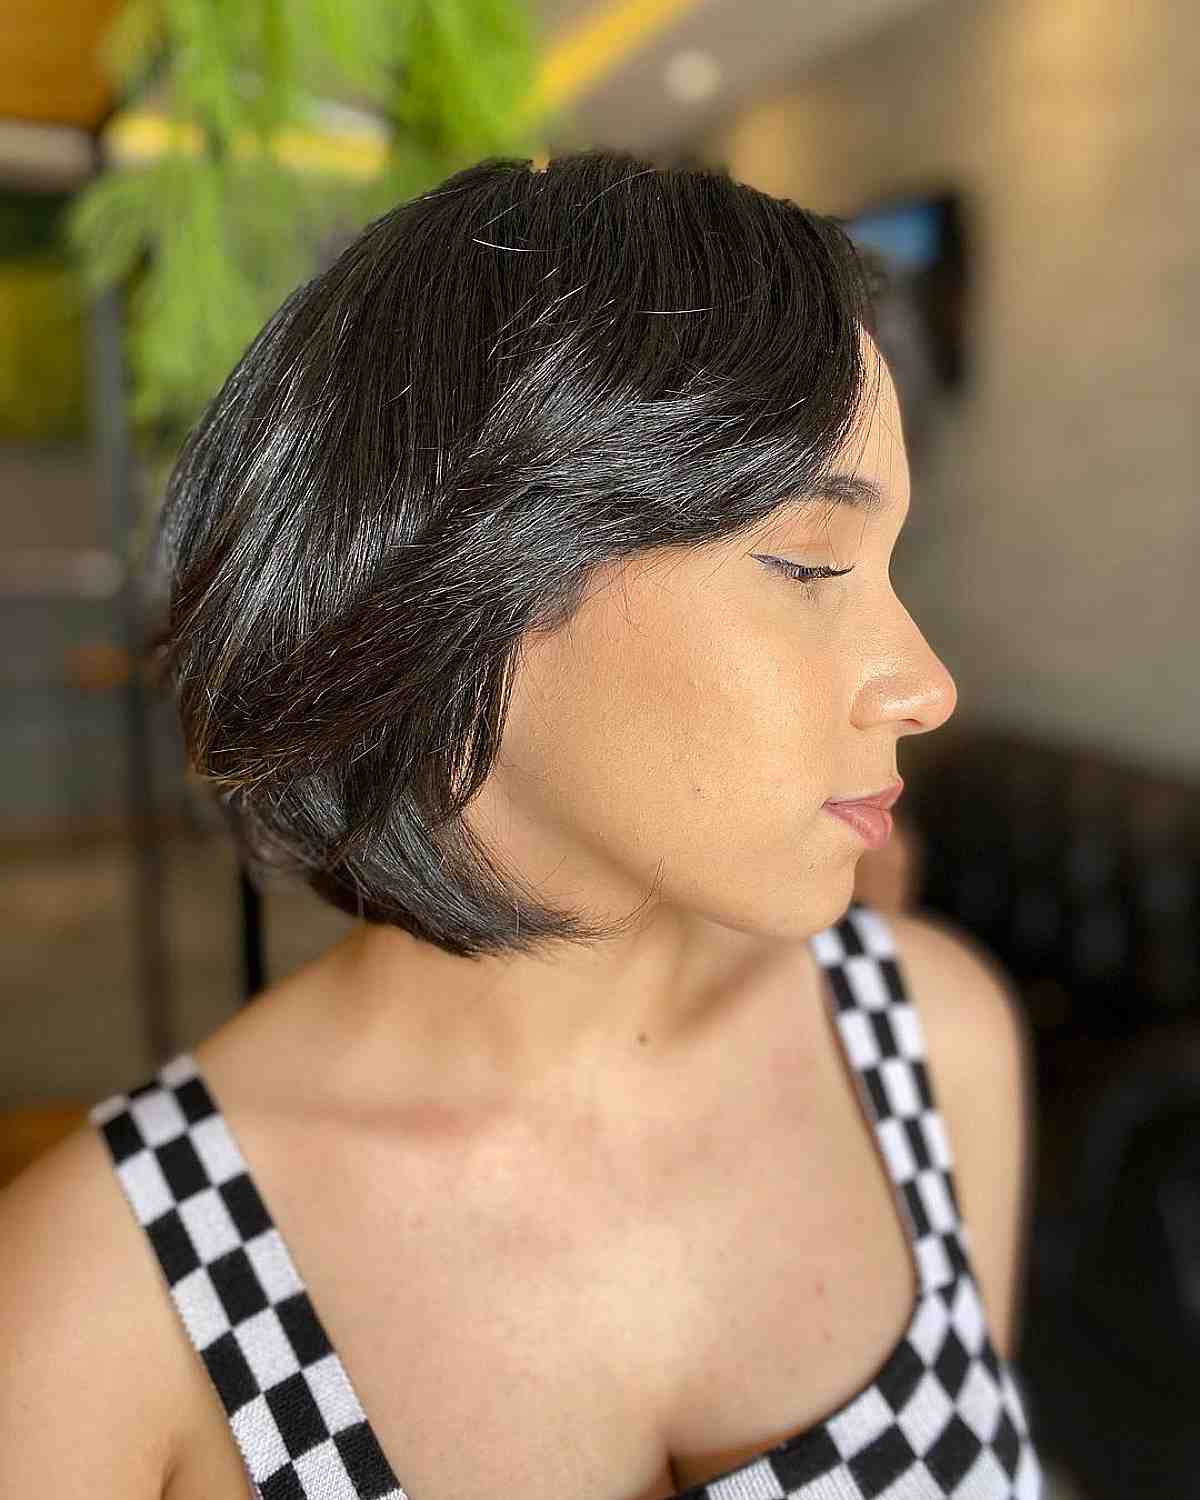
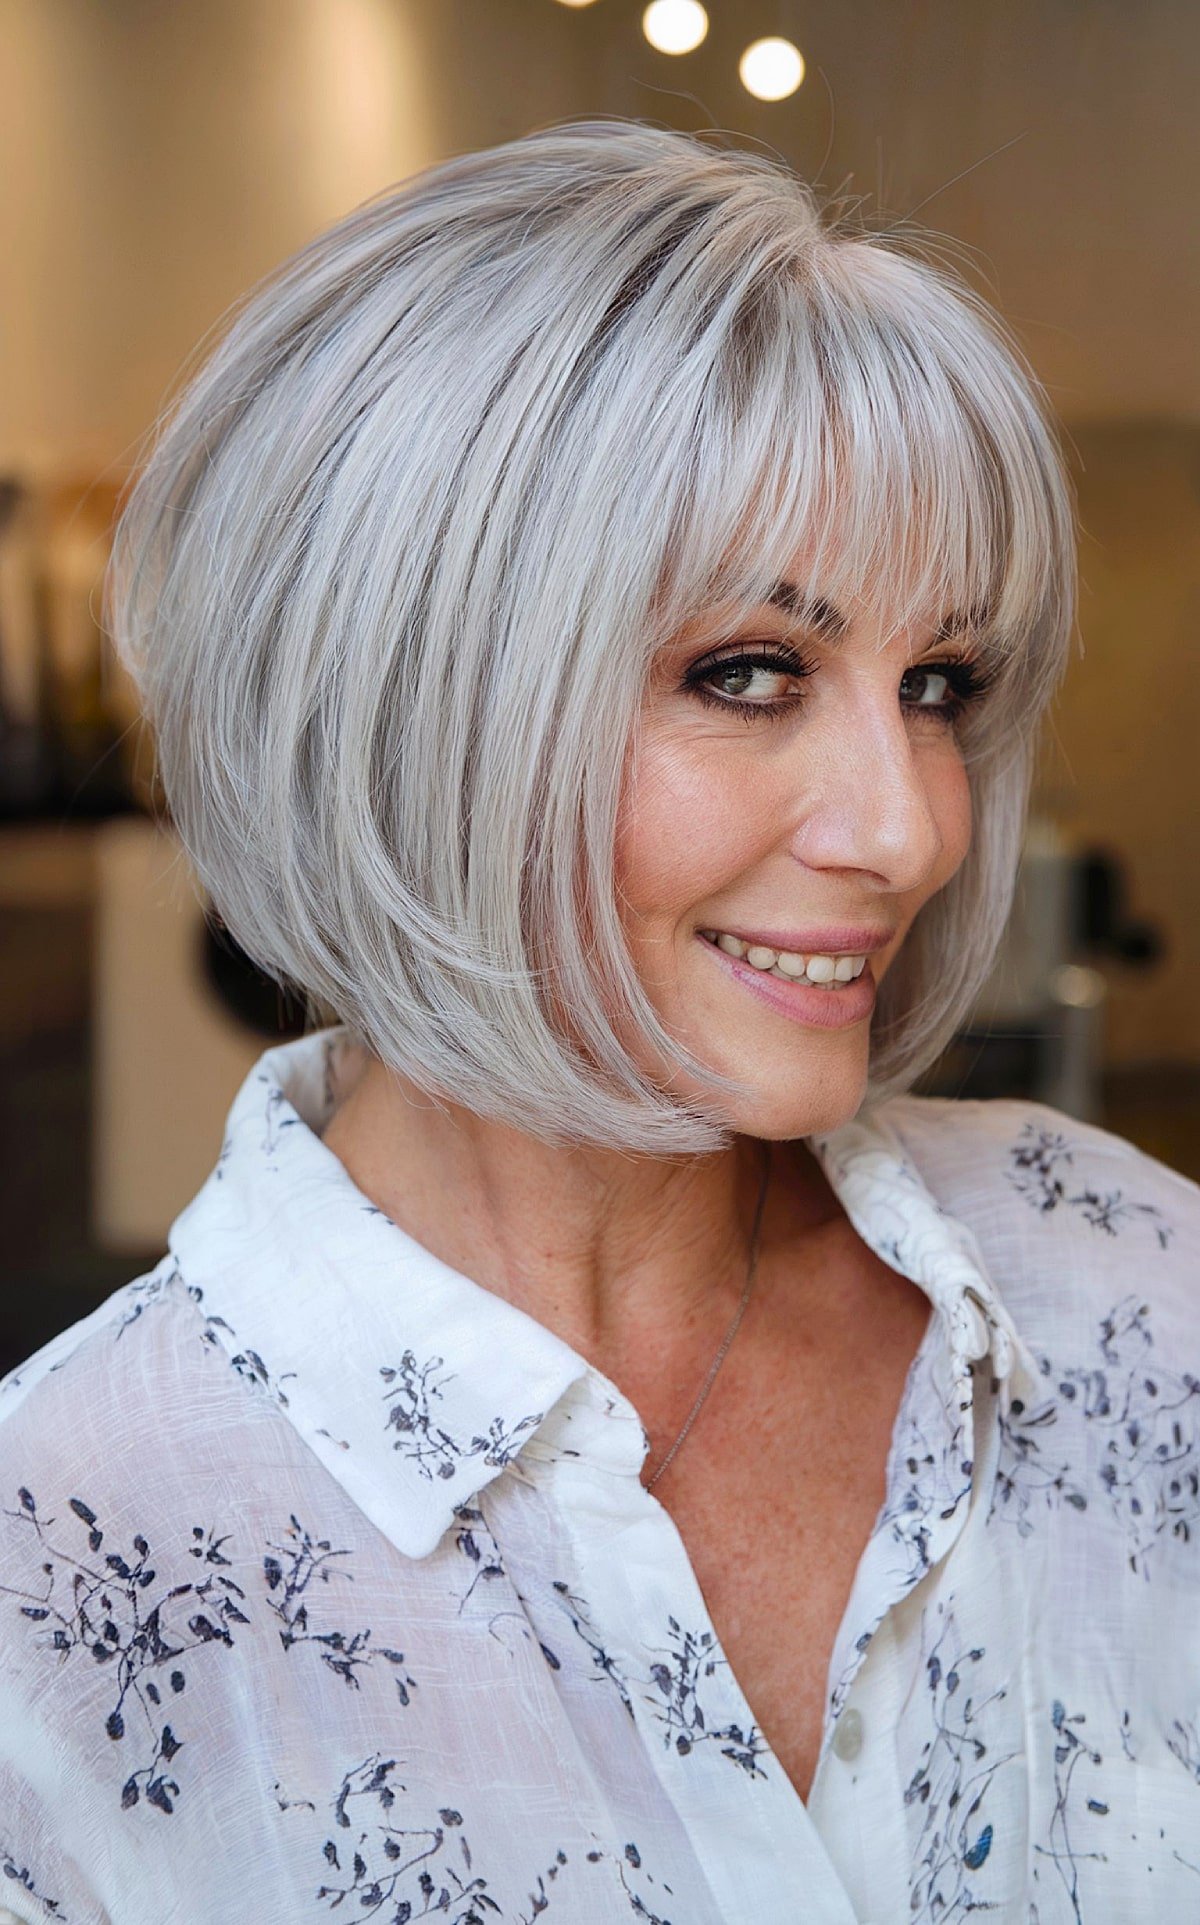
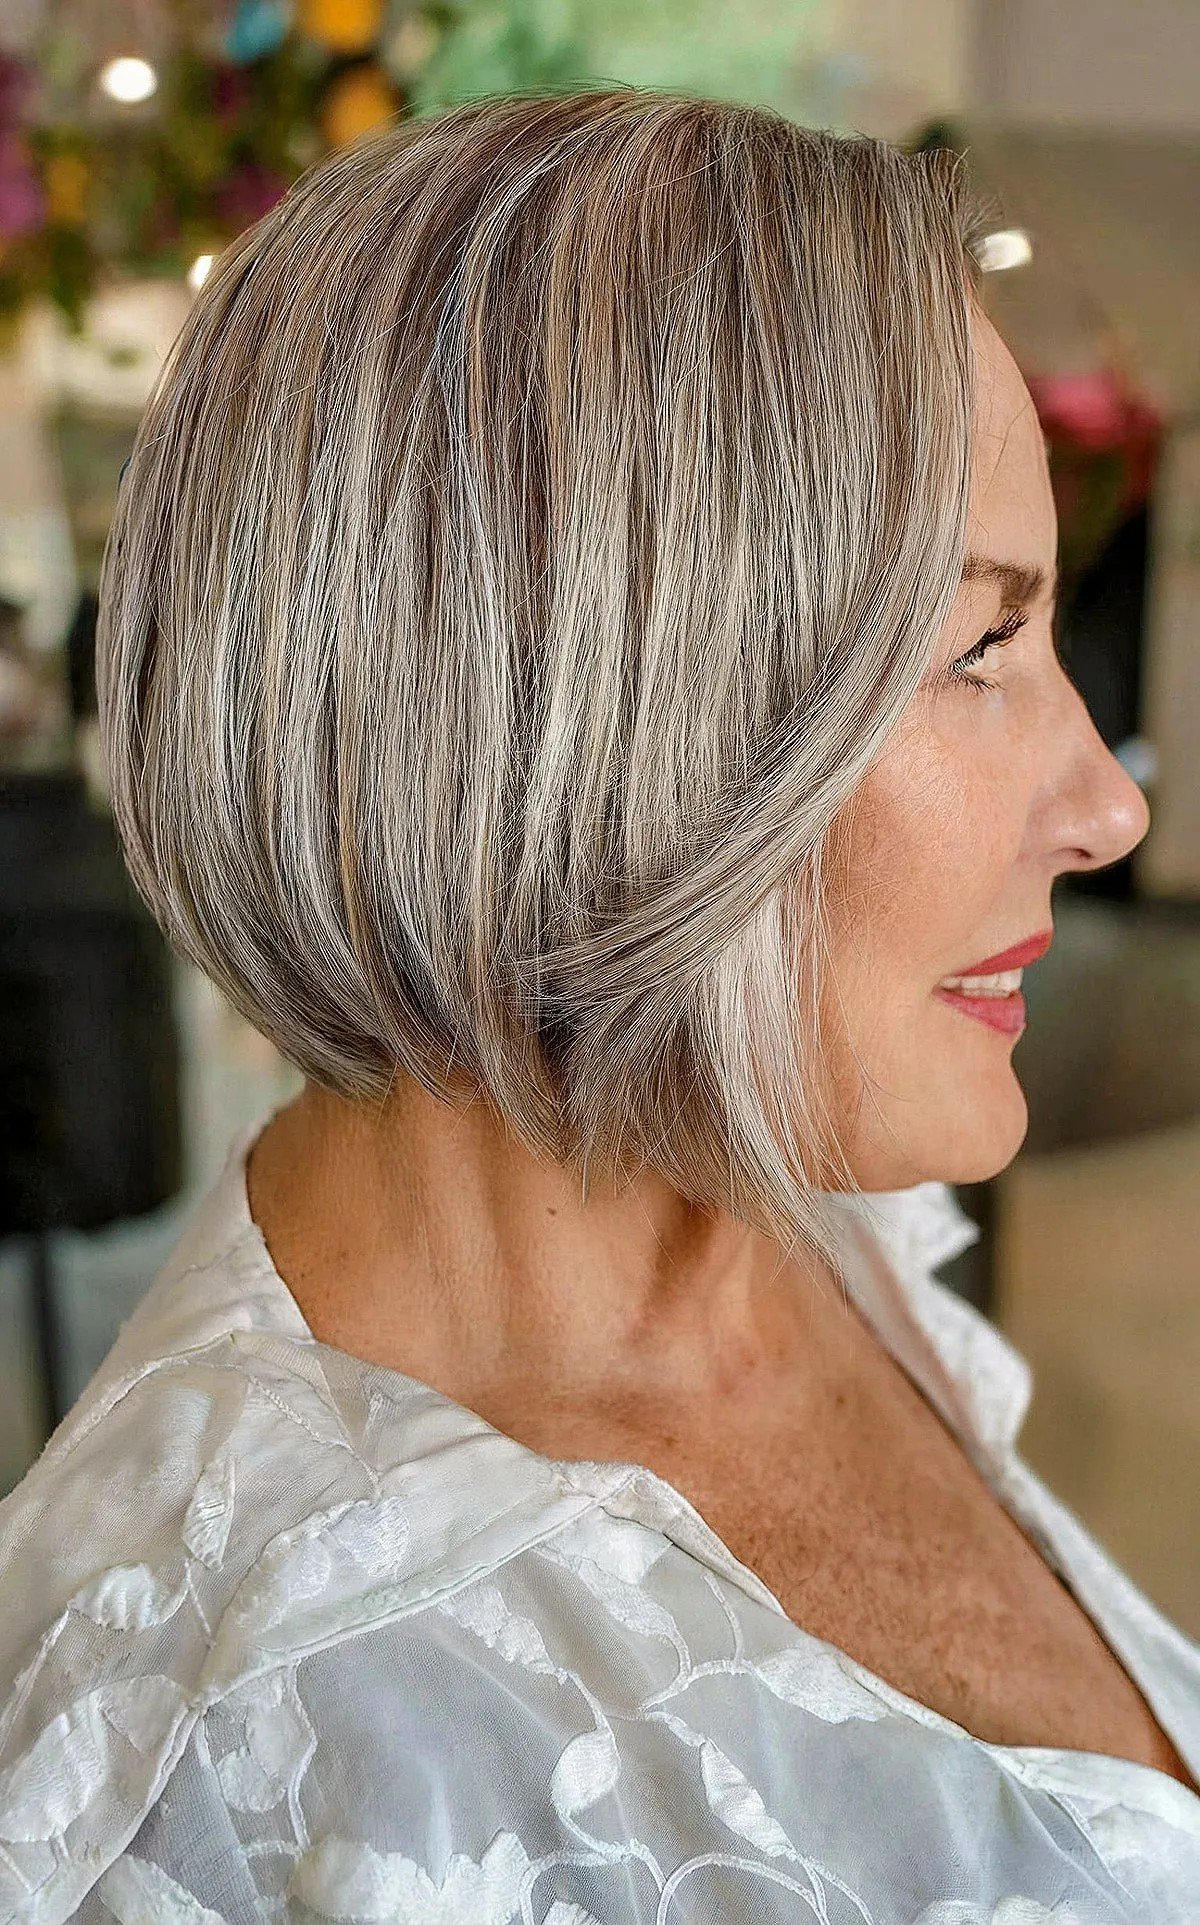
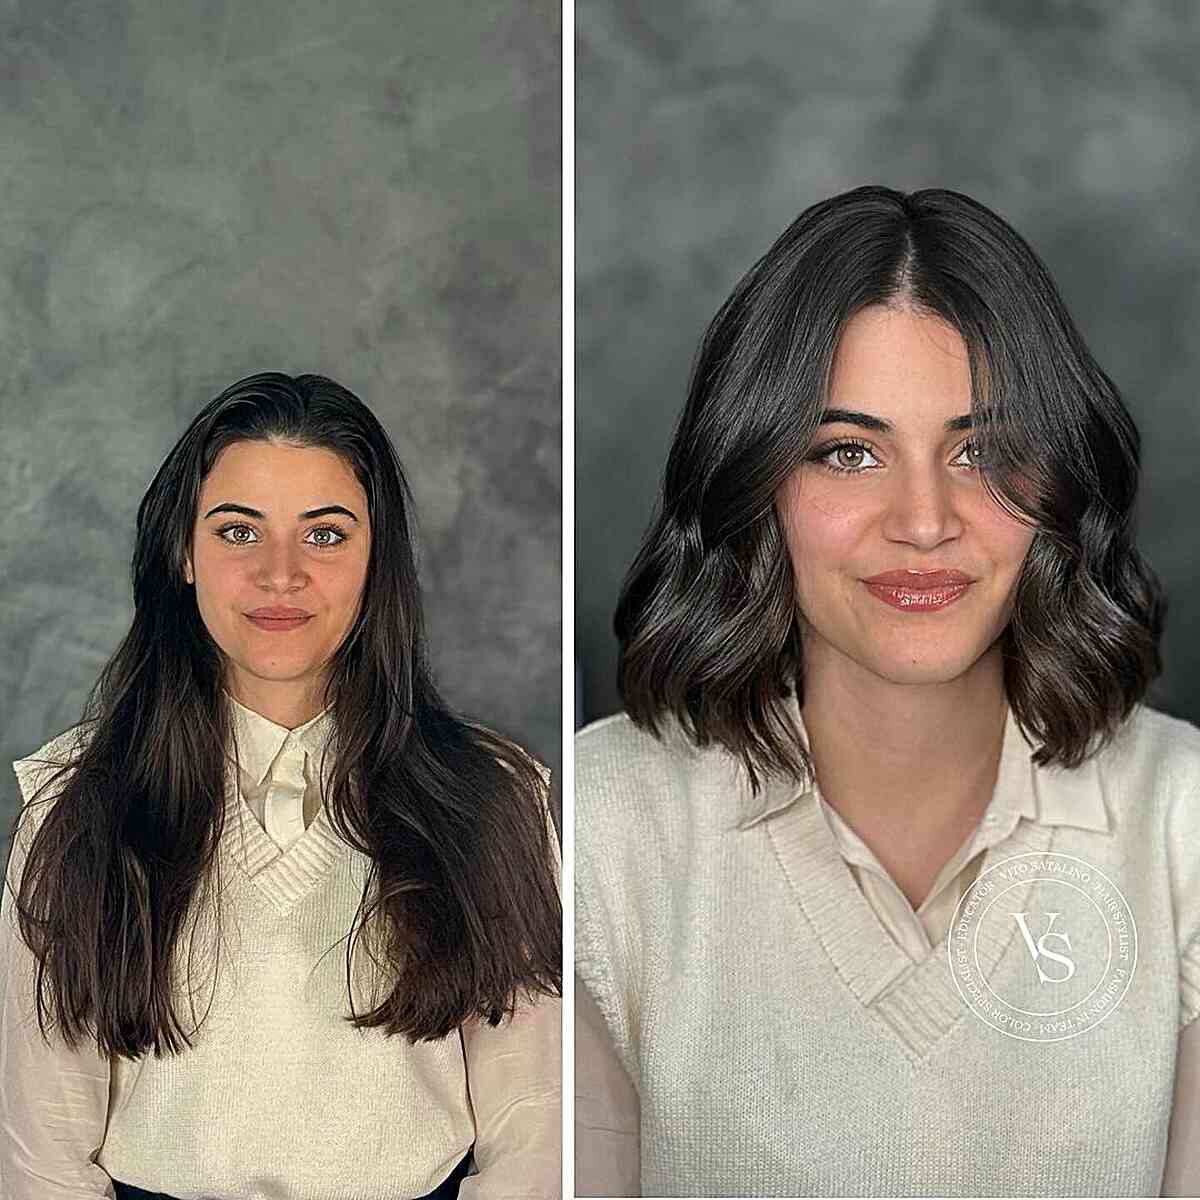
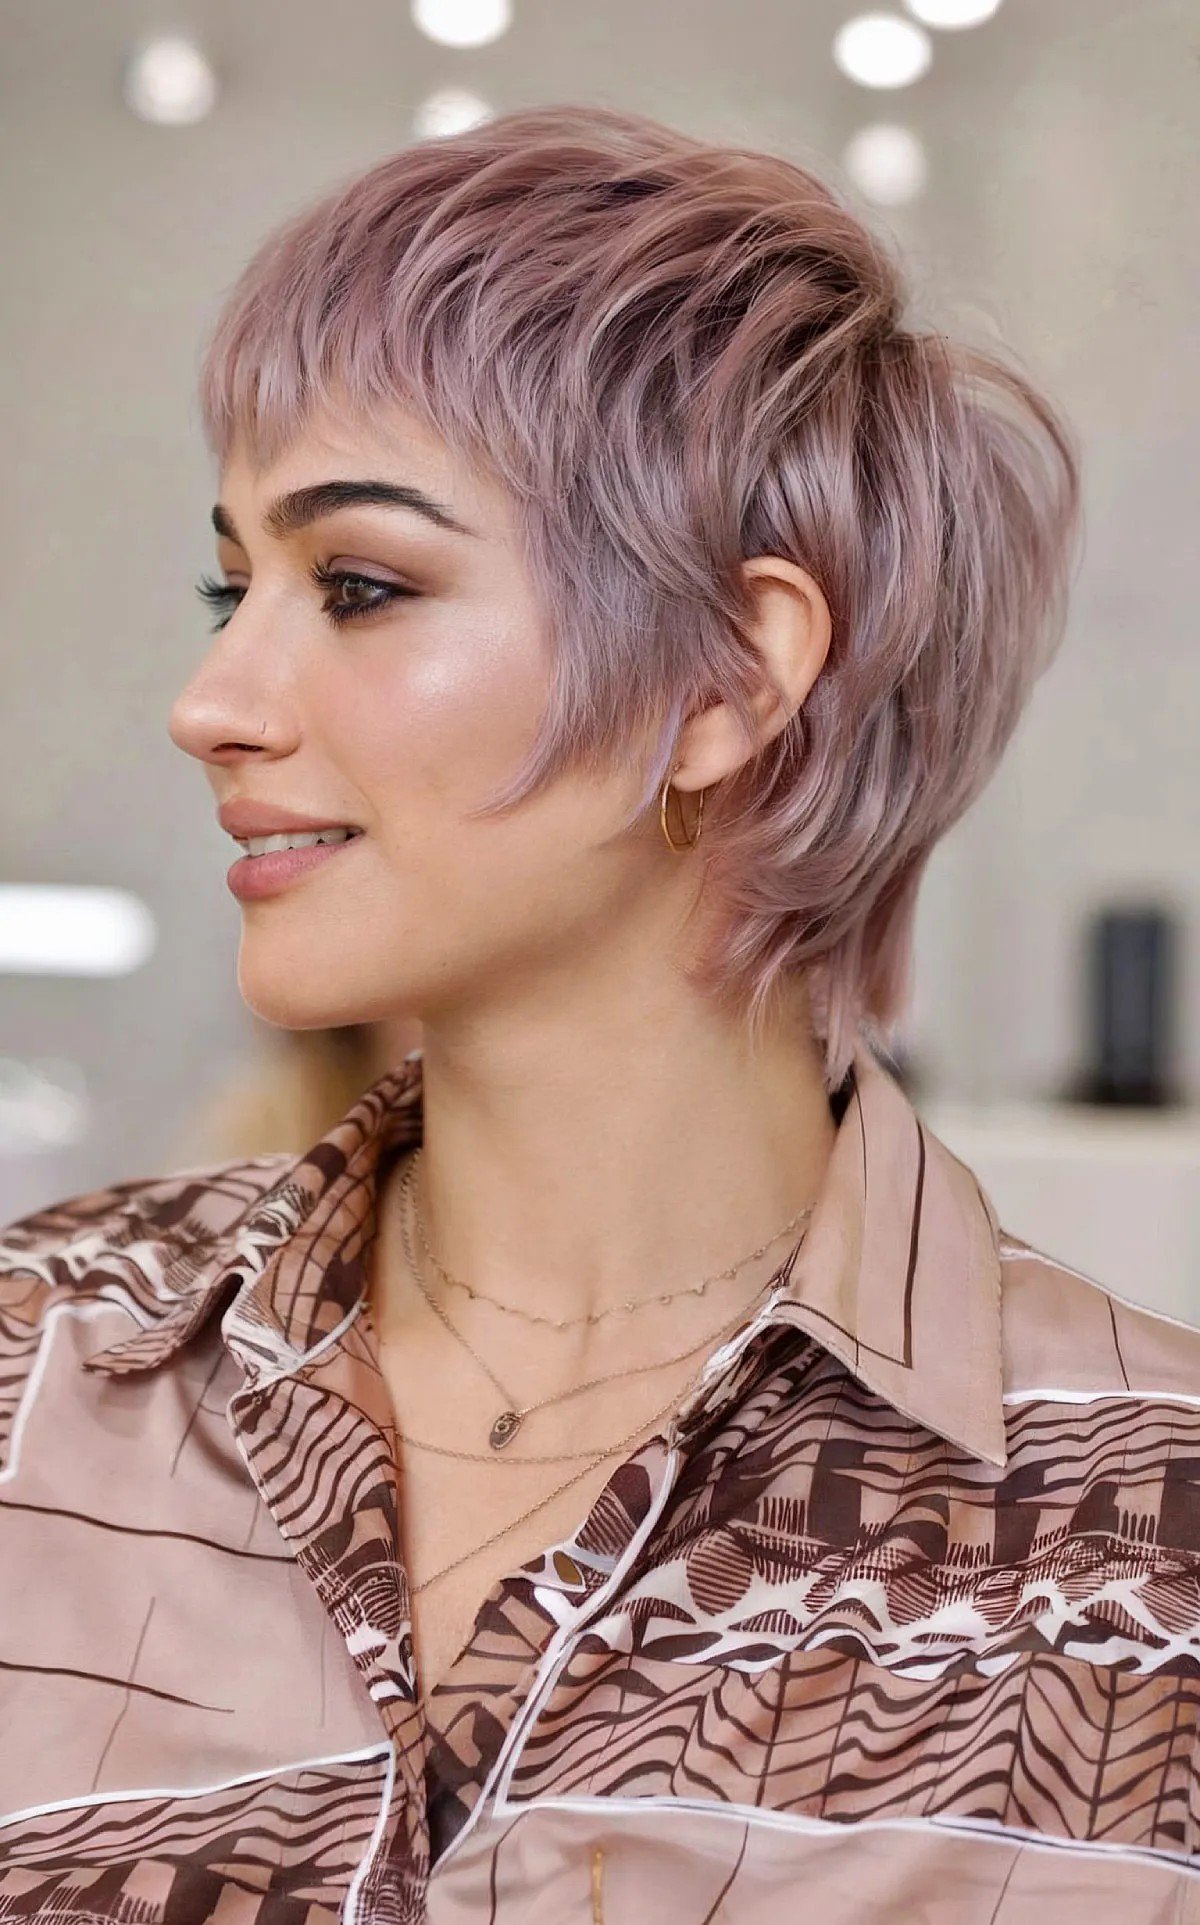
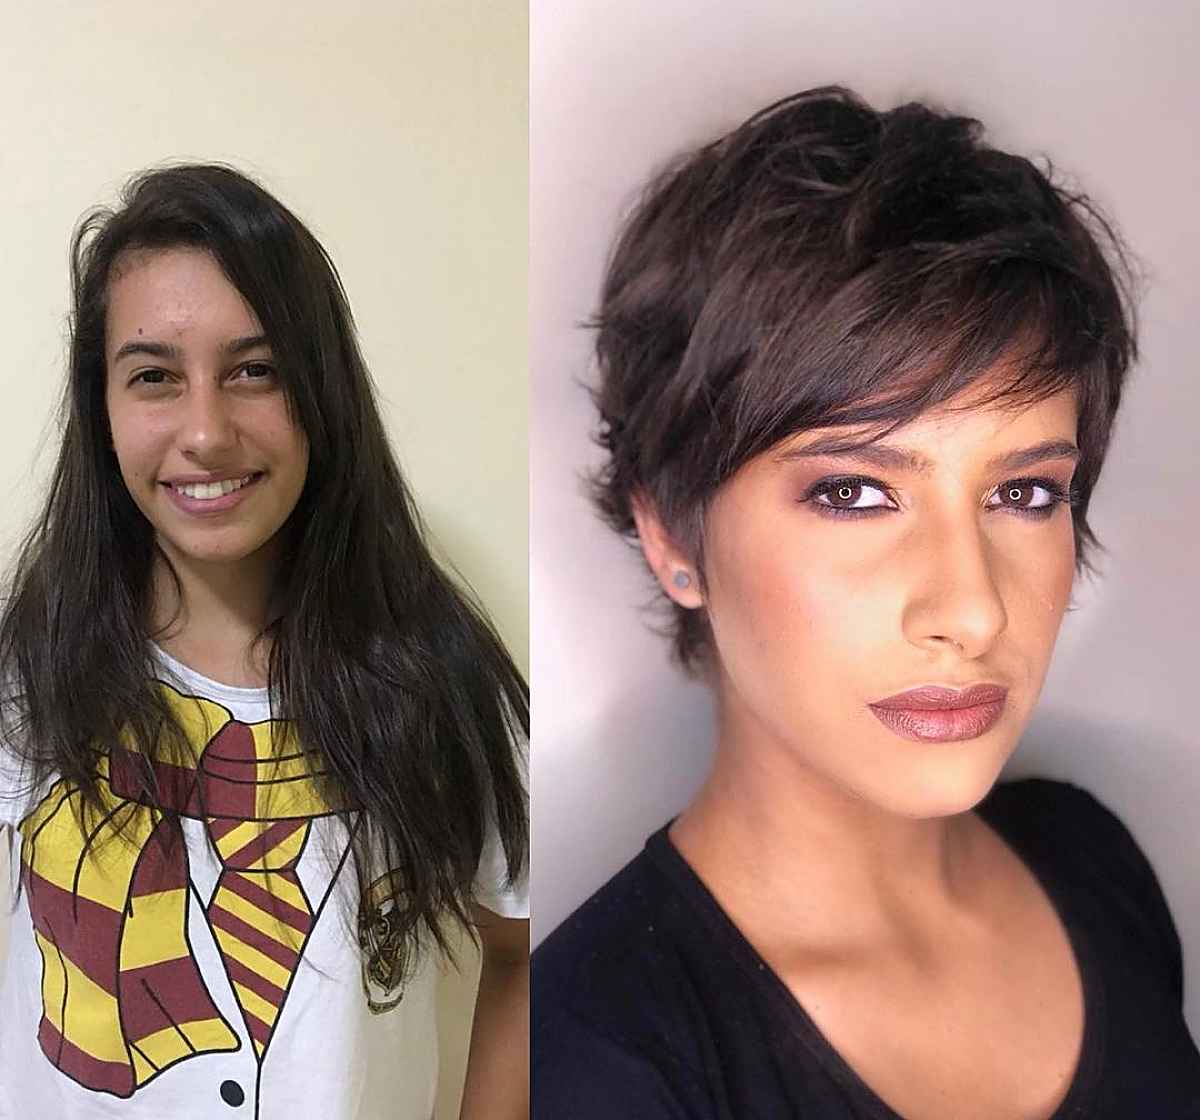
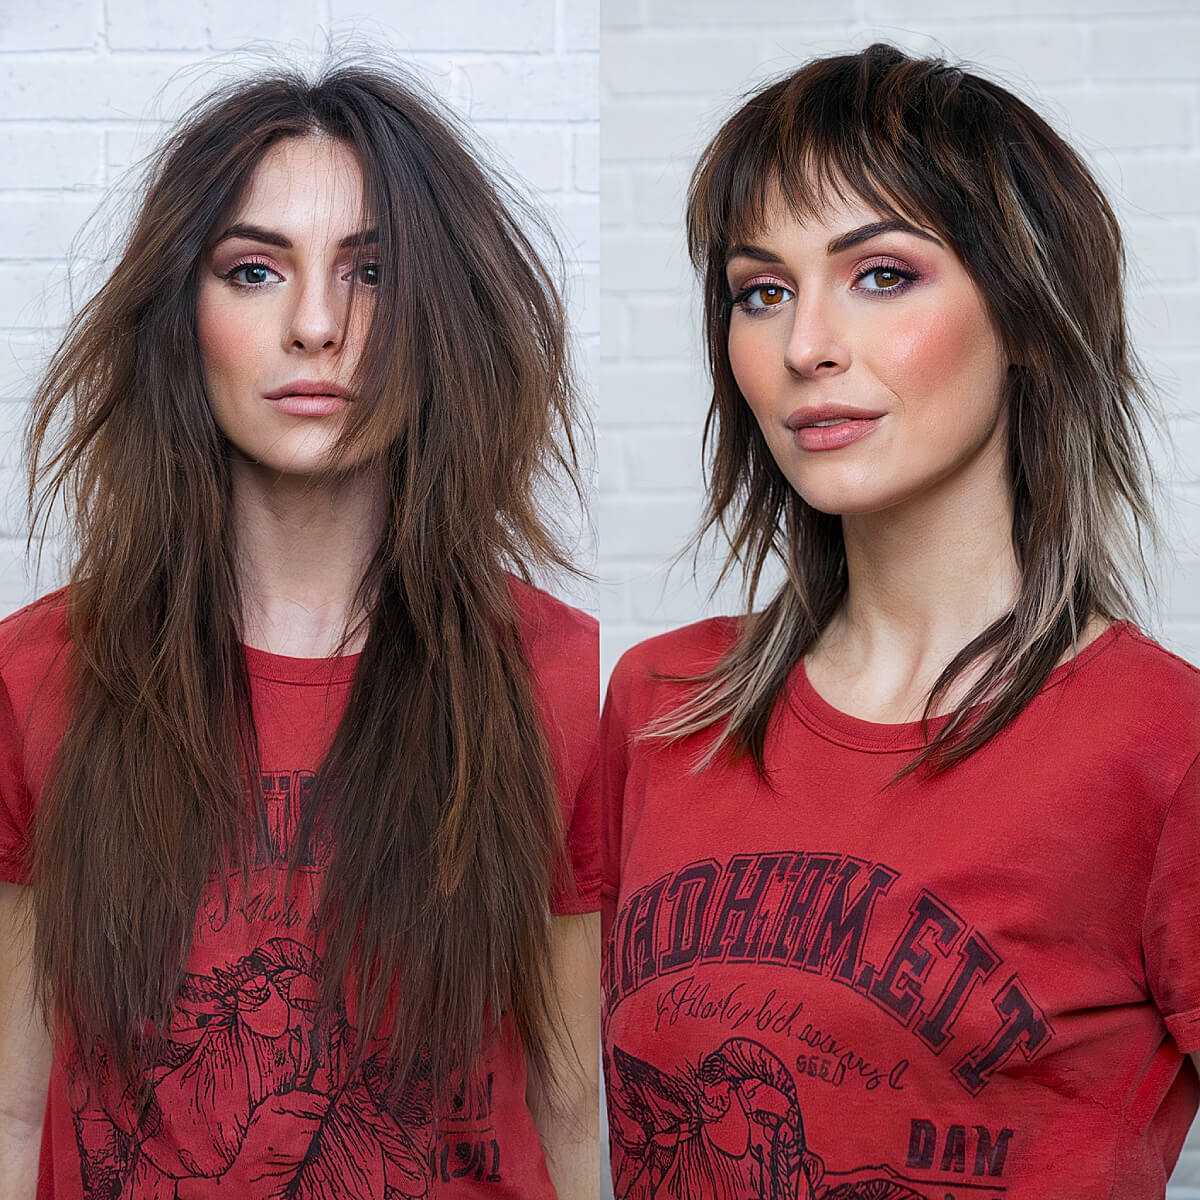
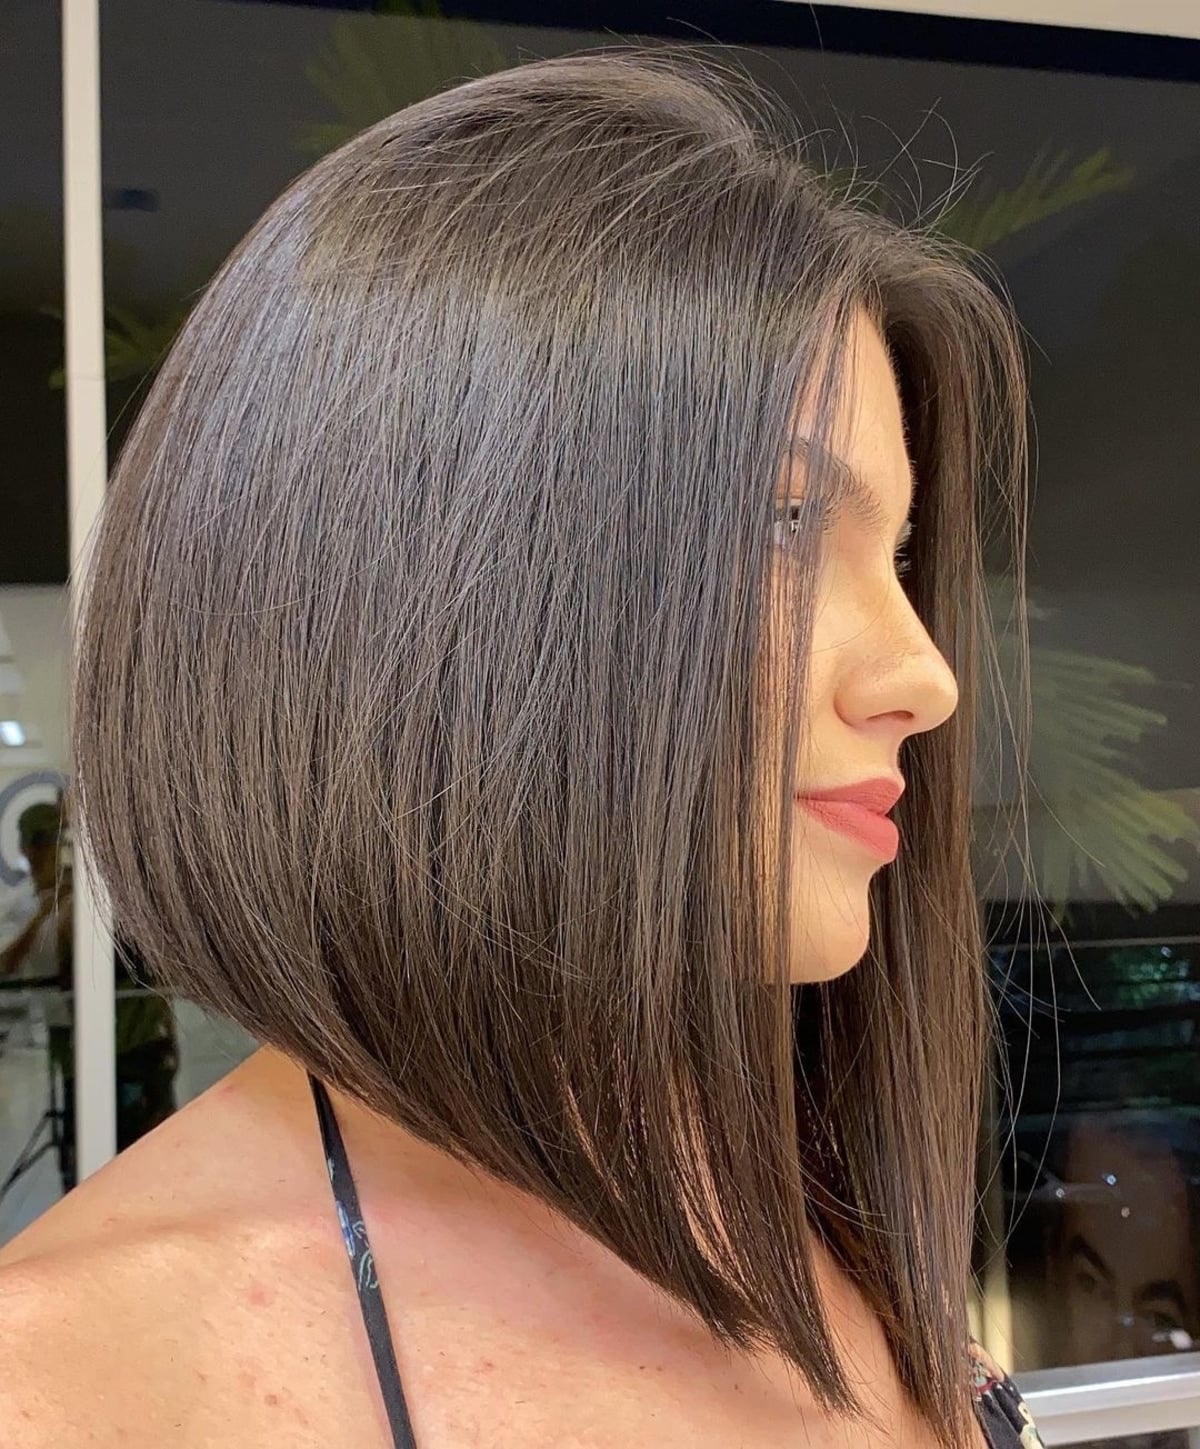
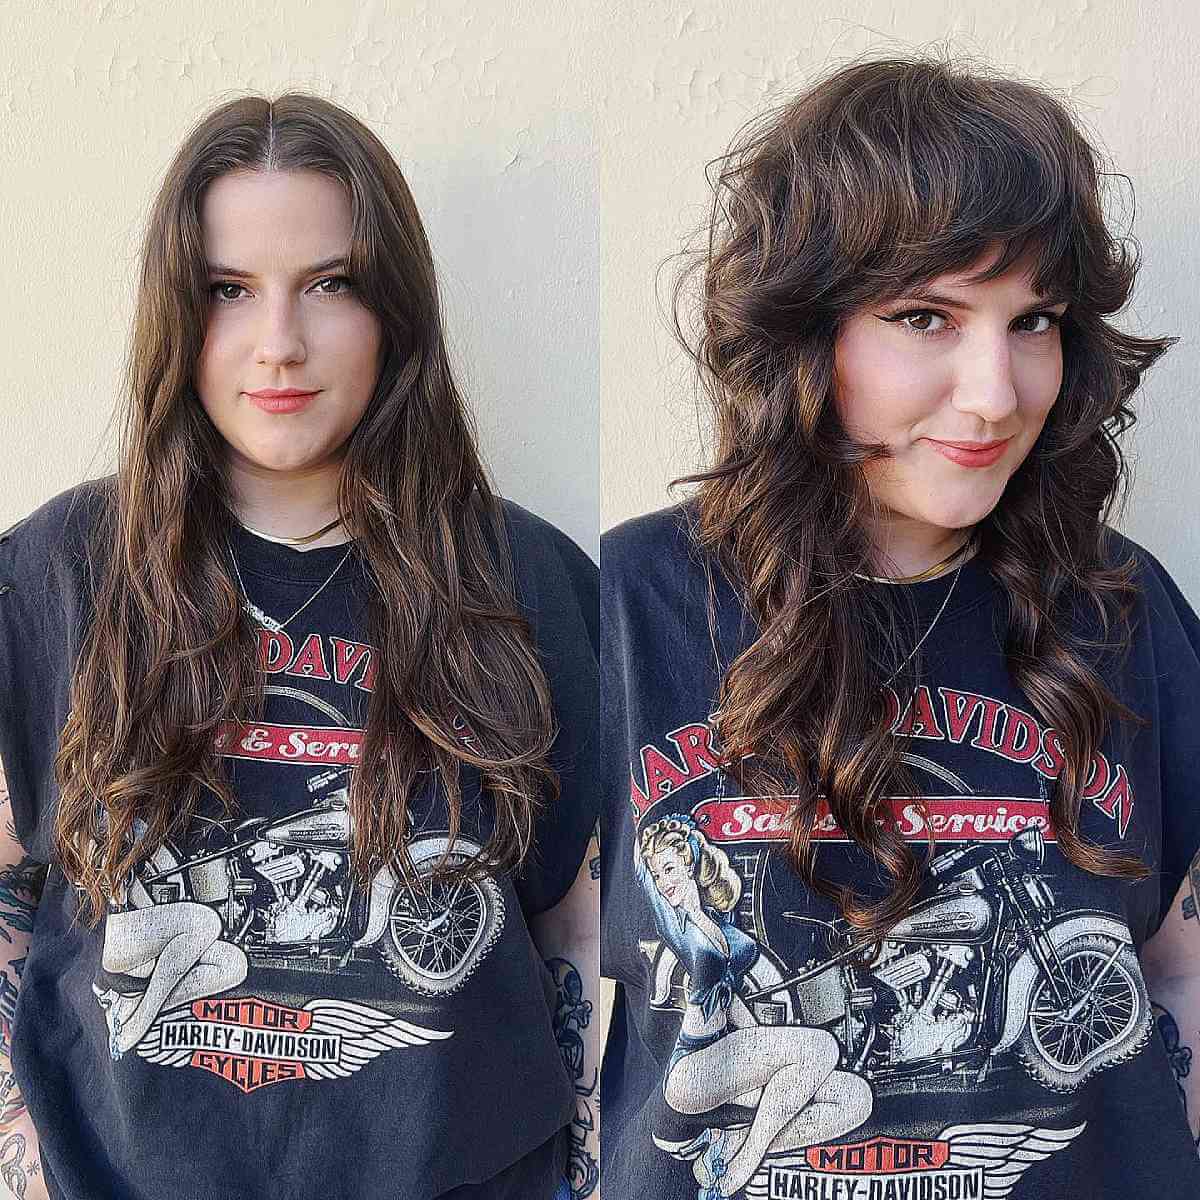
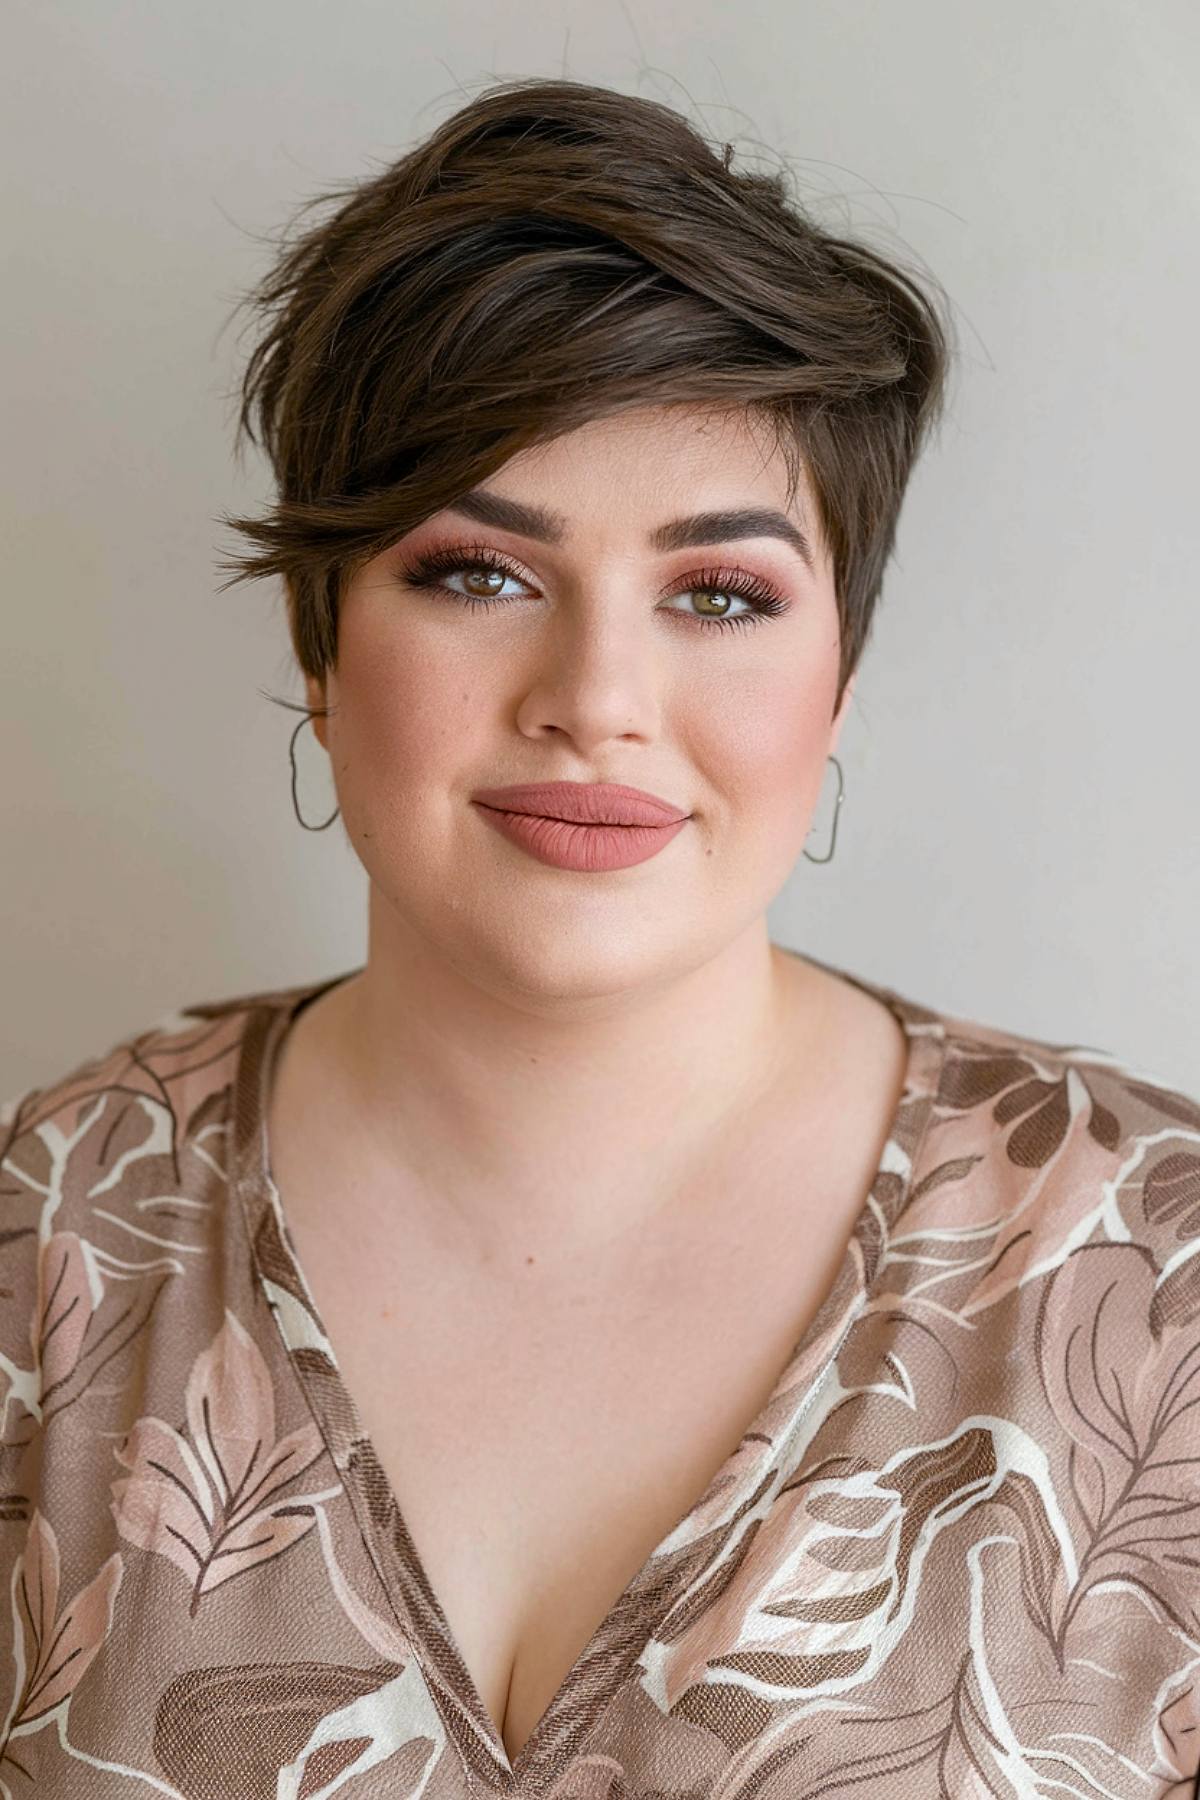
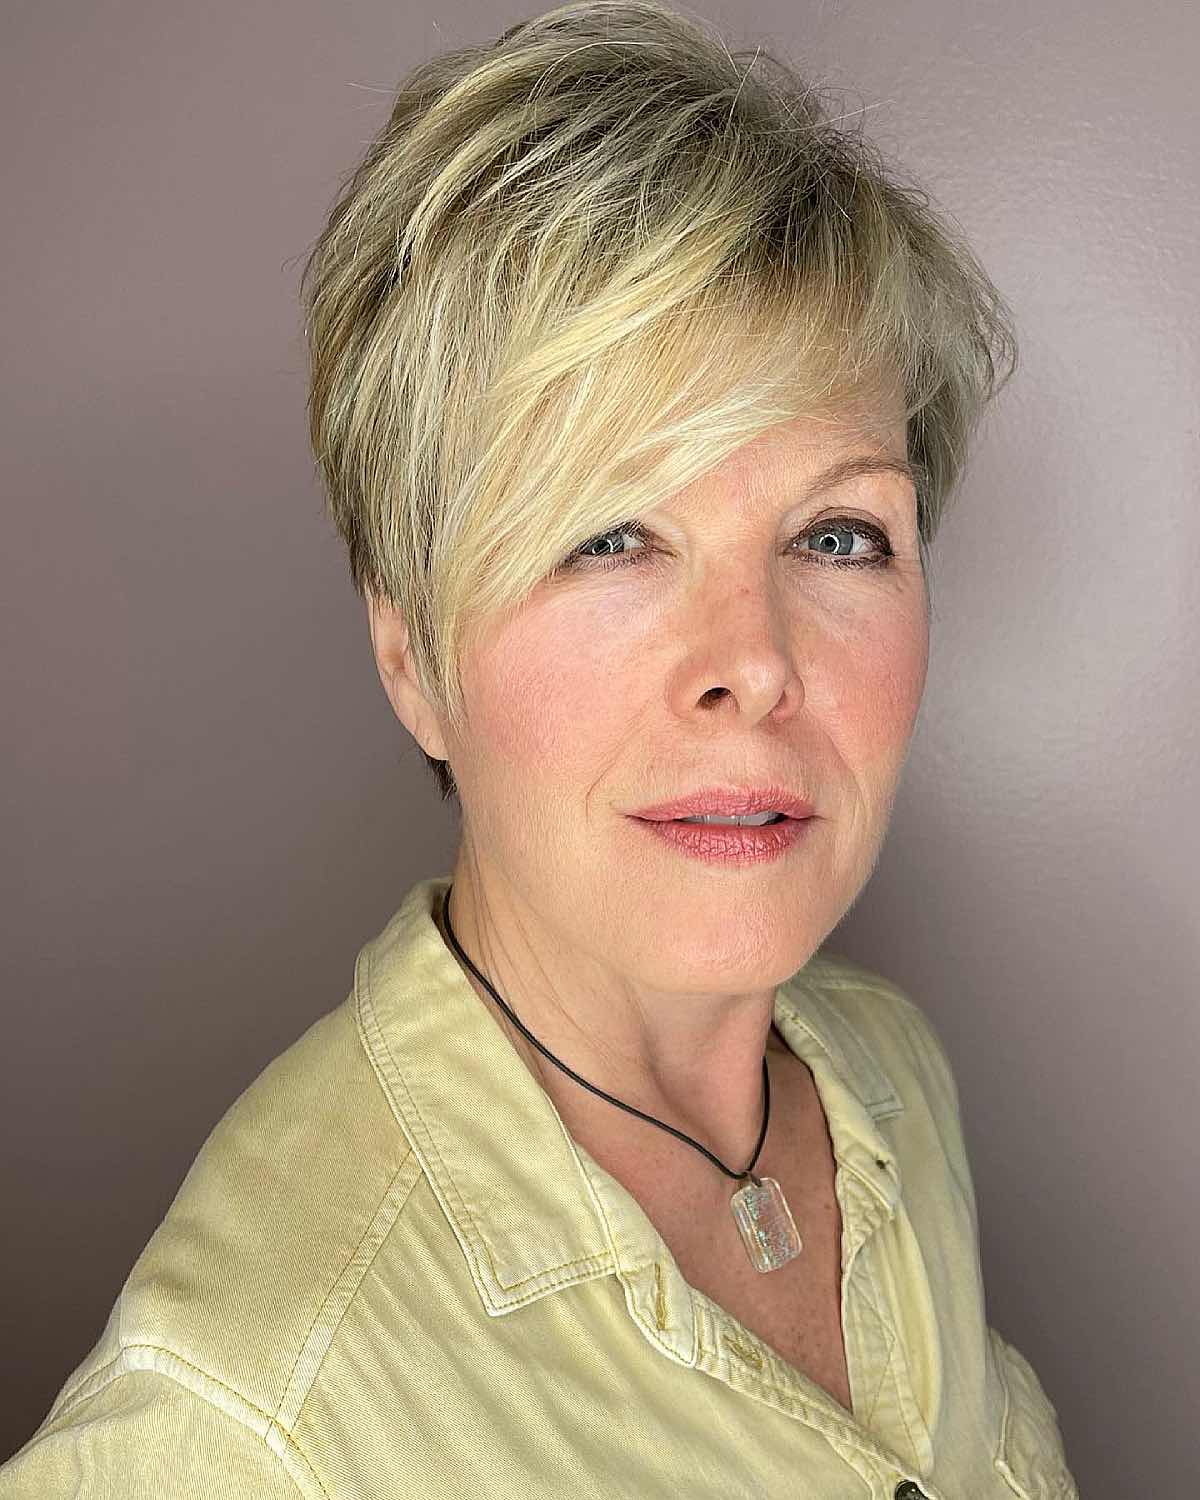
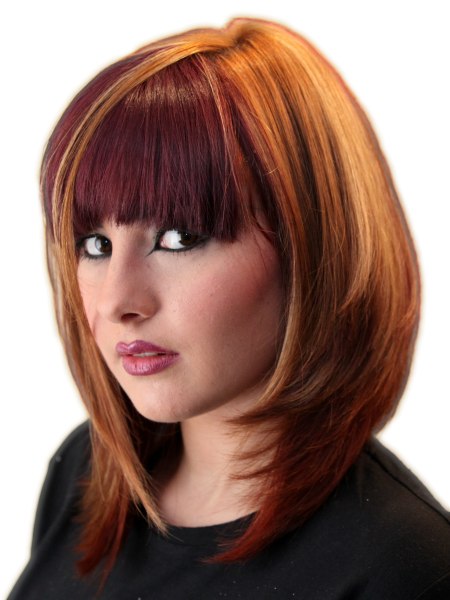
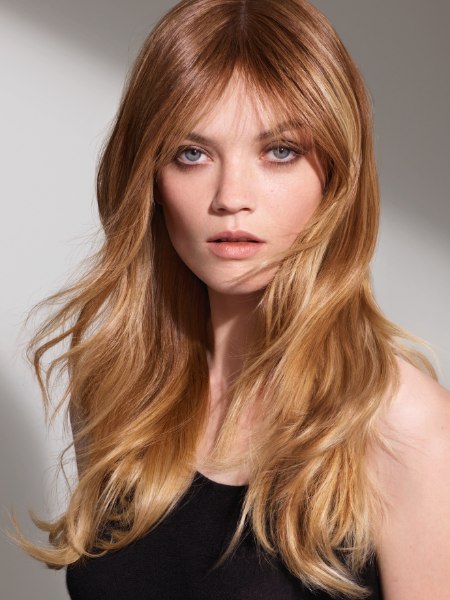
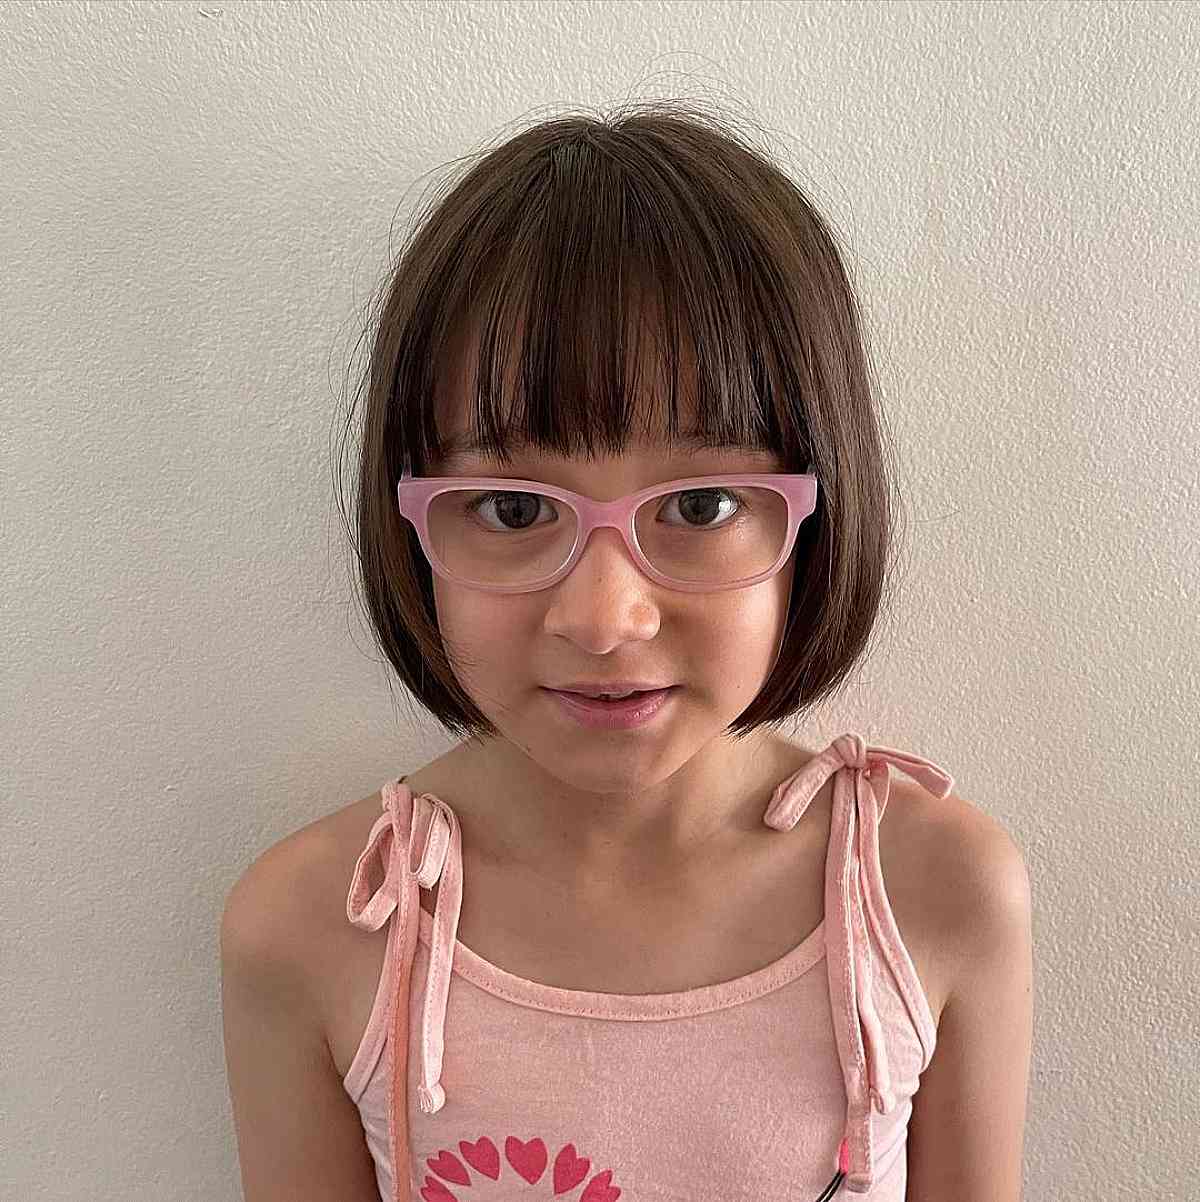
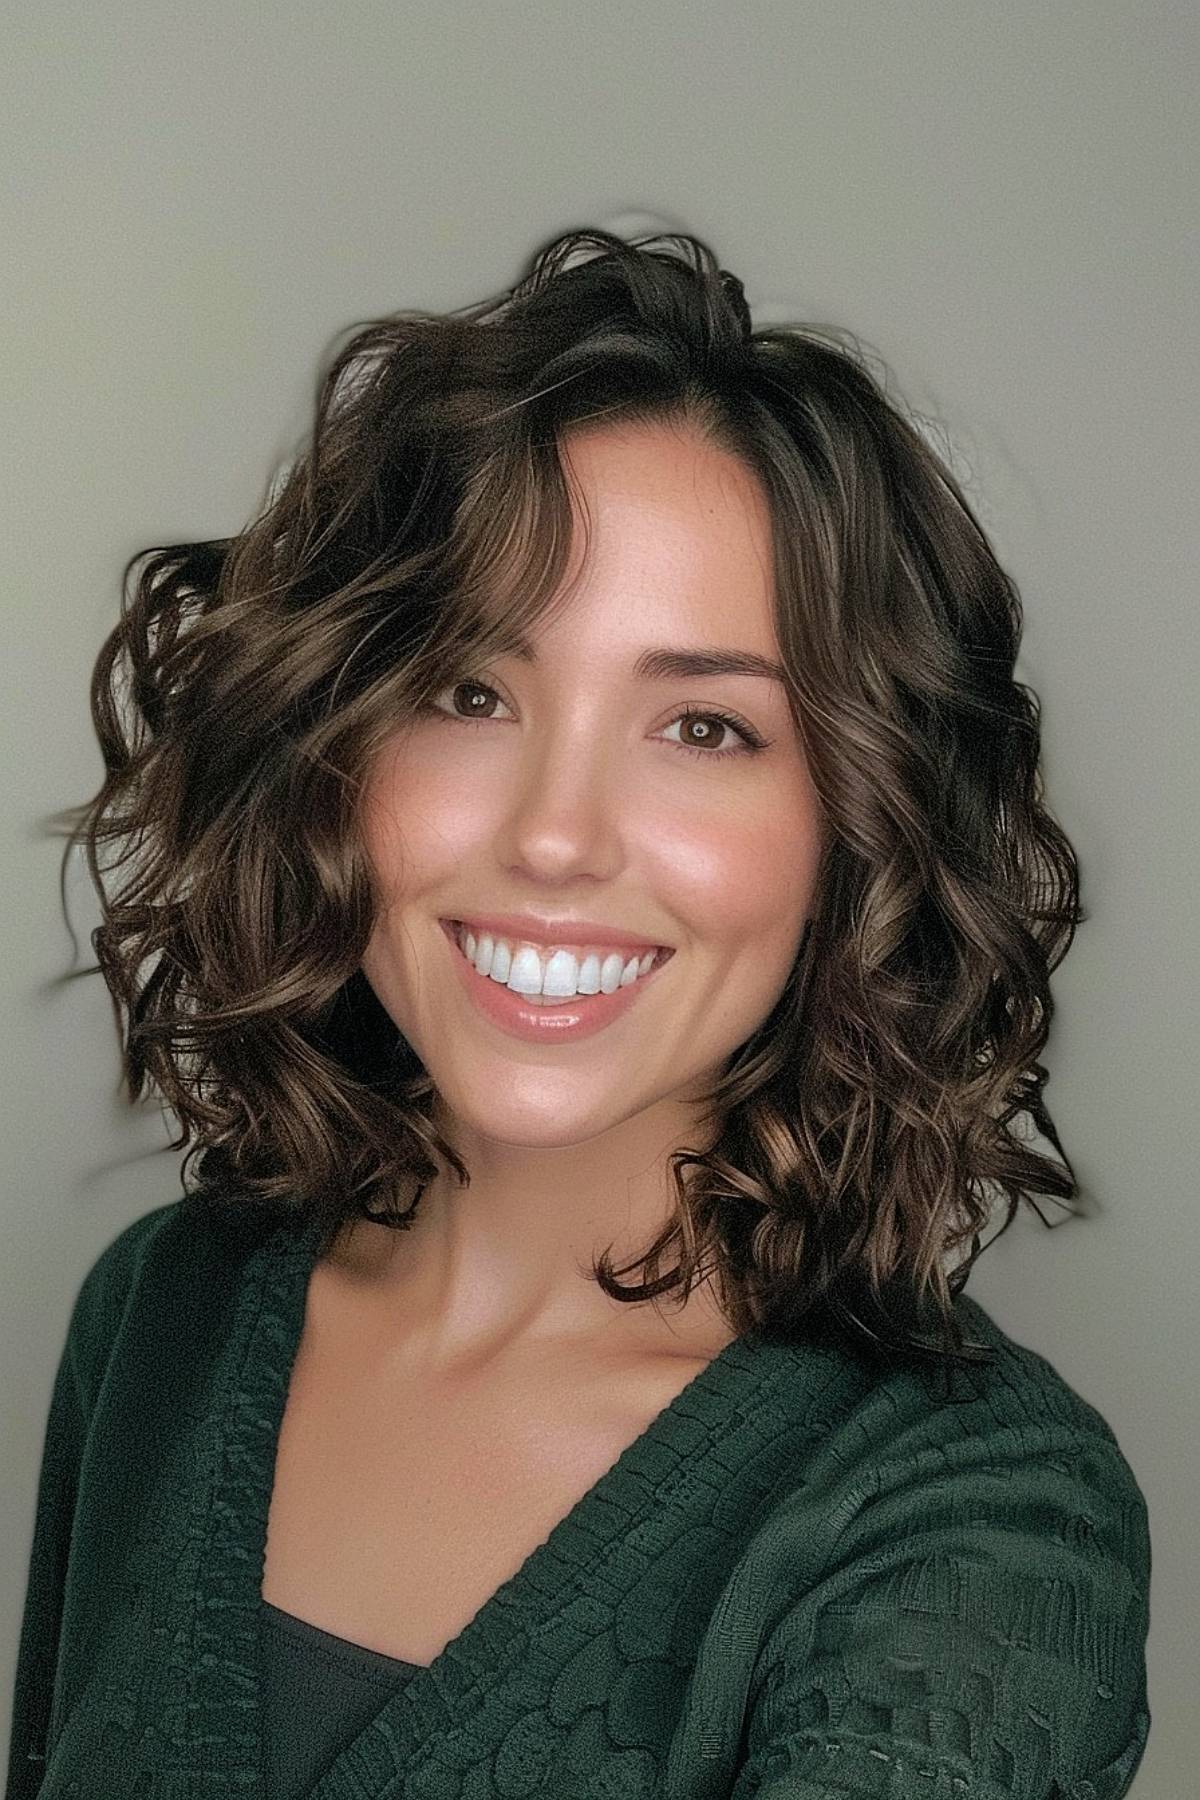
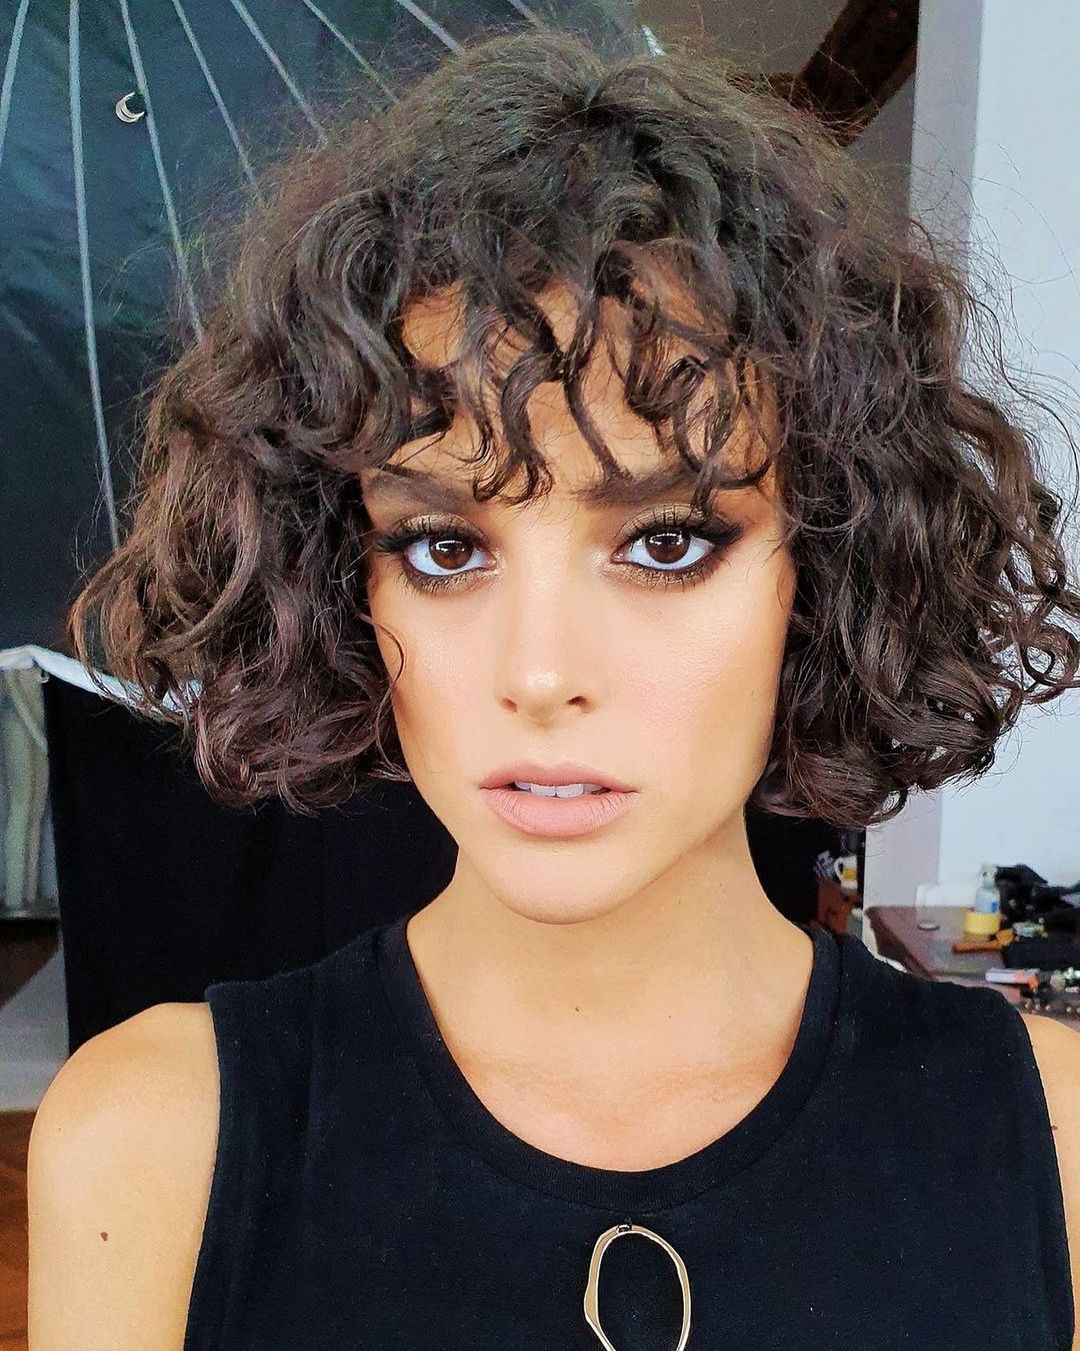
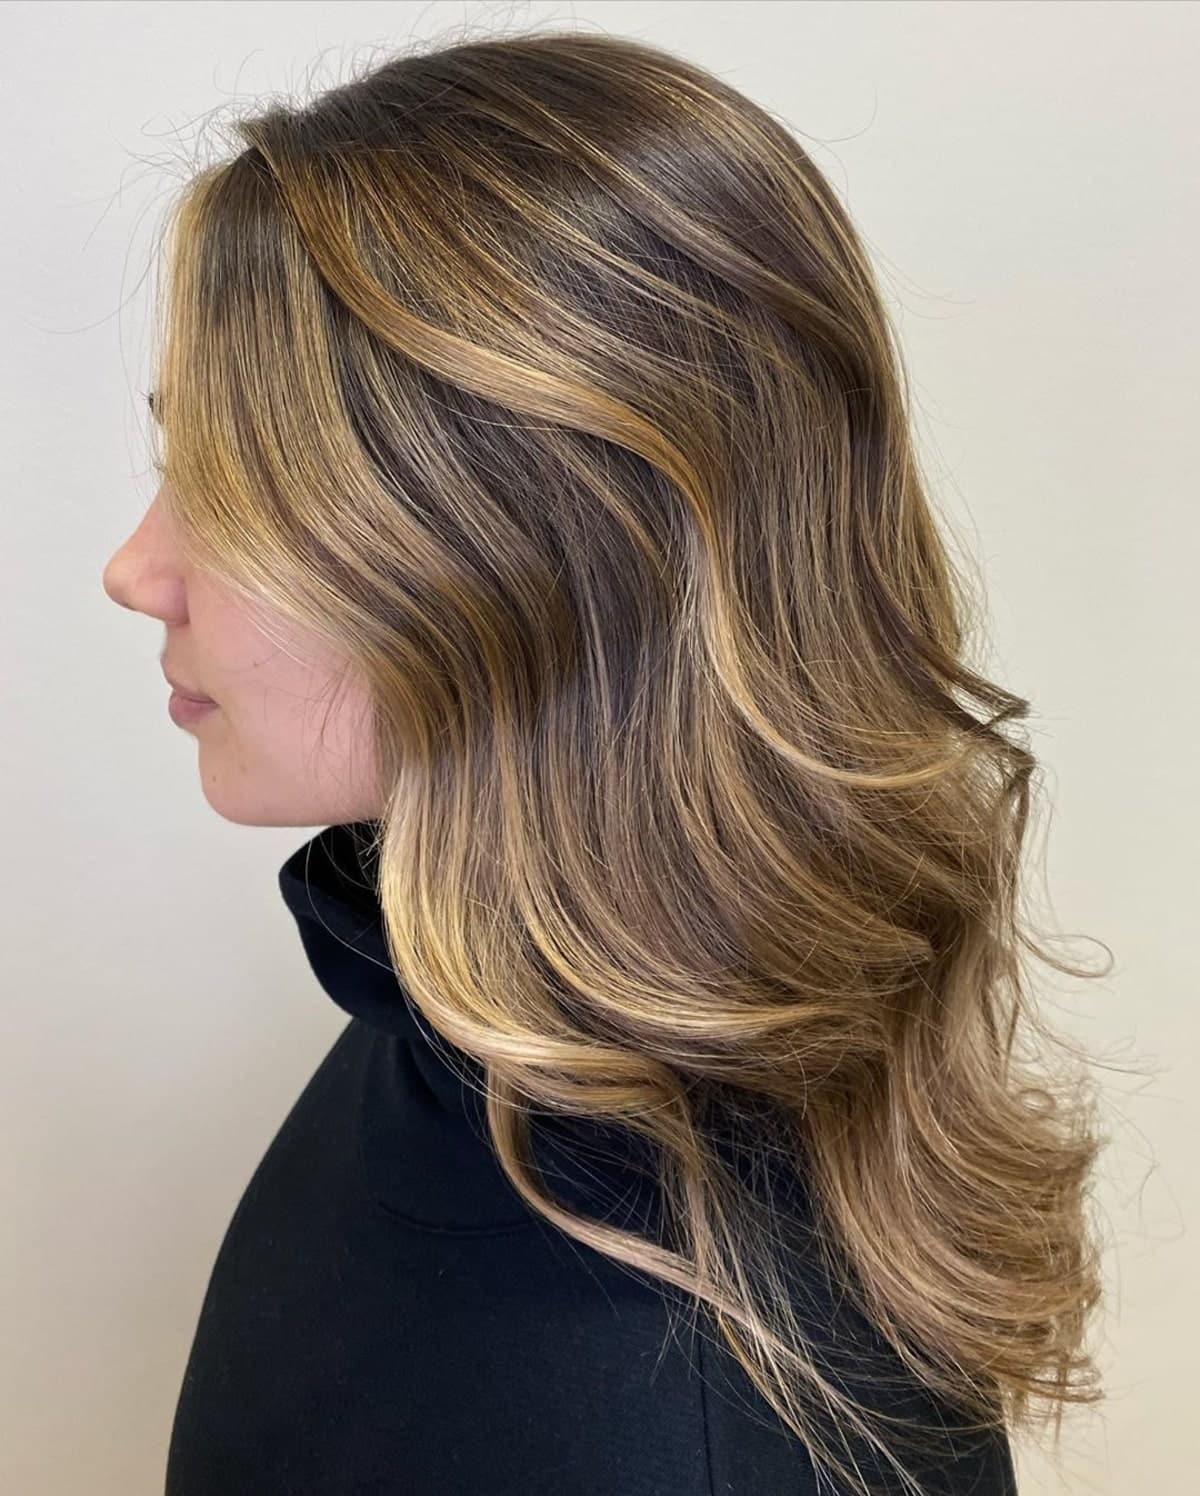
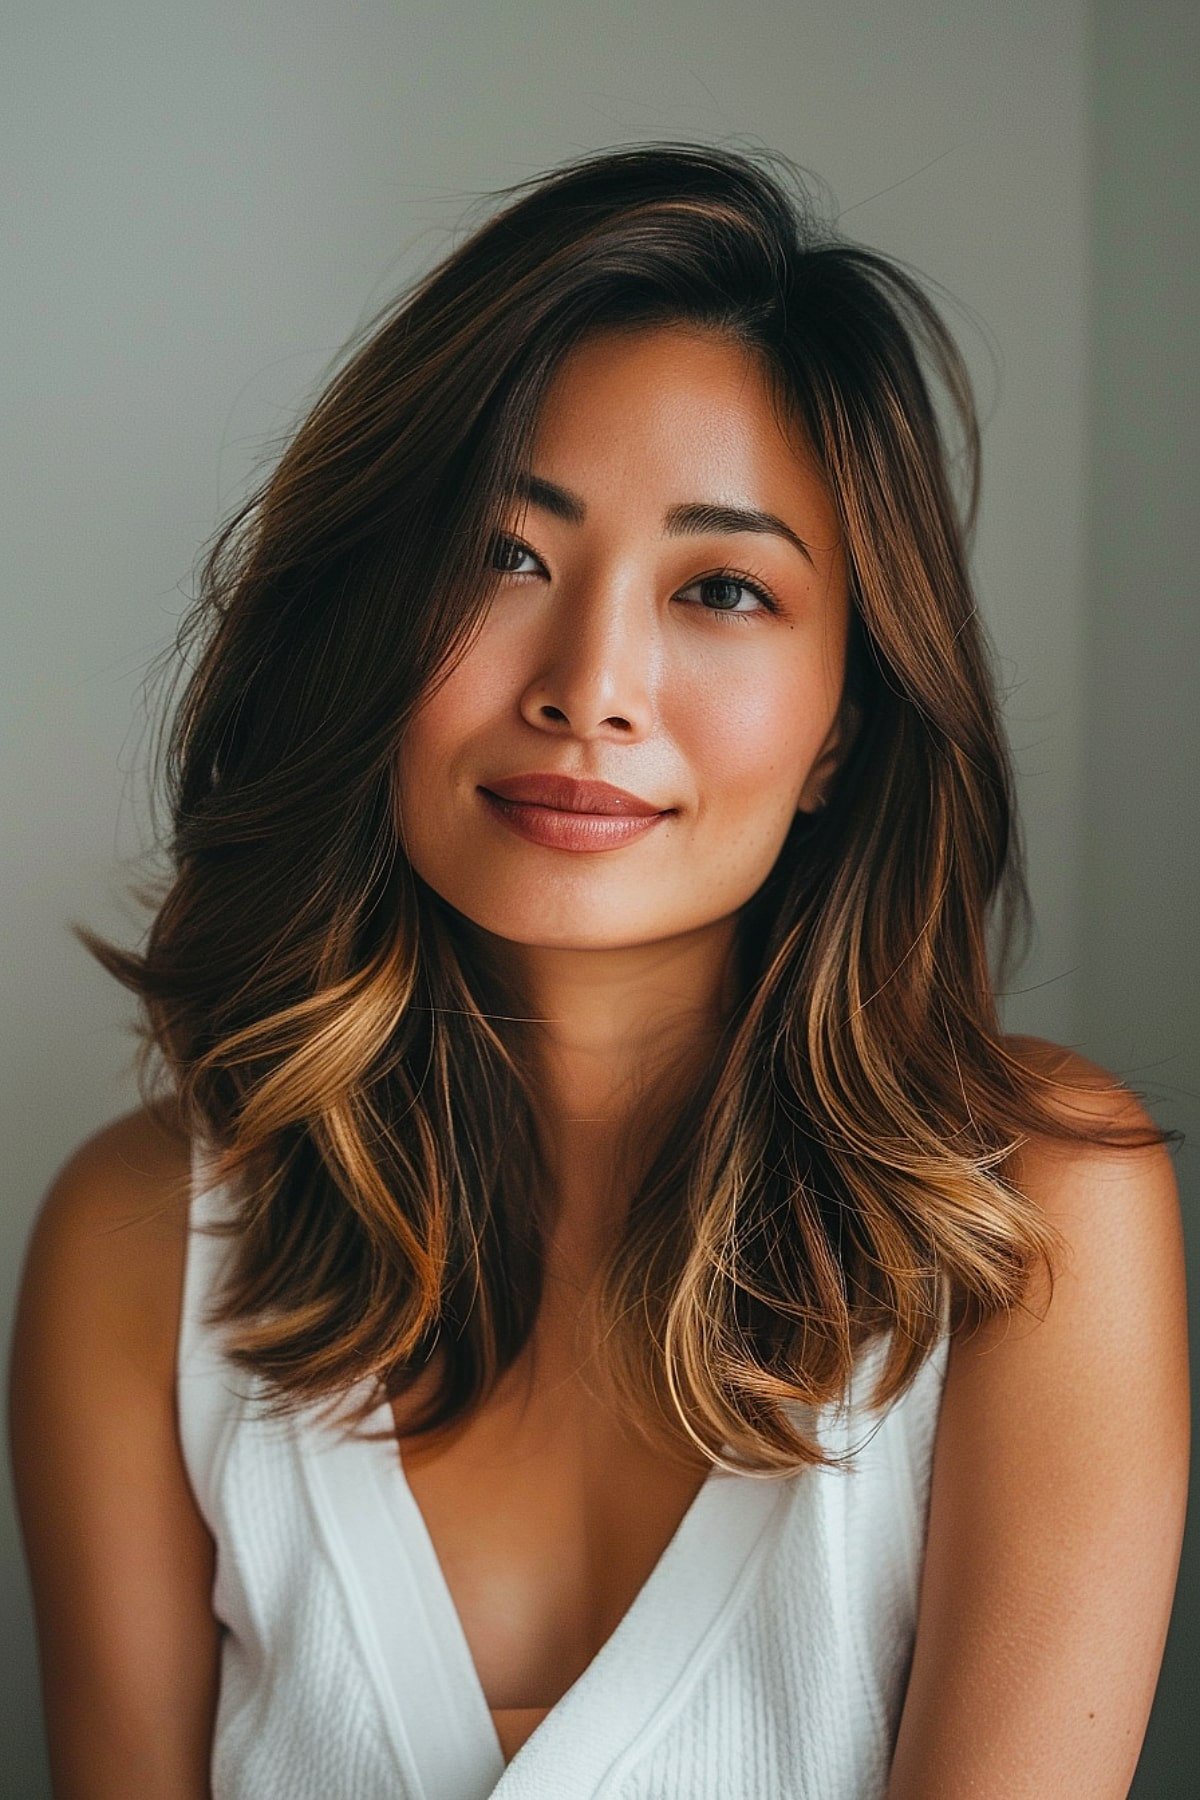
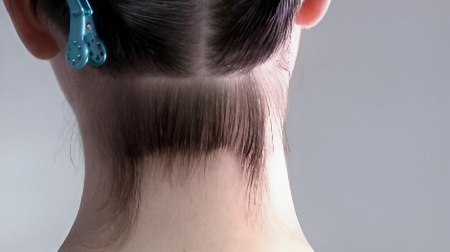
Before: Laura before the cut and color.
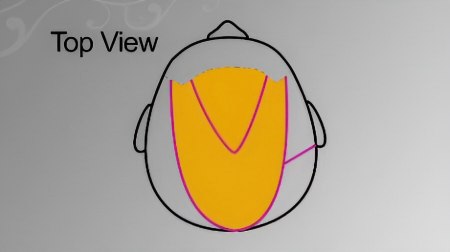
Step 1: Start with a horseshoe section on the top.
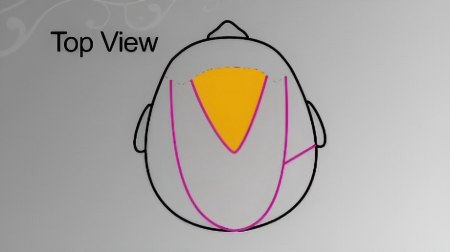
Step 2: A triangle section for the fringe.
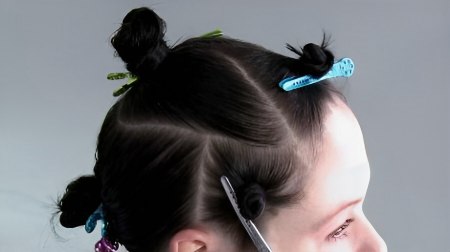
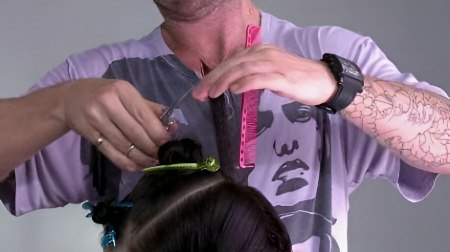
Step 3: And a small square section on the side.
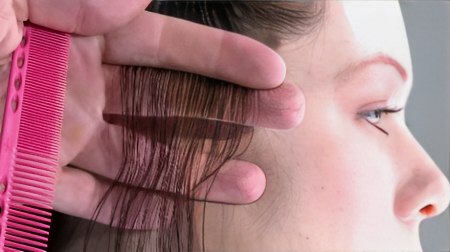
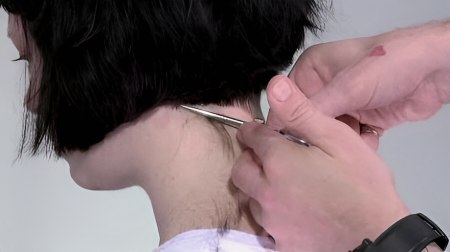
Step 4: Begin with the square left hand panel above the ear. Take an initial horizontal section above the ear, then elevate and cut a square line.
Step 5: Subsequent sections are taken parallel with a fraction of elevation, creating a small amount of graduation.
Step 6: Once this internal shape has been executed, clean the outline with a pointing technique. Lee decides on a dramatic defined outline. He also has the option of a soft line.
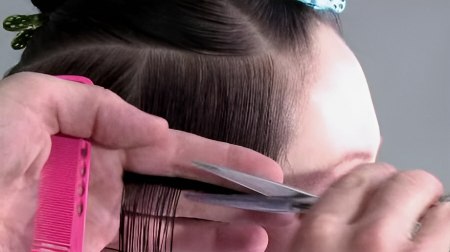
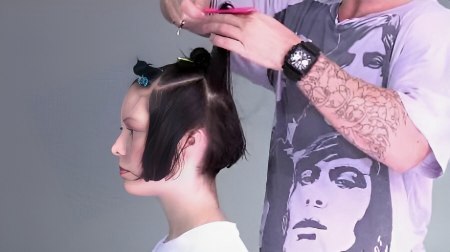
Step 7: Then work on the back area, dividing it down the centre vertically. Take an initial horizontal section, cutting a square line slightly angling away from the ear to build up weight behind the ear.
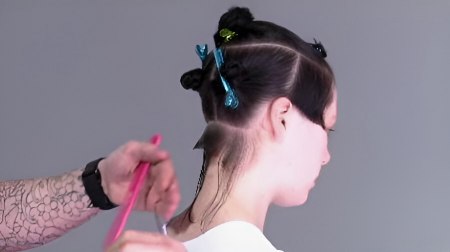
Step 8: Now work parallel sections with tension and elevation. Note that it is important to place the internal shape before cleaning the outline.

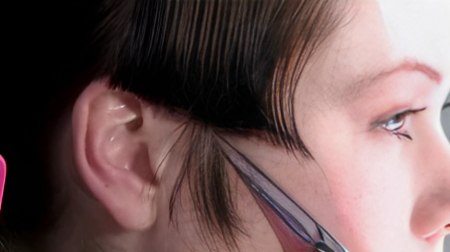
Step 9: Once the ear is reached on the right hand side, continue the same technique around to the front. Notice how to assess the tension around the ear to keep the line consistent.
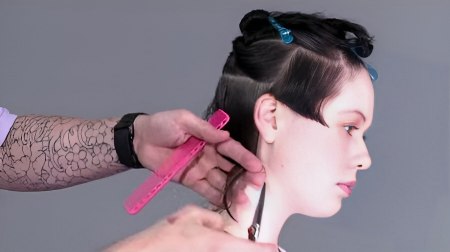
Step 10: Be aware of the correct angling to keep weight and to create a corner shape behind the ear.
Step 11: Continue this process with the same technique as you work up the head.
Step 12: Next take a vertical section in the back, elevate the hair and remove the corner from the top of the section.
Step 13: Then work this technique round the head, creating a softer edge. Be sure to pivot through to a horizontal section as you work in front of the ear.
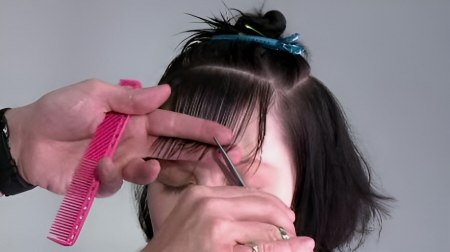
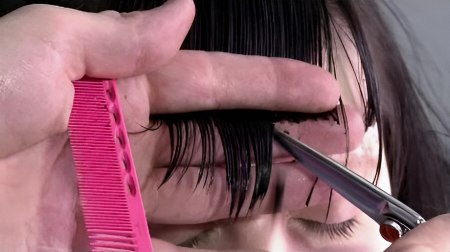
Step 14: Next work on the triangular fringe section. Take a horizontal section, using tension and a pointing technique to achieve the desired length.
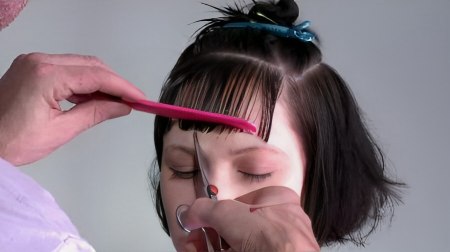
Step 15: Then refine this line on the surface of the skin.
Step 16: Then repeat the same process with the subsequent section.
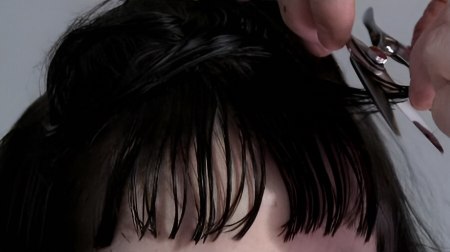
Step 17: Next use a hair slicing technique to loosen and soften the fringe.
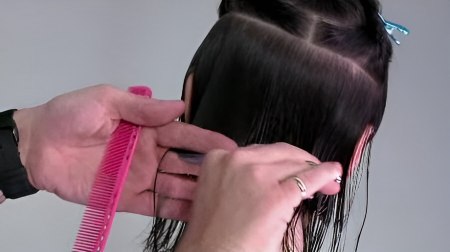
Step 18: Now work the remainder of the horseshoe section, taking a vertical section, elevating the hair upwards and square, and cut a loose line with the blades of the scissors.
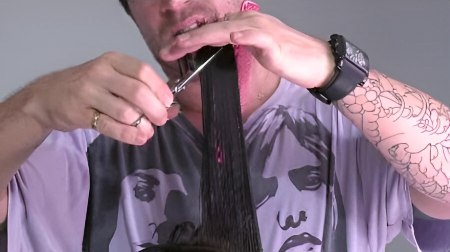
Step 19:
Then refine the remainder of the disconnected hair, allowing for texture and movement.
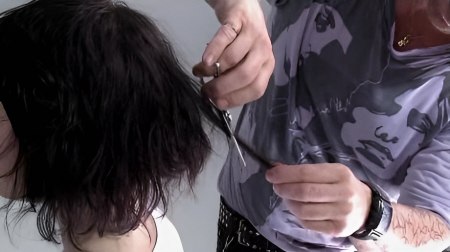
Step 20: Finally, refine the outline.

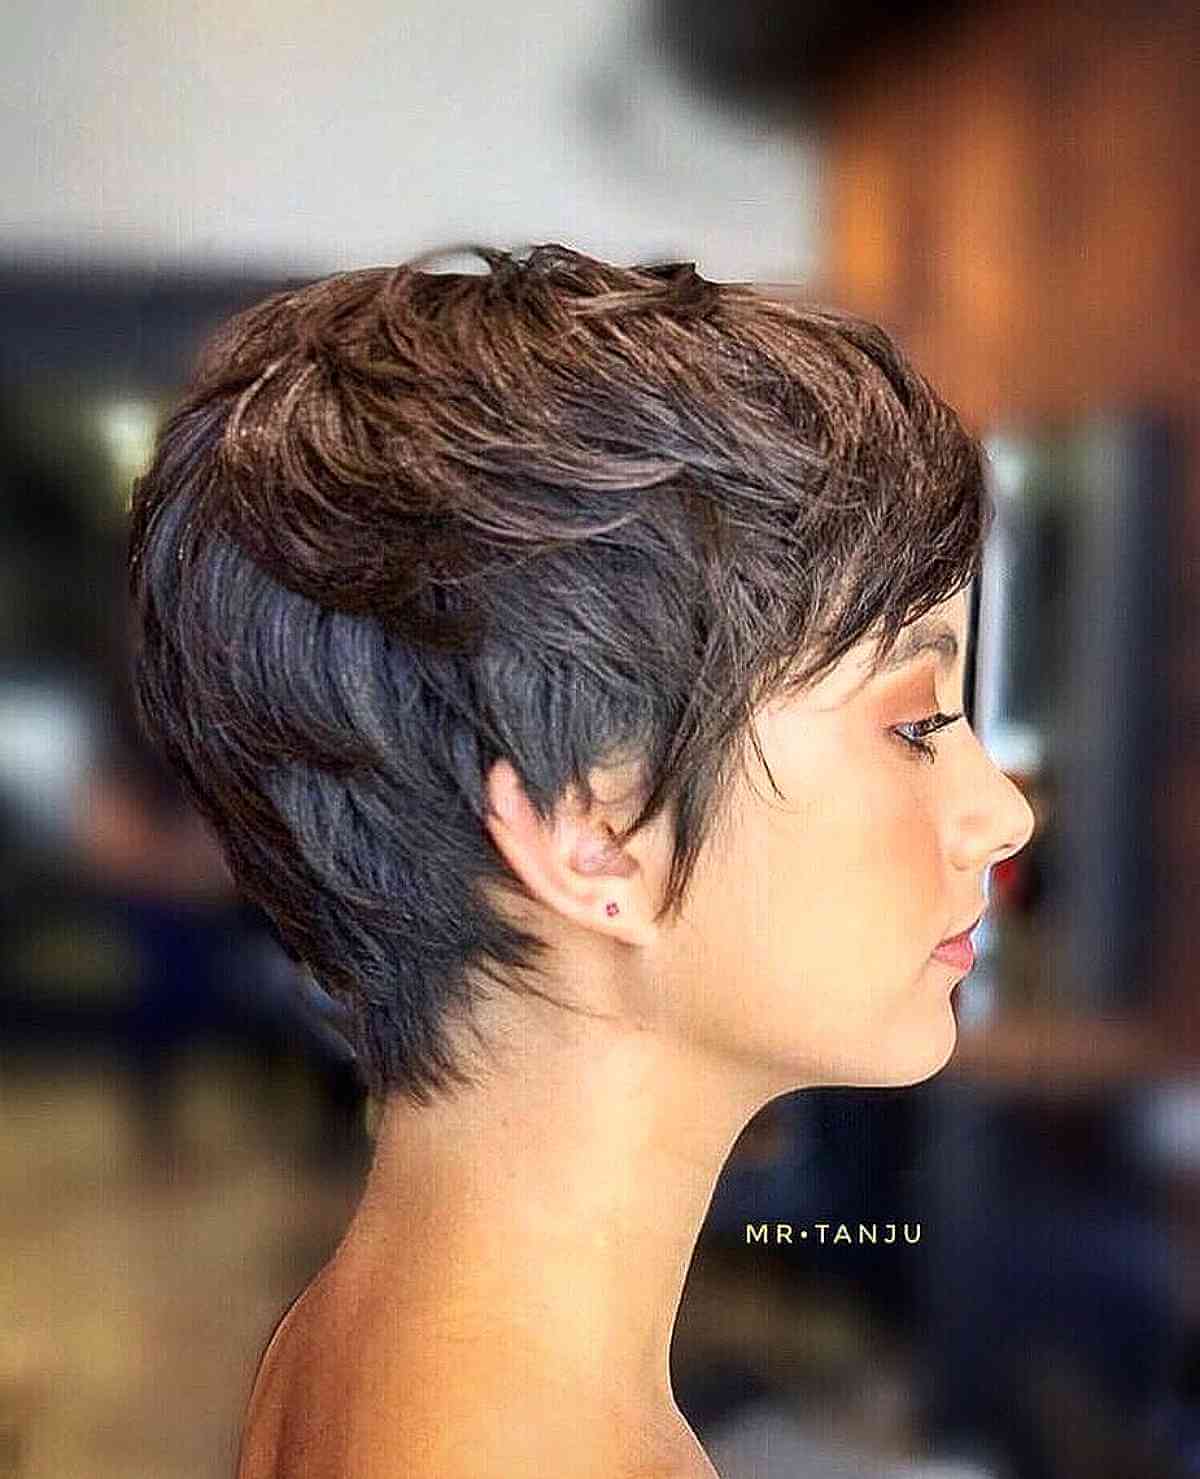
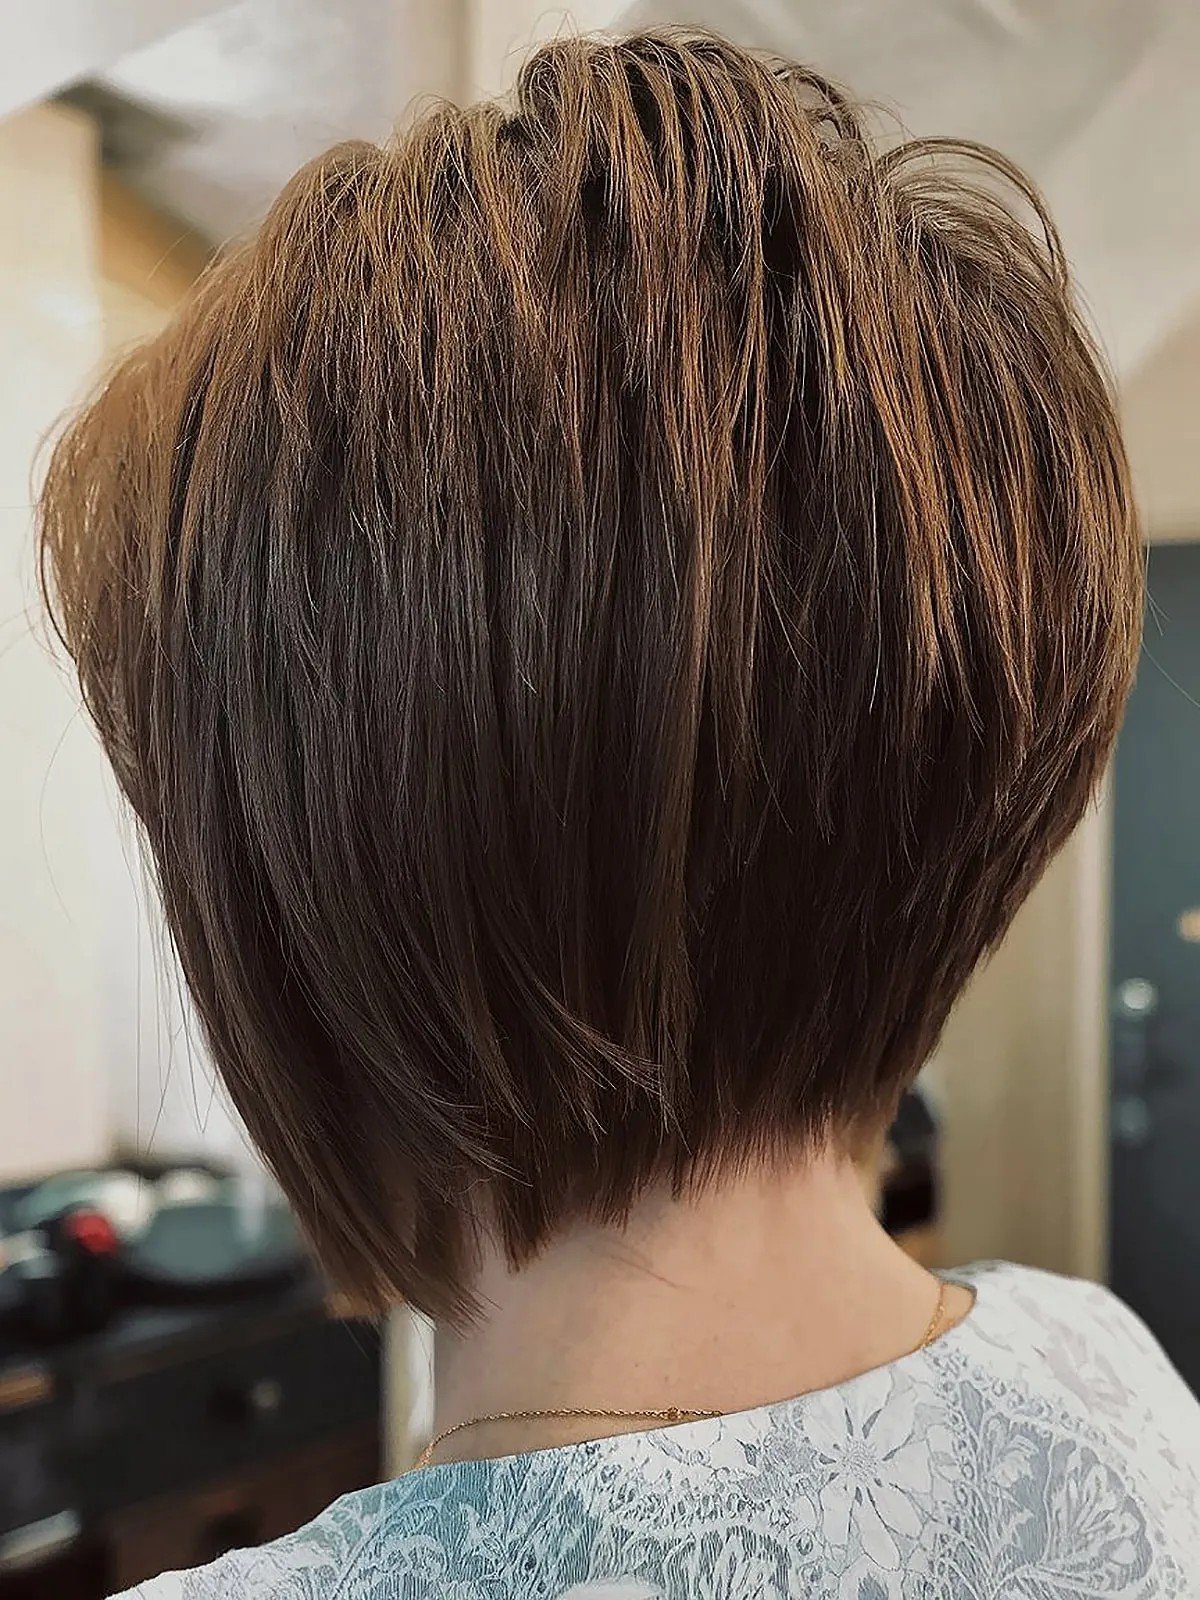
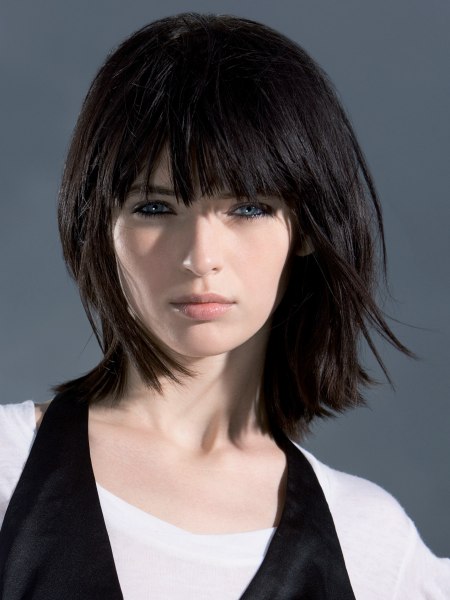
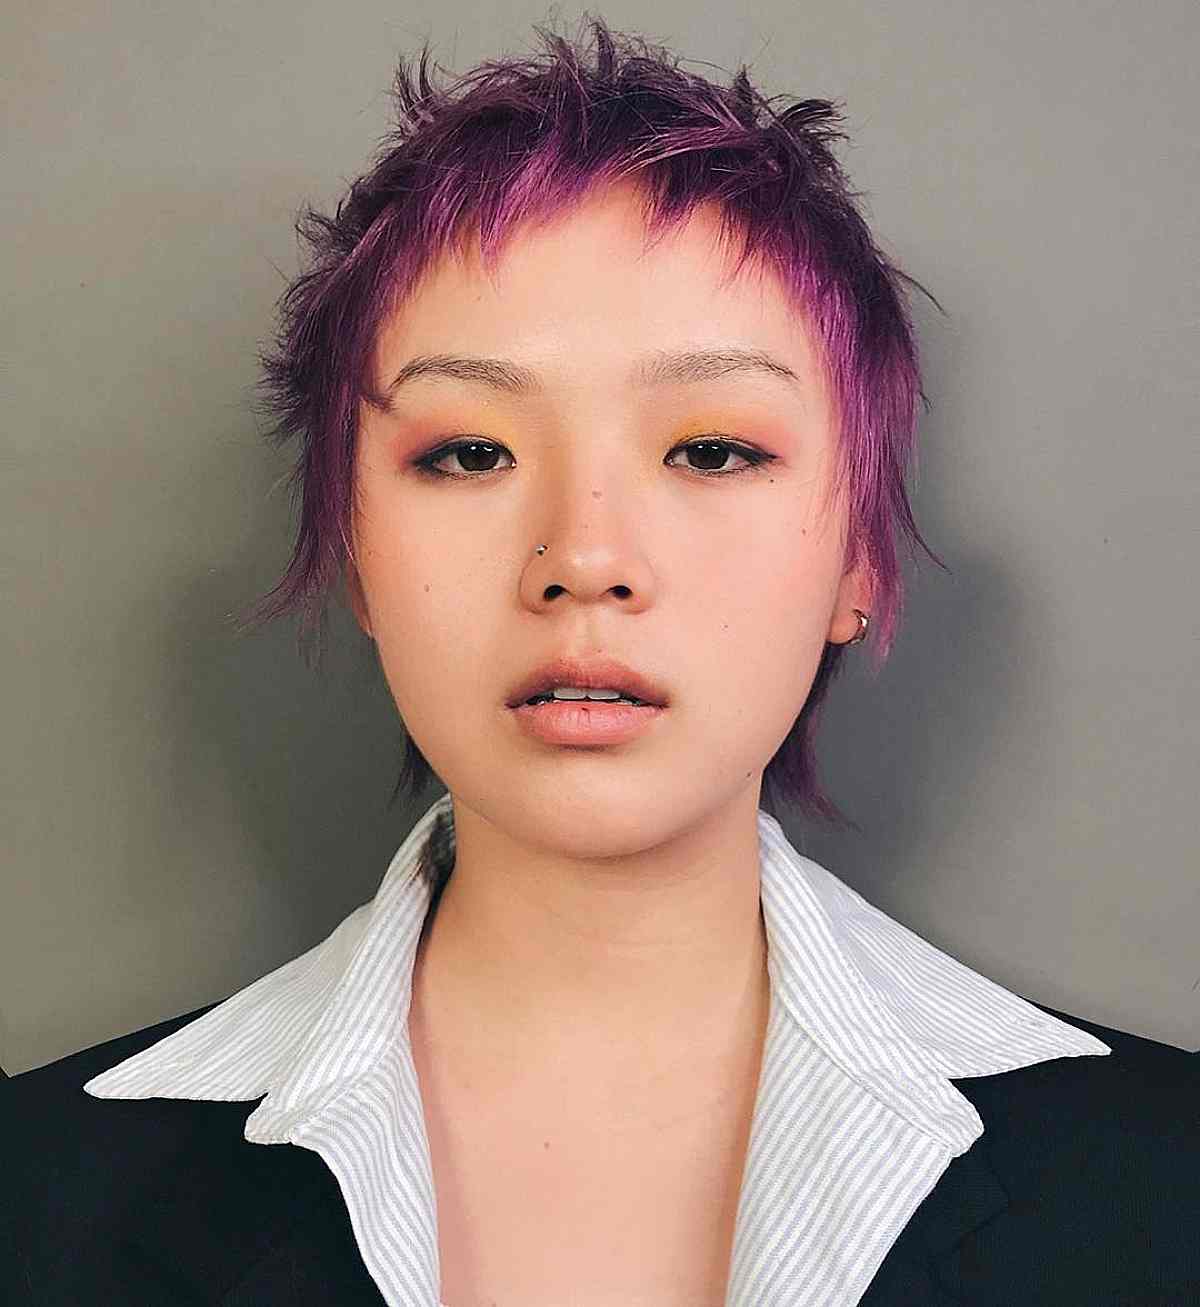
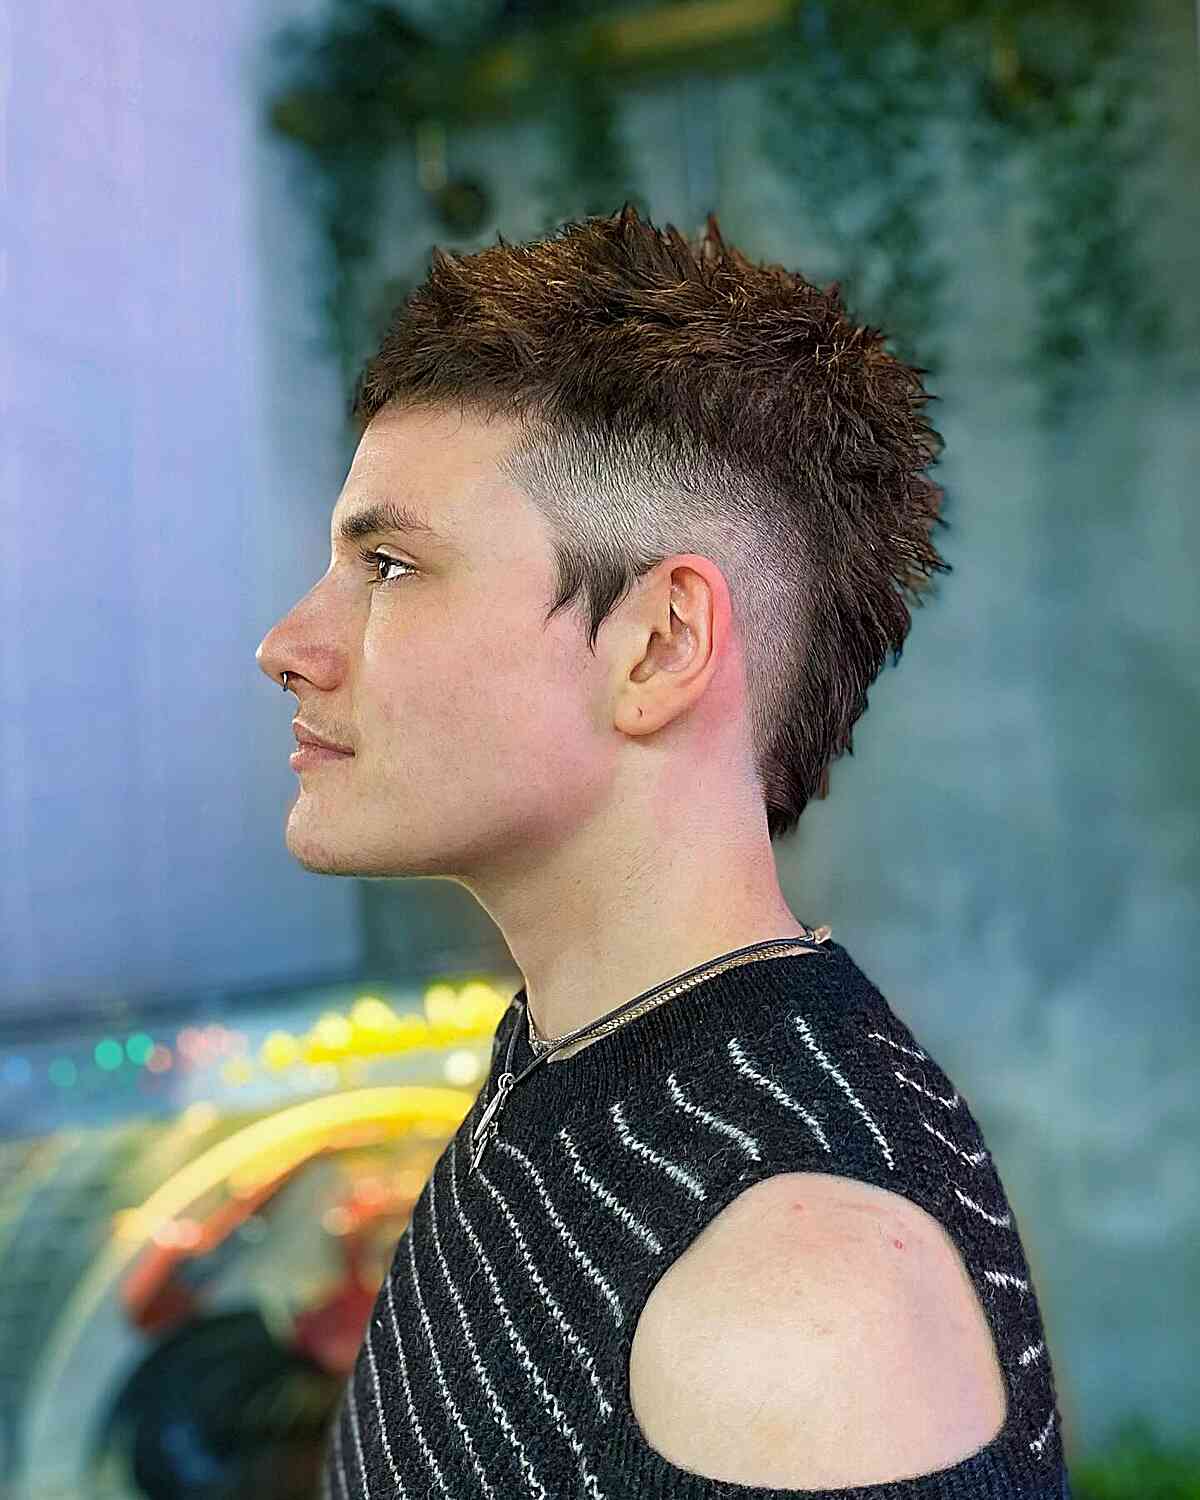
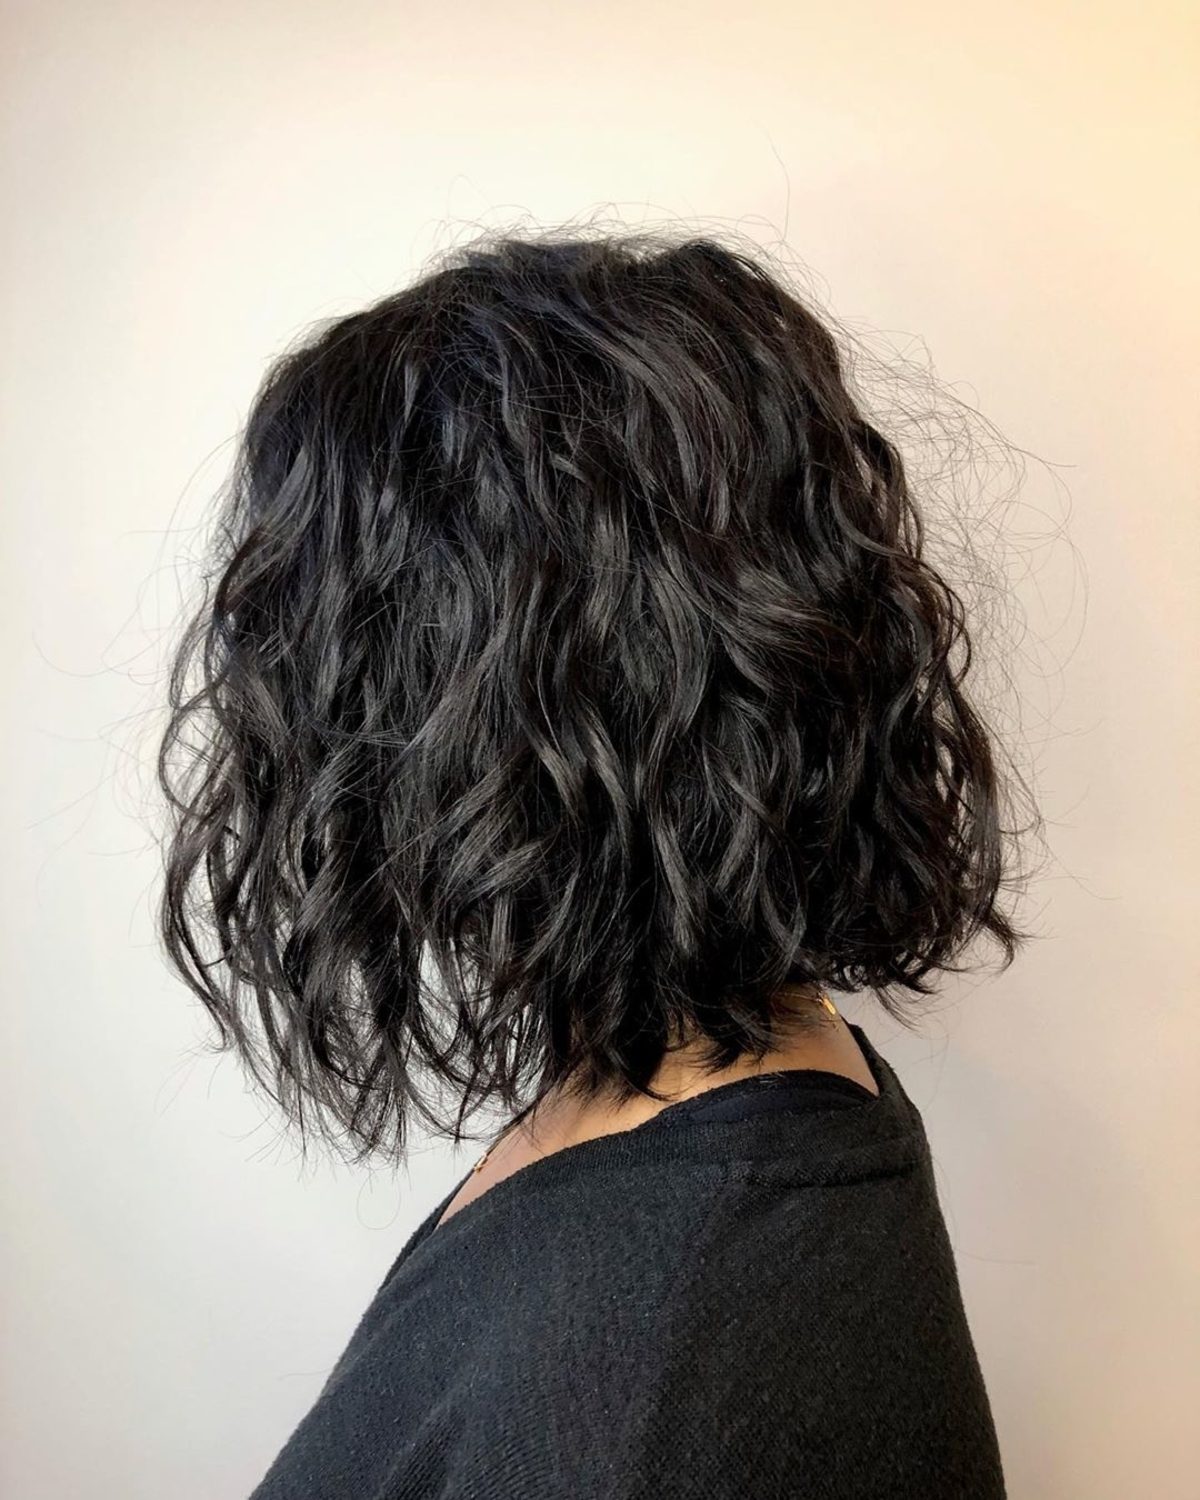
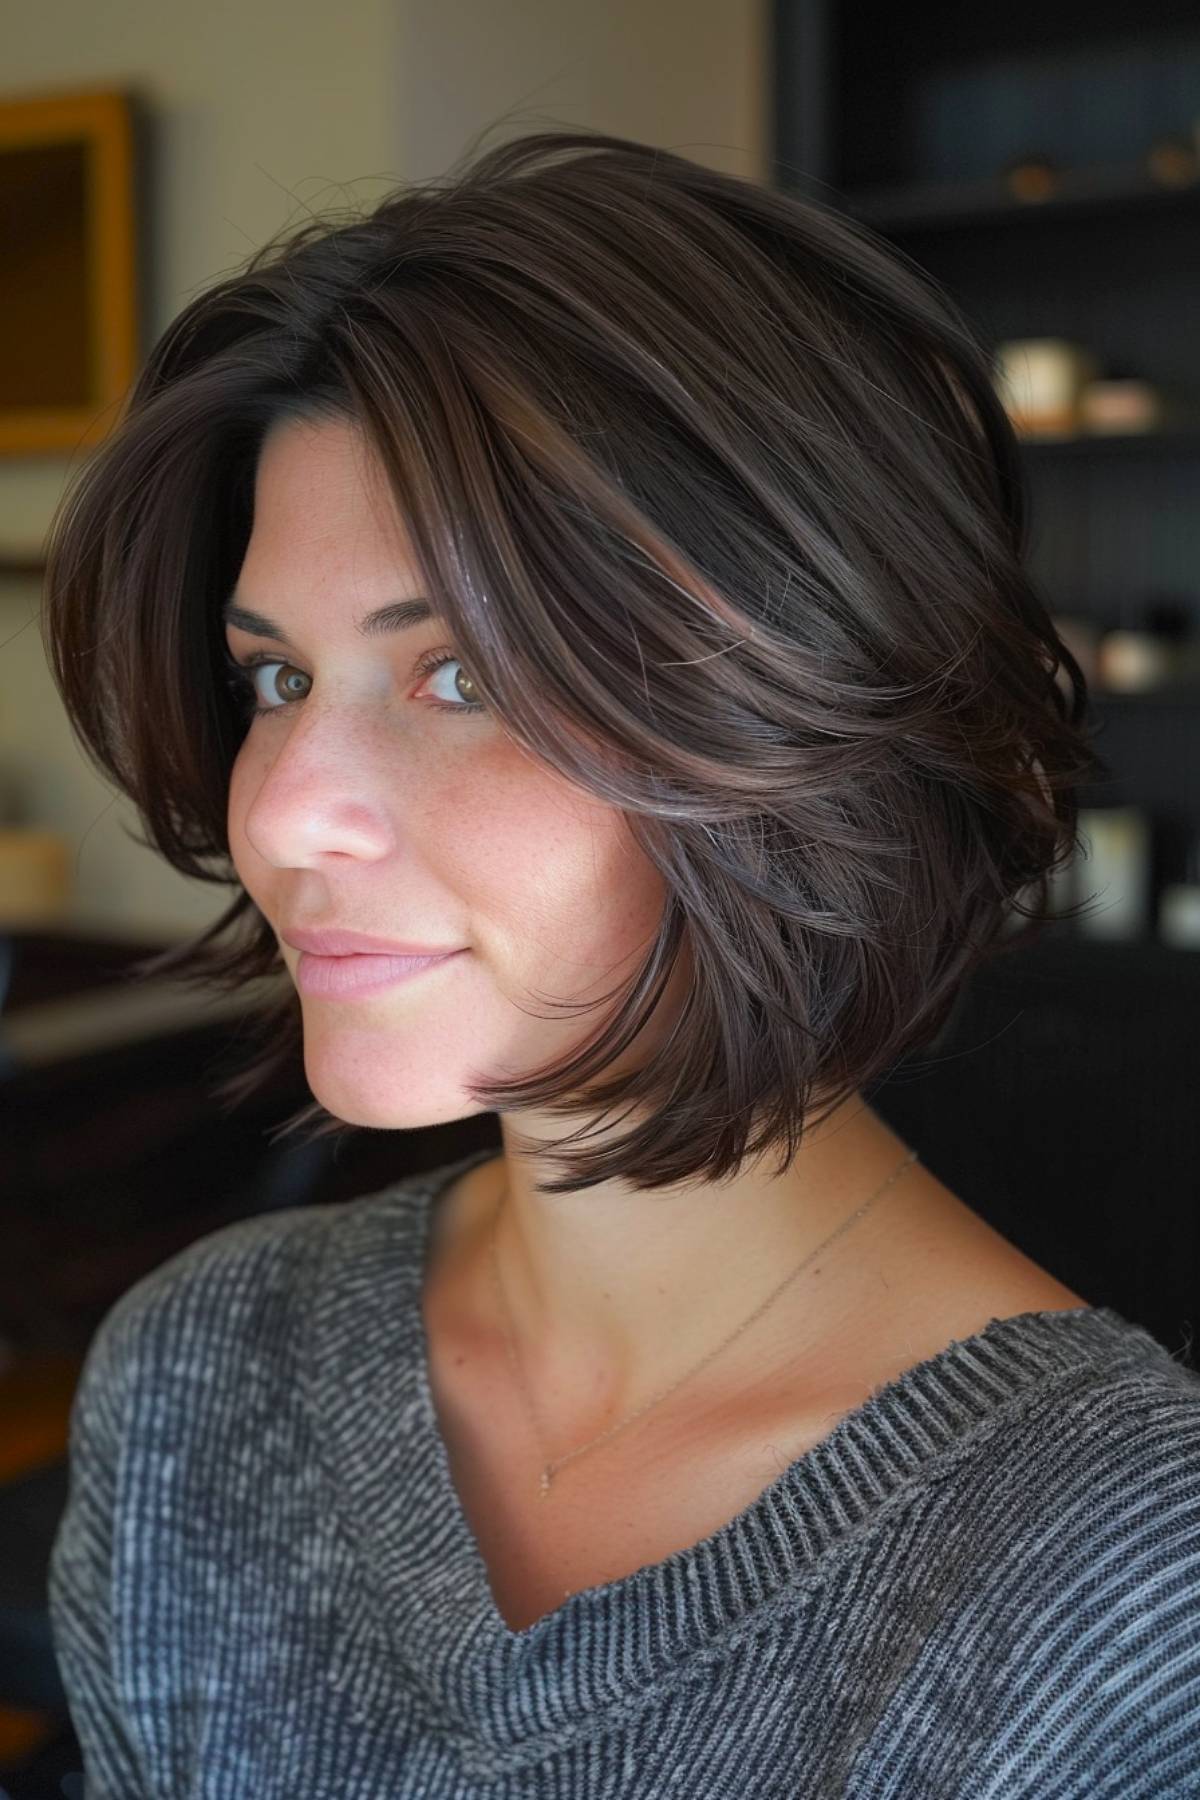
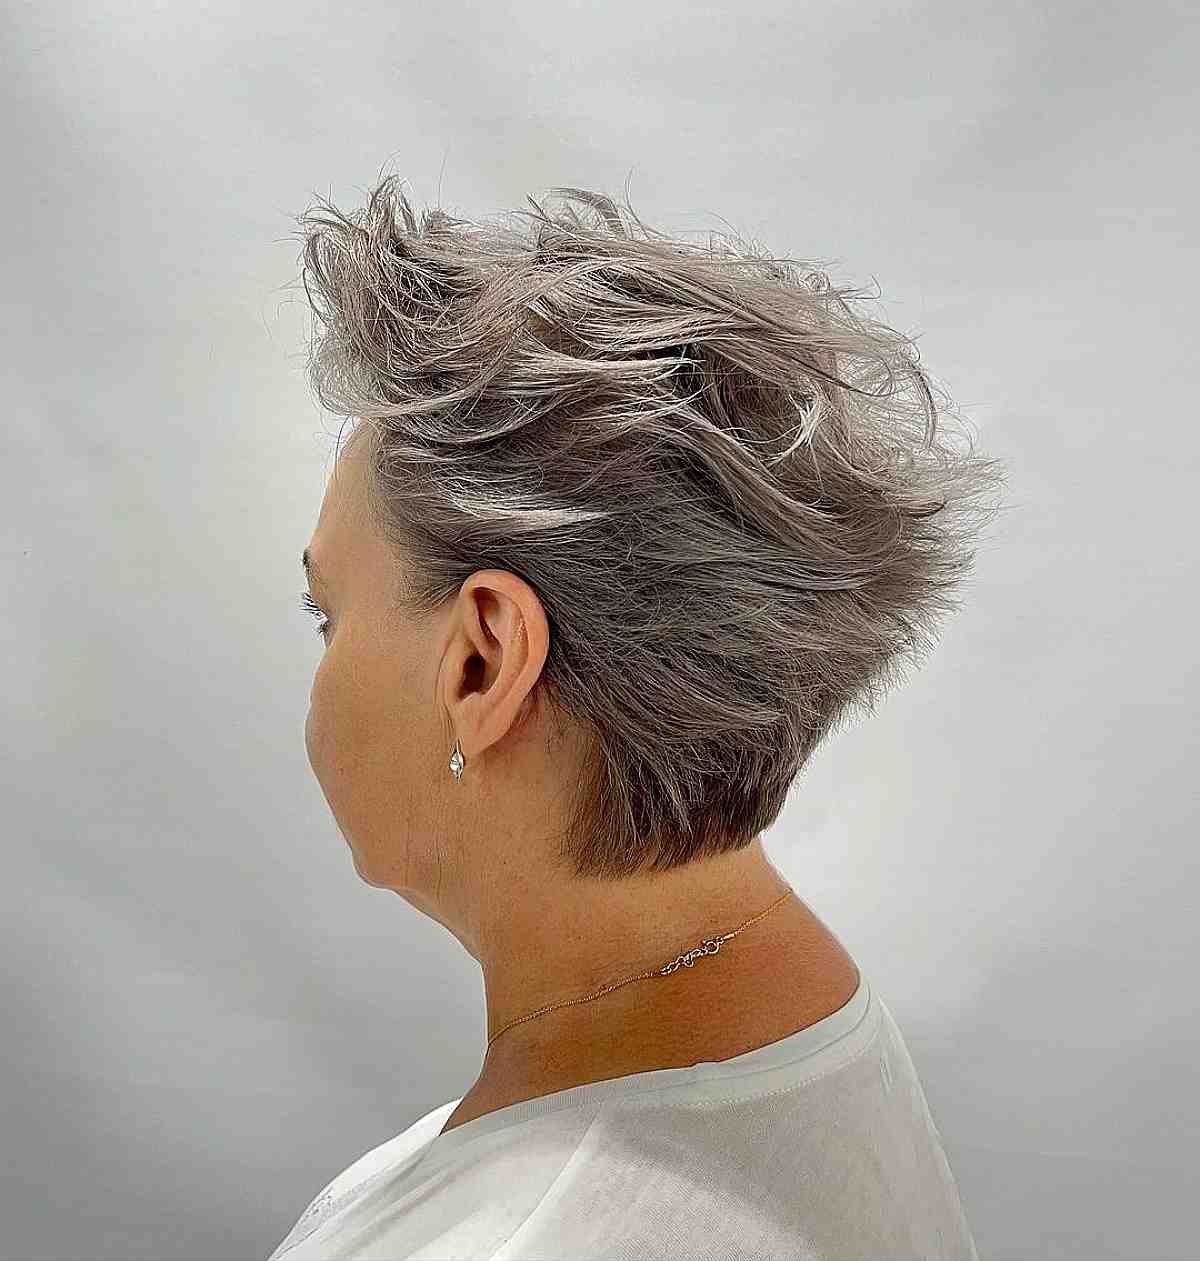
Finish: A simple classic short haircut that can be worn as simple as you wish or can be turned up to be as rock and roll as you dare.
Text and photos by MHD. Subscribe to view the training video!
See also:
How to cut a short graduated bob
How to cut an asymmetric graduated bob
How to cut a one length chin level bob