This was a doozy, for more reasons than one. Beyond Southern women being a rather stubborn bunch when it comes to their beauty routines—if it works, it works—curling hair can also be very specific to each person, depending on what look you’re going for and which tools you choose to use. However, after years of at-home testing, there are certain tips that I’ve come to know as steadfast guidelines whenever I’m trying to get the perfect curl that looks good and lasts all day. Countless curling irons purchased. Endless hours of tutorials watched. Many, many burn-induced, crimped-hair tears shed.
If I can impart these tress tidbits to even just one fellow lady trying to master her hair with less time and stress, my work here is done. Here are 9 curling iron tricks that will make your life easier.
1. Pick the right barrel size, or get the wrong result
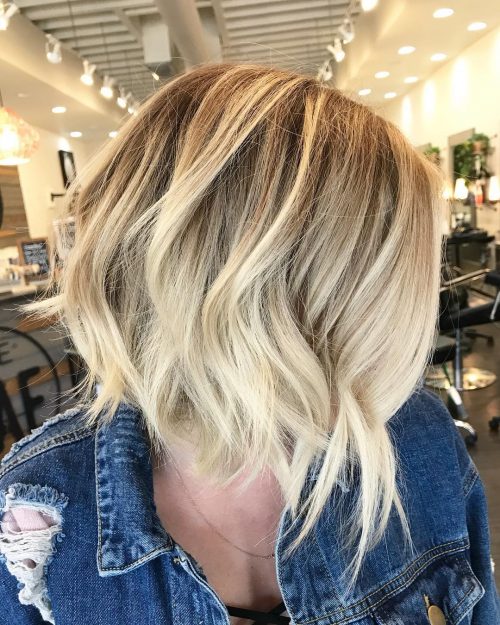
Practically every hair stylist will swear up and down by the 1.25-inch barrel. I’ve tested everything from .75-inch to 2-inch, and no curling iron holds a candle to 1.25-inch for bouncy curls. I’ve been using the Hot Tools Pro Signature 24K Gold Curling Iron.
However, if you prefer a tighter curl, go down to 1-inch. If you prefer barely-there bend like Jennifer Garner, scale up to 1.75-inch or even 2-inch. If you want those perfectly lived-in curls that you can keep in place or brush out with your fingers, stick with the 1.25-inch.
2. Always alternate the curling direction
The key to natural-looking curls is alternating the direction you’re curling each piece. Curl a piece of hair away from your face, and then curl a piece of hair towards your face. Repeat. Except face-framing pieces—those should always be curled away from your face to open up your complexion.
When every piece is curled the same direction, it can start going more pageant than party. If you want a more beachy look, leave out at least two inches at the end to ensure a relaxed curl.
3. Embrace second-day hair for extra hold
Busy women everywhere, we hear you. We know you. We are you, and we do not wash our hair every single day, either. Luckily, curling your hair freshly-washed is not actually necessary and, for some, less ideal. If you have hair that doesn’t hold curl, just-dried hair won’t hold a lick up to second-day hair. Trust us on that. Feel free to go in with dry shampoo to boost your roots.
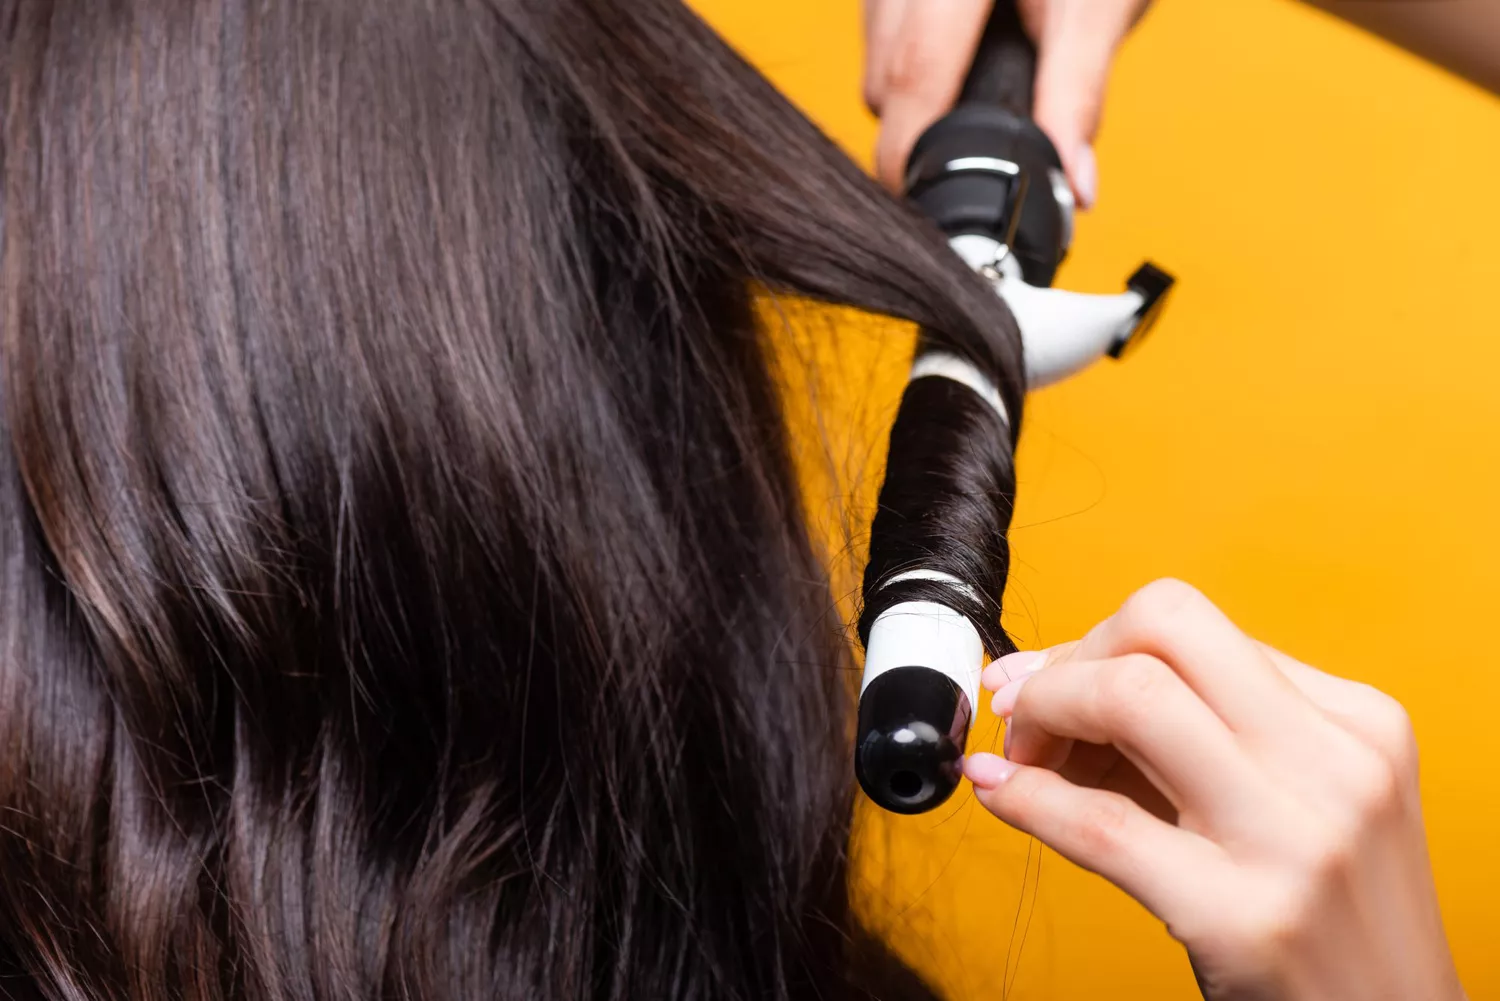
4. Sometimes, it’s better to ignore the curling iron clamp altogether
While I’m aware that the clip (or clasp, or clamp, whichever you call it) comes attached to the barrel for a reason, I’ve found that it can do more harm than good, especially for anyone who is less practiced in hair-curling. The clamp tends to risk unfixable, unforgiveable crimping whenever the hair gets stuck for just one second too long in its unrelenting grasp. For those still getting the hang of the curling iron, simply wrap hair around the barrel while the clamp is already closed, as if it’s a curling wand.
5. Hold each curl before releasing
Yes, it will be hot, but proceed with caution. It’s worth the extra hold. After letting the curl fall from the curling iron itself, hold the curl together (scrunched up) in your hand for 3 to 5 seconds. As it cools, the curl will set and, as a result, hold longer.
6. Cheat when you’re in a rush
As in, we don’t always have time to curl our hair, piece by piece. However, we can set aside five minutes to curl the most important pieces of hair. Starting with the pieces closest to your face, curl five pieces of hair on each side, focusing only on the top section. Finger-comb the curls, and you’re set with undone-done waves that are put-together and styled without having taken up too much time.
7. Always aim the barrel downwards
Here’s a snippet of nuance you never knew you needed. While it’s not nearly as crucial as something like barrel size, this tweak separates the rookies from the vets. If you learn to hold the curling iron pointing downwards—as opposed to horizontally, which is what many people end up doing unintentionally—you’ll end up with a better curl.
8. Give your roots a pick-me-up before (not after!)
It’s dealer’s choice on the what, but we’re sure about the when. Give your roots the spritzes of dry shampoo or volume spray before you start curling to avoid any post-styling disasters. This is especially important for those who can’t hold curl. Too much commotion causes curls to fall out more quickly. If your mane can take it, pump up the volume before and after. As Southern women like to say, more is more.
9. Know your favorite technique, and don’t let anyone tell you otherwise
All this to say, everyone’s hair is different. Do what is right for you! For some, hot rollers never went out of fashion, and I salute your volume-packed prowess. Techniques vary and call for different tools, from curling irons to flat irons to curling wands. Ladies are even loving the no-heat curls, which is a dream at reducing damage.
Besides, if the whole curling thing doesn’t work out, you can always turn to the trusty ponytail, hm?